
Setting up WordPress on your local computer is one of the best ways to learn, test plugins, build websites, or develop themes without affecting a live site. With XAMPP, you can create a complete local development environment that includes Apache, MySQL (MariaDB), and PHP, allowing WordPress to run entirely on your Windows machine.
In this tutorial, you’ll learn how to install XAMPP, create a database, and install WordPress locally step by step.
Prerequisites
Before you begin, make sure you have:
- A Windows computer
- Administrator access for software installation
- The latest version of XAMPP
- The latest WordPress installation package
Note: Keep XAMPP running whenever you want to access your local WordPress website.
Step 1: Install XAMPP on Windows
XAMPP is a local development environment that bundles everything required to run WordPress, including:
- Apache (web server)
- MariaDB/MySQL (database server)
- PHP
- phpMyAdmin (database management tool)
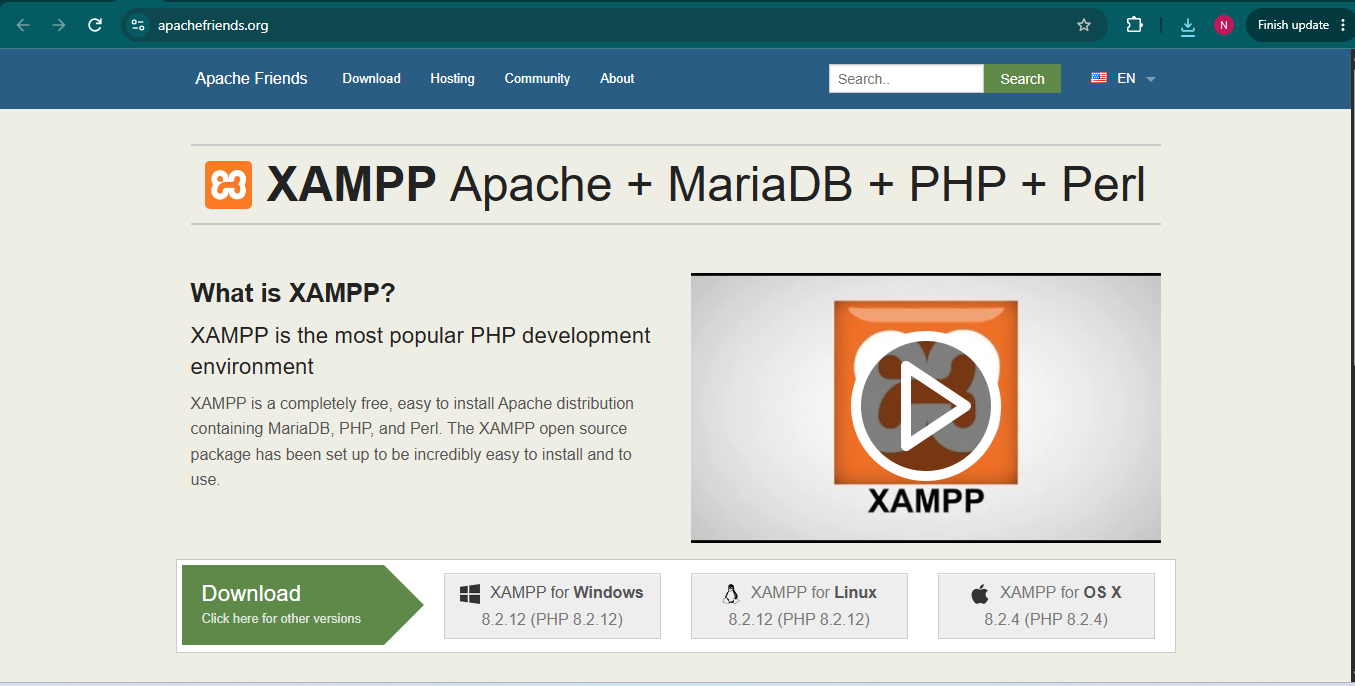
This saves you from installing and configuring each component separately.
Download and Install XAMPP
- Visit the official XAMPP website.
- Download the latest version for Windows.
- Run the installer.
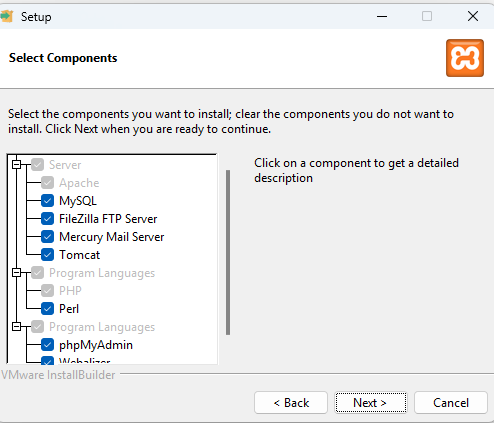
When prompted to select components, make sure the following are installed:
- Apache
- MySQL
- PHP
- phpMyAdmin
- Webalizer
- Fake Sendmail
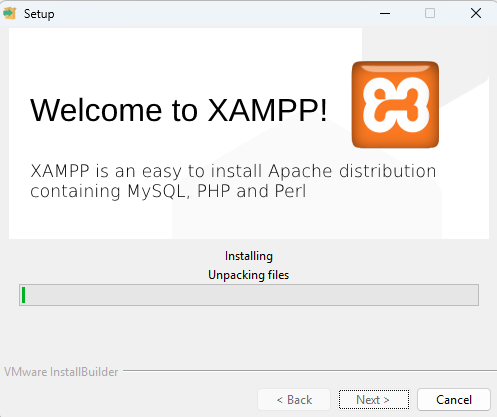
Choose your preferred installation directory and language, then complete the installation.
Once installation finishes, launch the XAMPP Control Panel.
Step 2: Configure XAMPP
Before installing WordPress, review the Apache and MySQL settings.
Check the Apache Port Configuration
In the XAMPP Control Panel:
- Locate the Apache module.
- Click Config.
- Select Apache (httpd.conf).
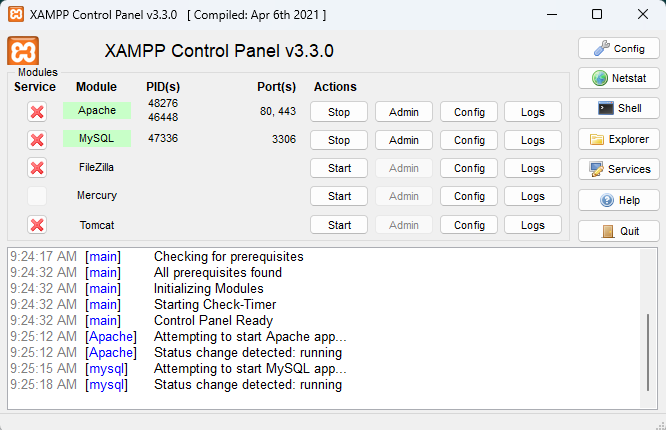
The Apache configuration file will open in your default text editor.
Search for:
portApache typically listens on:
80Port 80 is the standard HTTP port. If another application is already using it, you may need to configure Apache to use a different port.
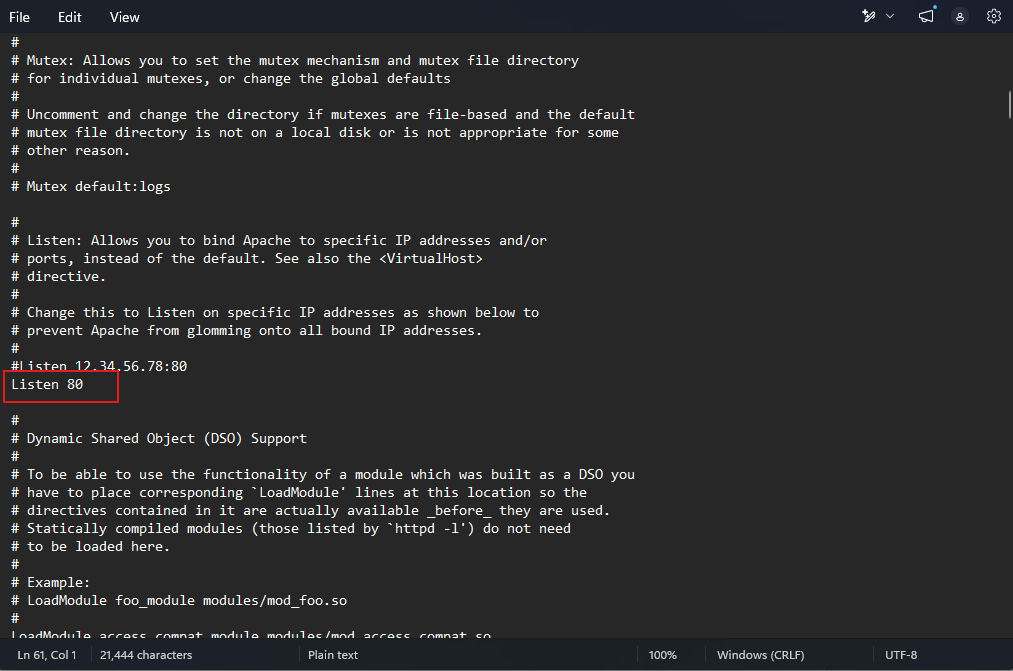
Important: Only change the port if there is a conflict on your system.
Optional: Change the Document Root Directory
By default, XAMPP stores website files inside:
xampp\htdocsThe document root is defined by the DocumentRoot setting in the httpd.conf file.
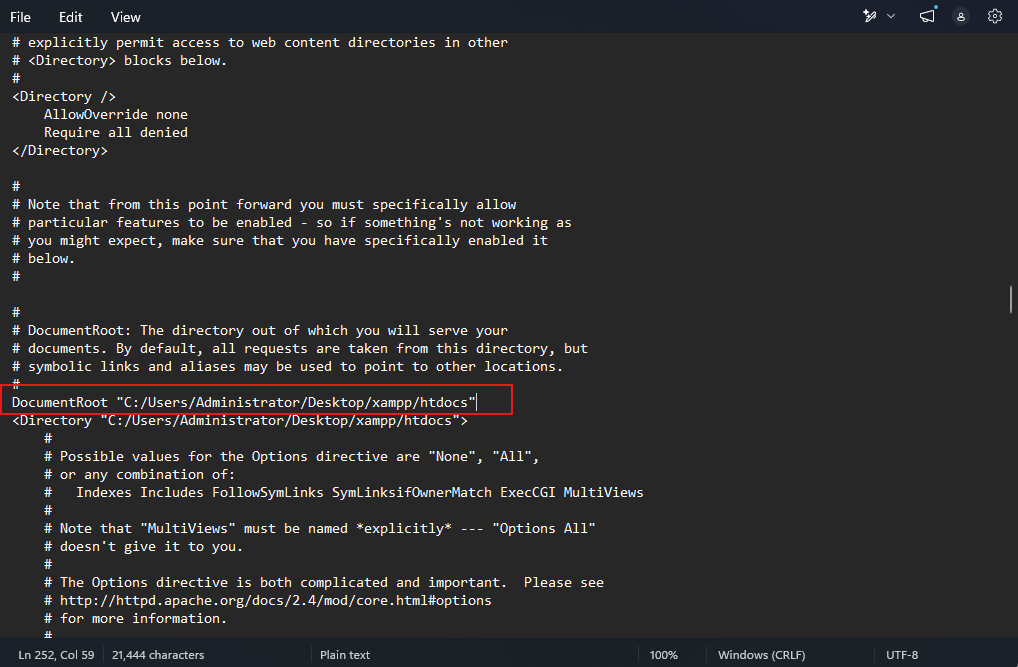
If you prefer storing website files in another location, update the DocumentRoot path and create the folder manually if it does not already exist.
Note: The installation drive may differ depending on where you installed XAMPP.
Check the MySQL Port
Back in the XAMPP Control Panel:
- Click Config next to the MySQL module.
- Open my.ini.
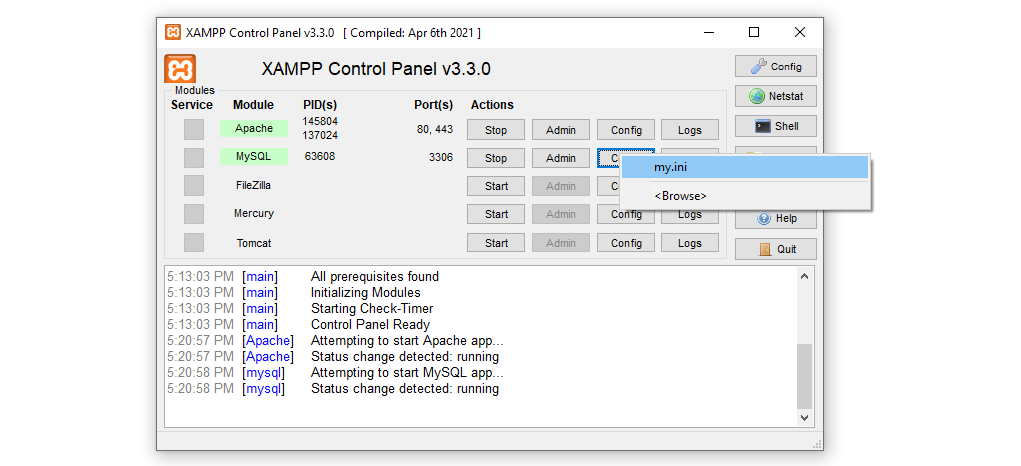
Look for:
port=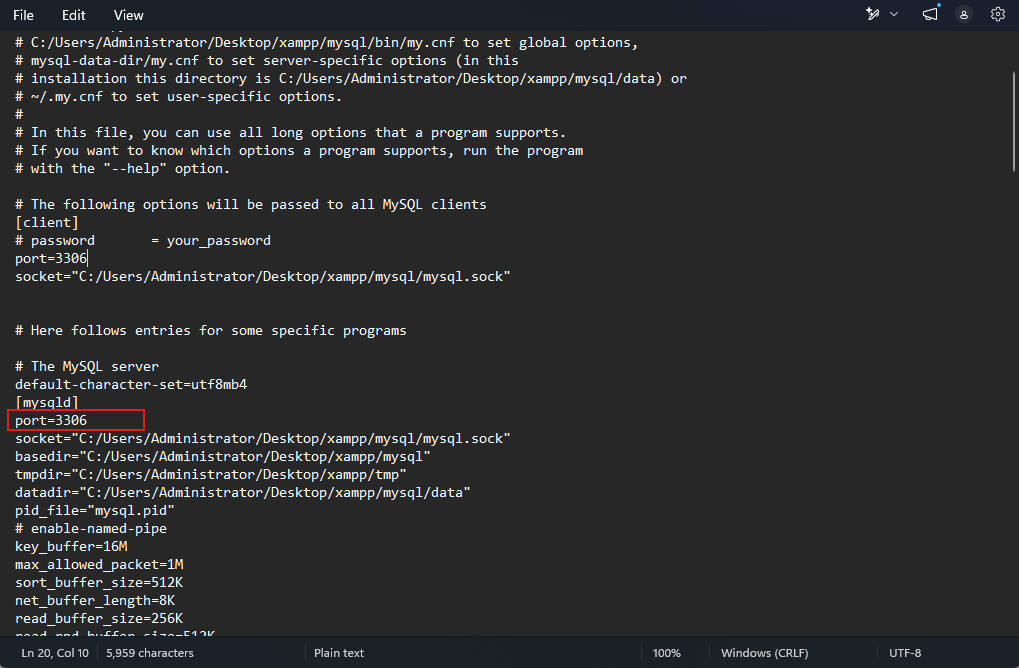
Make a note of the port number displayed.
You will need this information later if your MySQL installation uses a non-default port.
Do not modify any other settings.
Start Apache and MySQL
In the XAMPP Control Panel:
- Click Start next to Apache.
- Click Start next to MySQL.
When both services start successfully, they should appear highlighted in green.
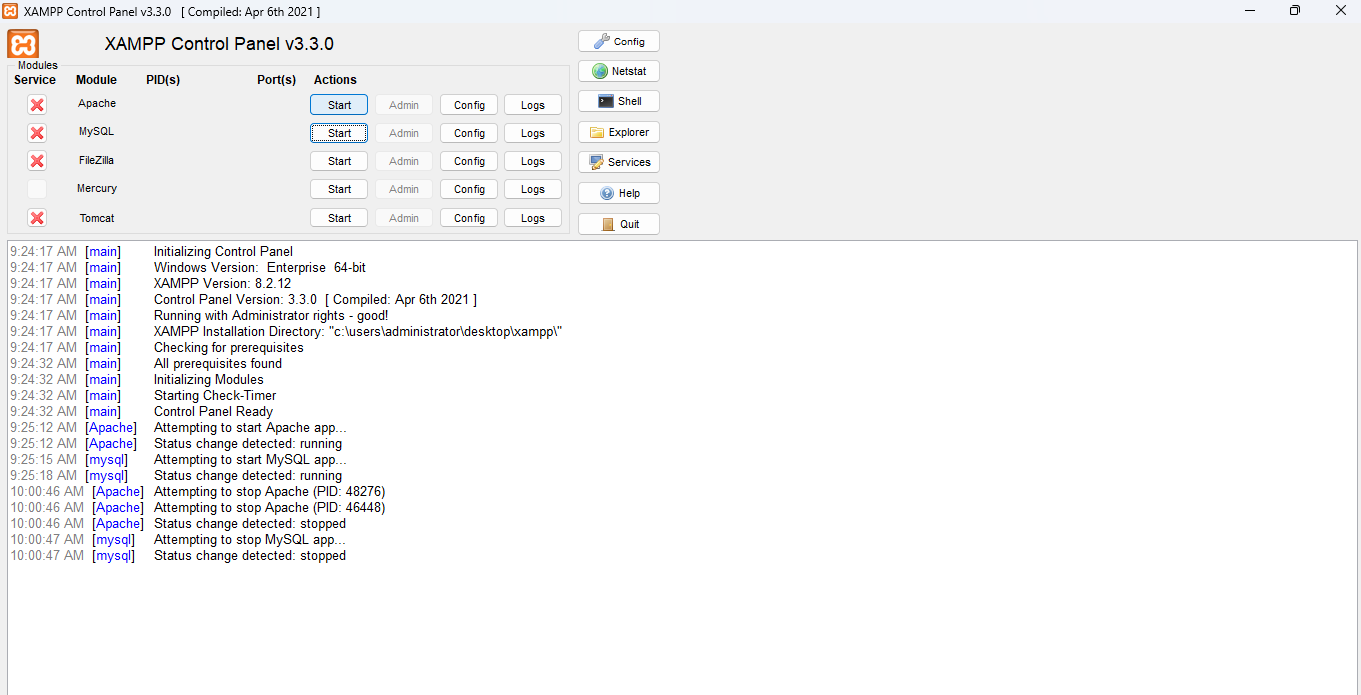
Warning: If either service fails to start, resolve the port conflict before continuing.
Step 3: Create a MySQL Database for WordPress
WordPress requires a database to store content, settings, and user information.
Open phpMyAdmin
From the XAMPP Control Panel:
- Locate the MySQL row.
- Click Admin.
This opens phpMyAdmin in your browser.
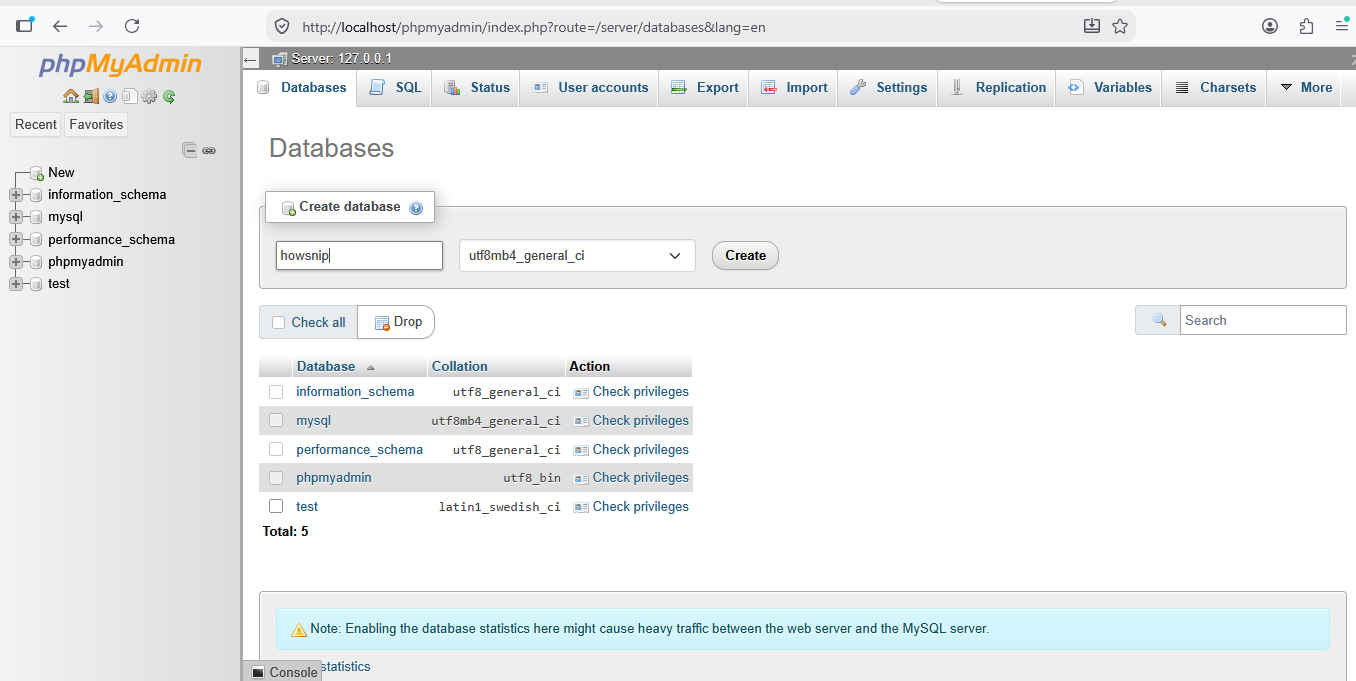
The URL will be similar to:
http://localhost/phpmyadminKeep this address handy because you’ll use it to manage your local databases.
Create a New Database
Inside phpMyAdmin:
- Open the Databases tab.
- Find the Create database section.
- Enter a database name.
Choose a unique database name and save it somewhere safe, as you’ll need it during the WordPress installation.
For the collation, leave the default value:
utf8mb4_general_ciClick Create.
Important: Do not add any tables manually. WordPress will automatically create the required tables during installation.
Step 4: Install WordPress Locally
Now it’s time to install WordPress.
Download WordPress
Download the latest WordPress package from the official WordPress website.
Once downloaded:
- Locate the ZIP file.
- Navigate to your XAMPP document root directory.
For example:
C:\xampp\htdocsIf you changed the document root earlier, use that location instead.
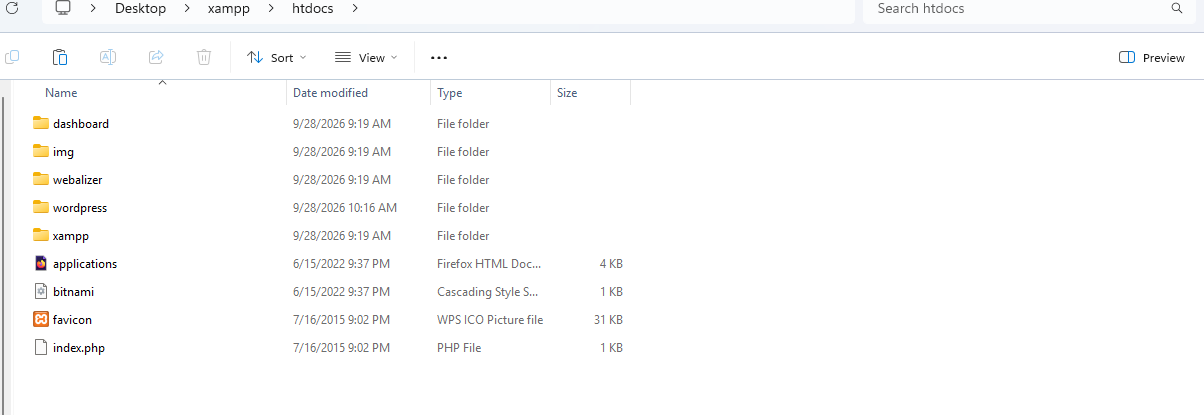
Create a Website Folder
Inside the document root:
- Create a new folder for your website.
- Give it a name such as:
- mywebsite
Extract the WordPress ZIP contents into that folder.
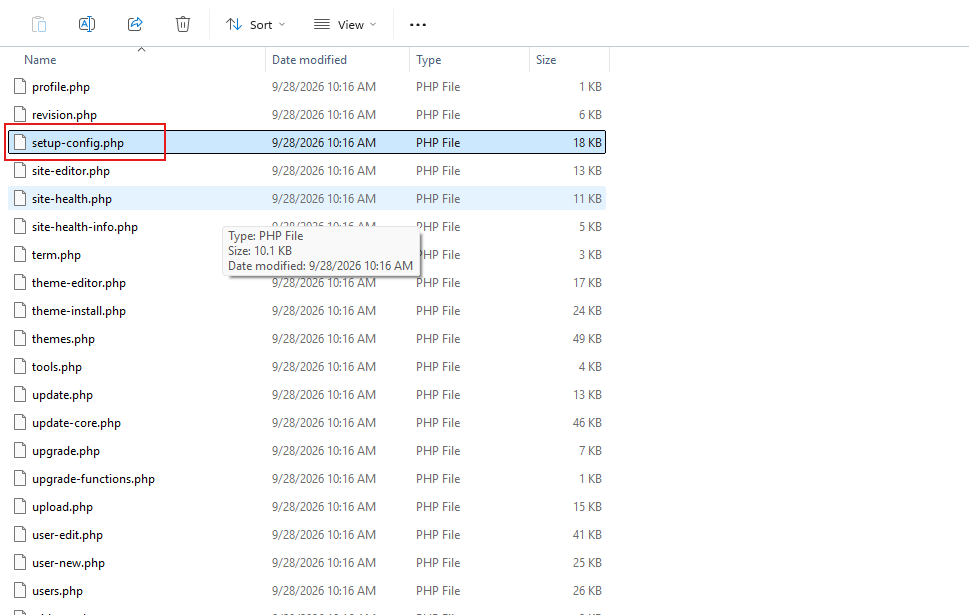
Your WordPress files should now reside inside the website directory.
Run the WordPress Installer
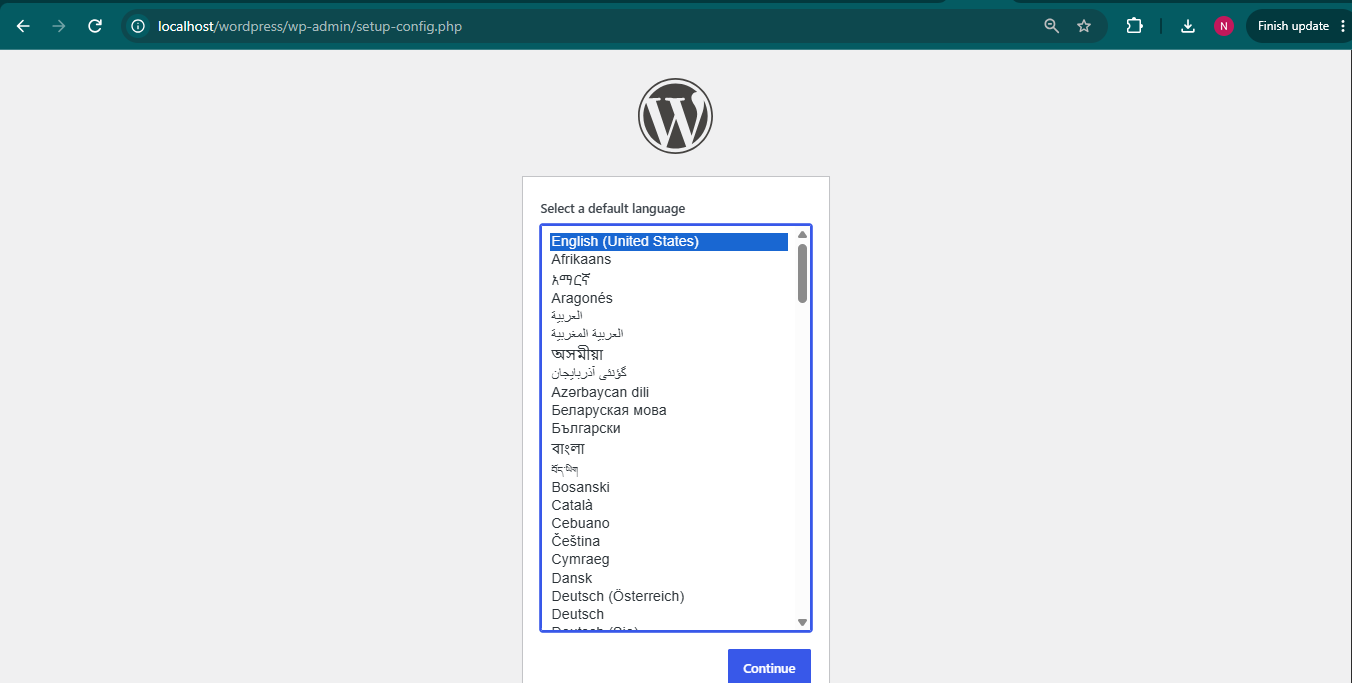
Open your web browser and visit:
http://localhost/mywebsite/wp-admin/setup-config.phpReplace:
mywebsitewith the actual folder name you created.
If everything is configured correctly, the WordPress setup screen will appear.
Configure the Database Connection
WordPress will request database information.
Enter the following:
- Database Name – your_database_name (Use the database created in phpMyAdmin.)
- Username – root
- Password – Leave blank.
- Database Host – localhost
- Table Prefix – wp_
After entering the information, click Submit.
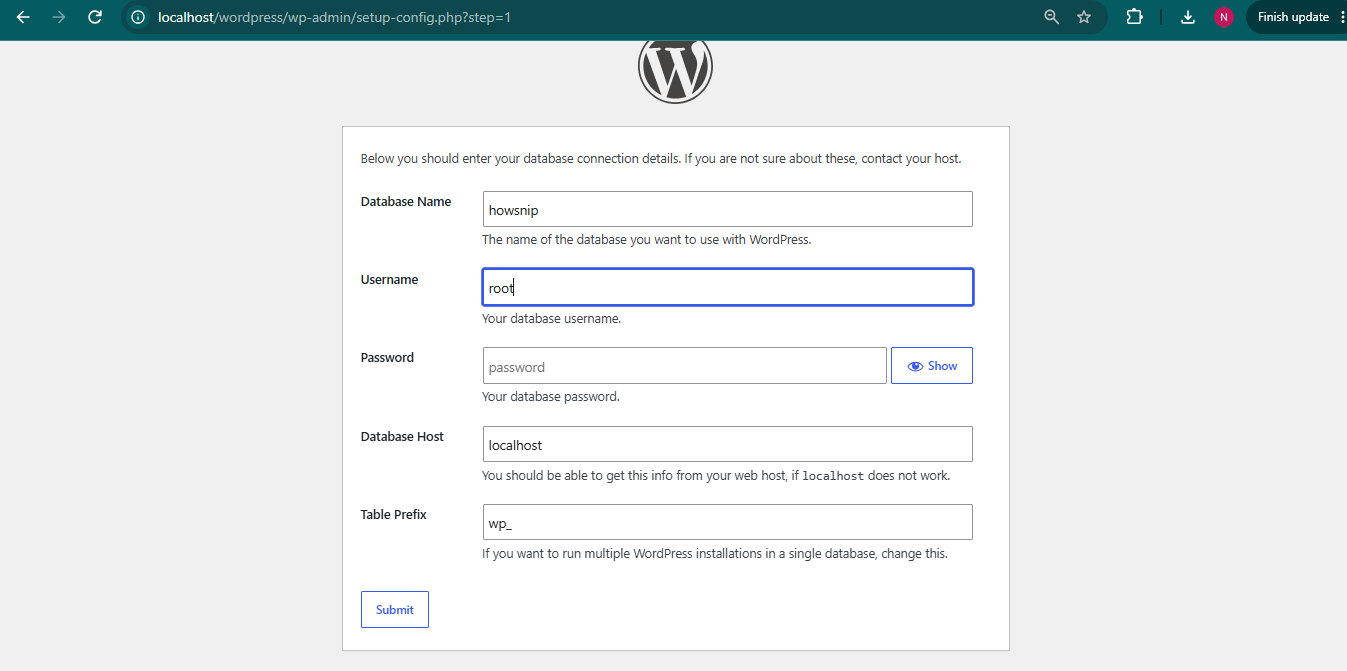
If the connection succeeds, continue with the installation.
Complete the Installation
WordPress will ask for:
- Site Title
- Administrator Username
- Administrator Password
- Email Address
Enter your preferred settings, then click:
Install WordPress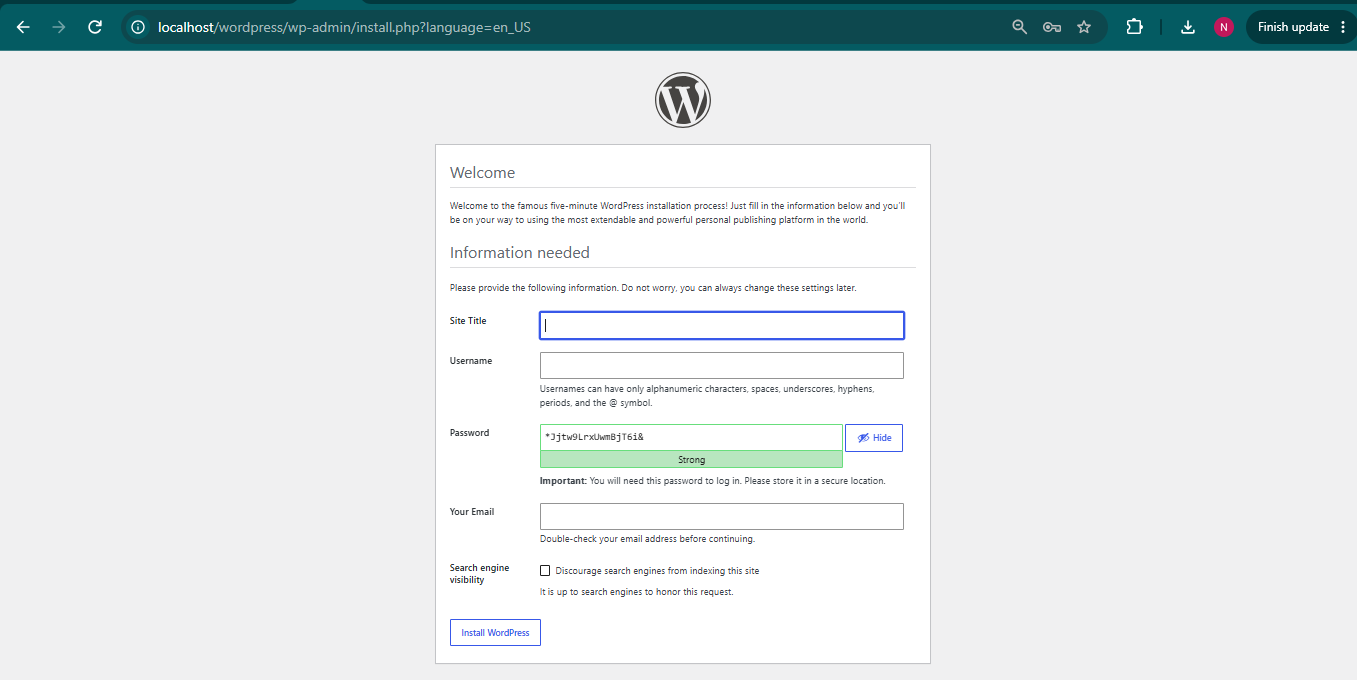
After installation is complete, WordPress will display a success message.
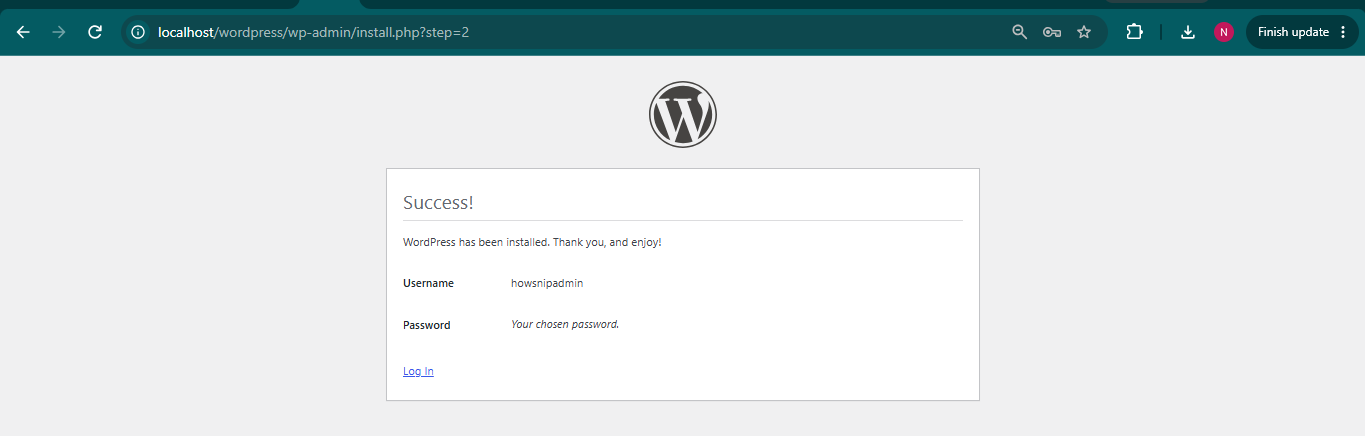
Click Log In and sign in using your administrator credentials.
Access Your Local WordPress Website
Once installation is finished, you can access your local site by visiting:
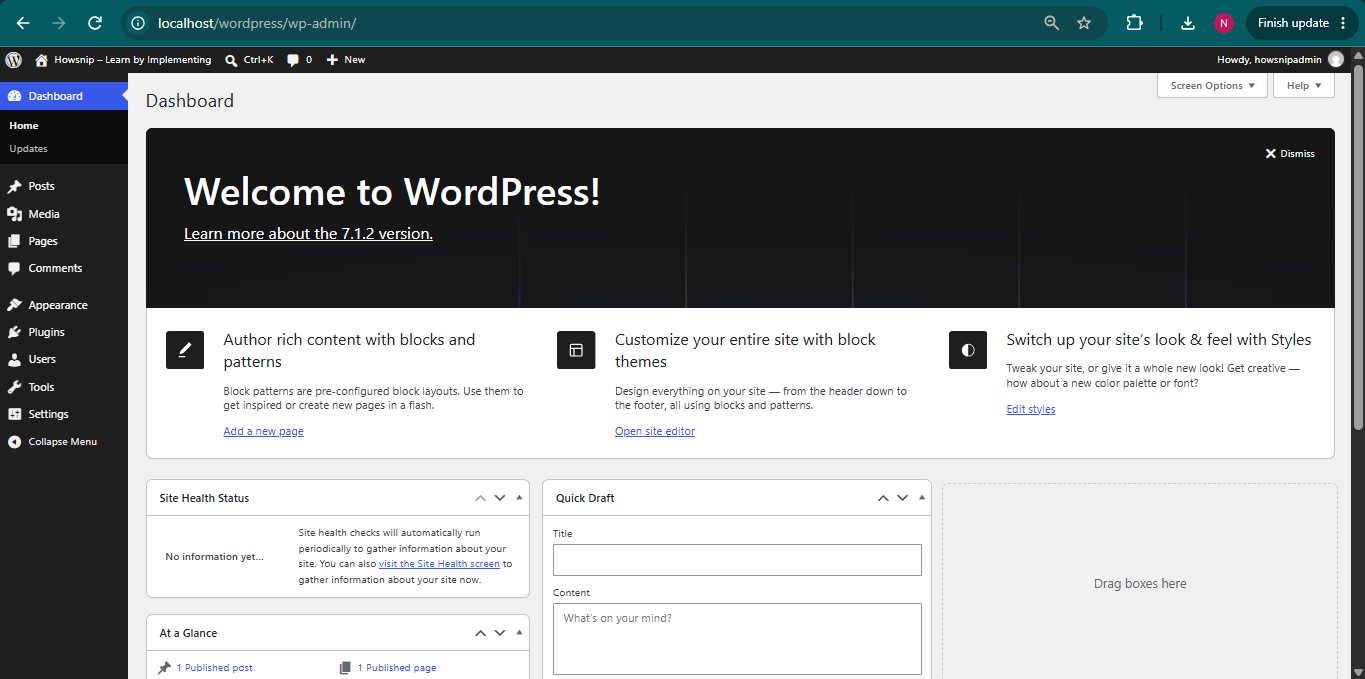
http://localhost/mywebsiteTo access the WordPress dashboard:
http://localhost/mywebsite/wp-admin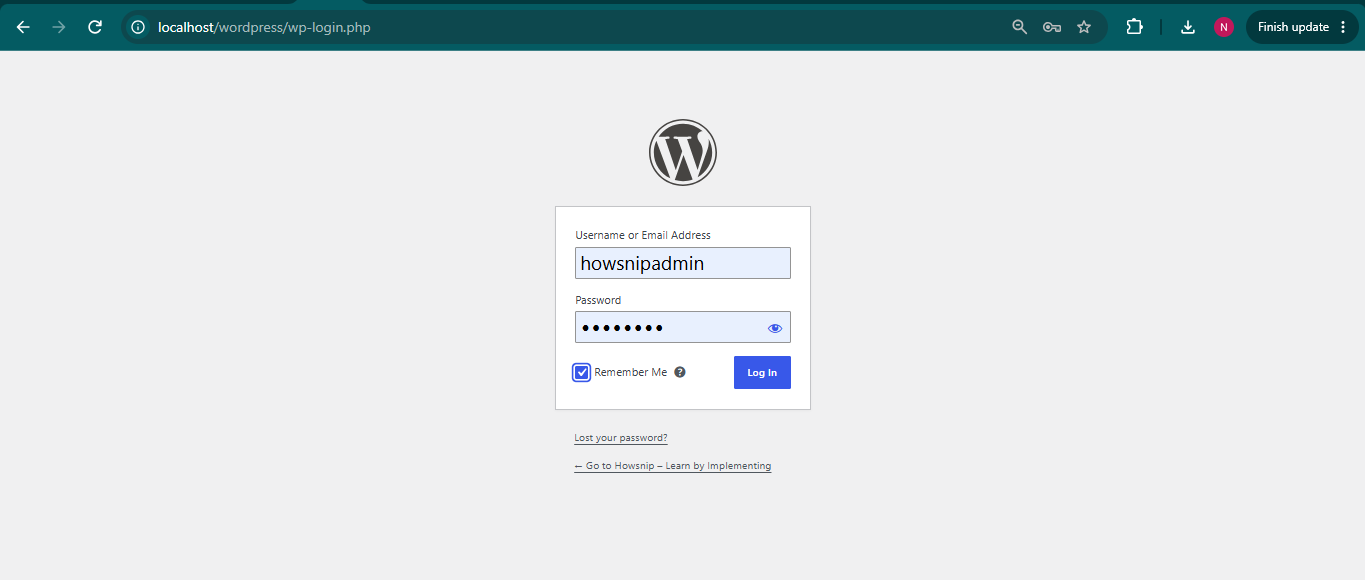
Remember that your local website will only be available when:
- XAMPP is running
- Apache is running
- MySQL is running
If you close XAMPP or stop these services, the website will become inaccessible until they are started again.
Conclusion
Installing WordPress locally with XAMPP is a simple way to create a safe development and testing environment on Windows.
By installing XAMPP, creating a database in phpMyAdmin, and running the WordPress setup wizard, you can have a fully functional local WordPress website running in just a few steps. This setup is ideal for learning WordPress, testing updates, developing themes, and experimenting with plugins before deploying changes to a live site.