

Setting up your own Git server gives you complete control over your repositories and allows team members to collaborate securely using SSH. In this tutorial, you’ll learn how to install Git on Ubuntu, create a dedicated Git user, configure SSH access, create a bare repository, and clone it from a client machine.
This guide is suitable for both beginners and experienced Linux administrators who want to host Git repositories on their own server.
Prerequisites
Before you begin, make sure you have:
- An Ubuntu server with sudo privileges
- Access to a terminal
- SSH connectivity to the server
- A client machine where Git is installed
Step 1: Install Git on Ubuntu
First, update the package repository information on your server.
sudo apt-get update
Next, install Git:
sudo apt-get install git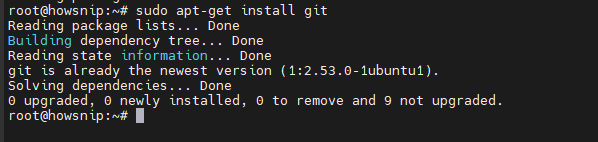
After installation, verify that Git is available:
git --version
The command should display the installed Git version.
Step 2: Create a Dedicated Git User
Using a separate user account for Git repositories is considered a best practice. It helps isolate repository management from your regular administrative account.
Create a new user named git:
sudo adduser git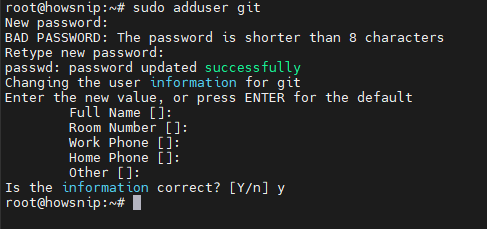
During the process, you’ll be prompted to create a password and provide optional user details.
Step 3: Create a Directory for Git Repositories
Create a central location where all Git repositories will be stored.
sudo mkdir /usr/local/git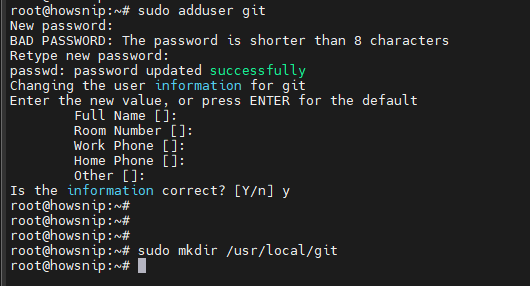
This directory will hold your bare repositories.
Step 4: Assign Ownership to the Git User
To ensure the Git user can manage repositories within the directory, change its ownership.
sudo chown git:git /usr/local/git
This grants the git user permission to read, write, and manage files in the repository directory.
Step 5: Switch to the Git User
Log in as the newly created Git user.
su -l git
Your command prompt should now indicate that you’re operating as the git user.
Step 6: Create a Bare Git Repository
A bare repository is commonly used on Git servers because it stores repository data without a working directory.
Navigate to the repository directory if necessary and create a new bare repository:
git init --bare myproject.git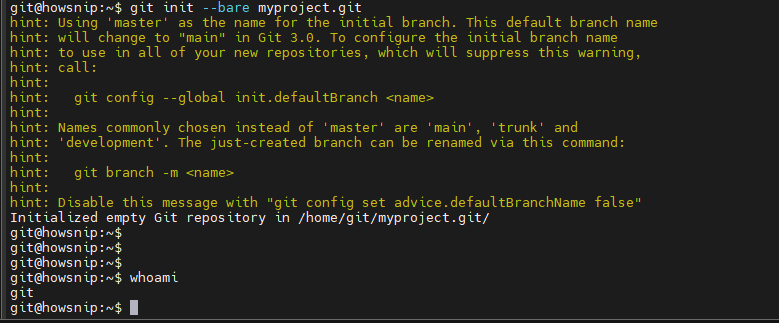
This creates a bare repository named:
/usr/local/git/myproject.gitNote: Bare repositories are intended for sharing and collaboration. Developers clone these repositories to their local machines and push changes back to the server.
Step 7: Configure SSH Key Authentication
SSH keys allow secure authentication without requiring a password for every Git operation.
Generate an SSH Key on the Client Machine
Run the following command on your local machine:
ssh-keygen -t rsa -b 4096
After the command completes:
- A public key (id_rsa.pub) will be generated.
- The key is typically stored in the ~/.ssh/ directory.
- You’ll use this public key to authorize access to the Git server.
Add the Public Key to the Server
Copy the contents of your public key and append it to the authorized_keys file for the git user:
echo "ssh-rsa <your-public-key>" >> ~/.ssh/authorized_keys
Replace <your-public-key> with the actual contents of your id_rsa.pub file.
This allows the server to authenticate connections using your SSH key.
Step 8: Allow SSH Access for the Git User
To explicitly permit the git user to connect through SSH, edit the SSH server configuration file:
sudo nano /etc/ssh/sshd_configAdd the following line at the end of the file:
AllowUsers gitSave the file and exit the editor.
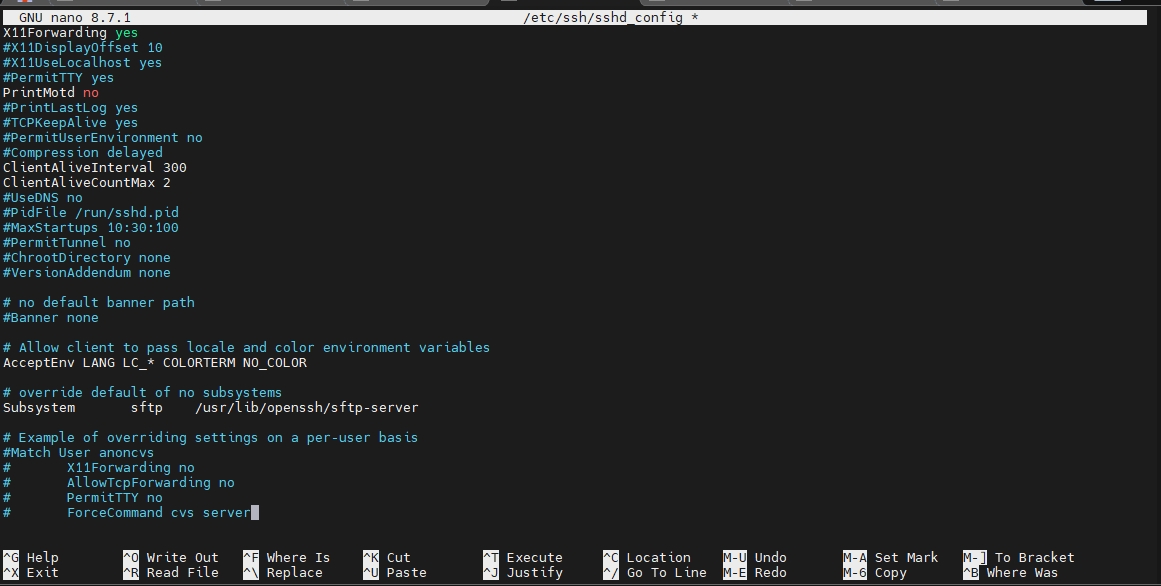
Warning: If you are currently managing the server through SSH using a different account, use caution when adding AllowUsers git. This setting can prevent other users from logging in via SSH.
Step 9: Restart the SSH Service
After modifying the SSH configuration, restart the SSH service so the changes take effect:
sudo service ssh restart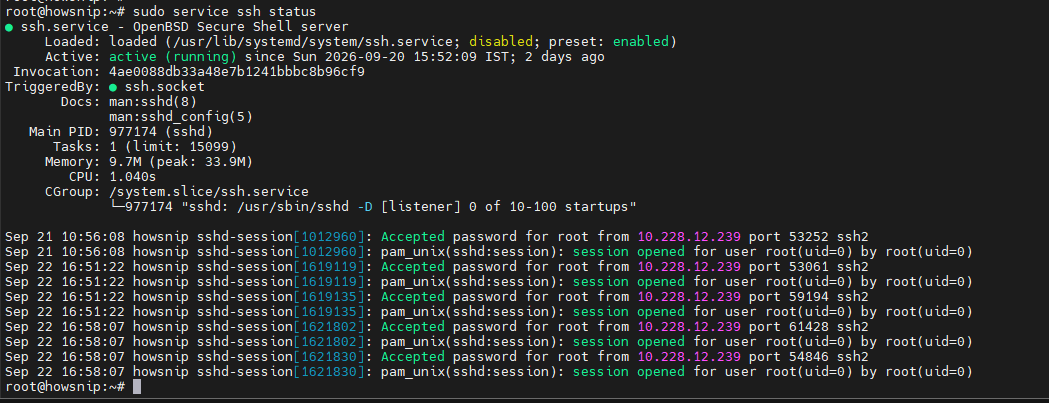
Step 10: Clone the Repository from the Server
Once the server is configured, clone the repository from your local machine:
git clone git@server:/usr/local/git/myproject.git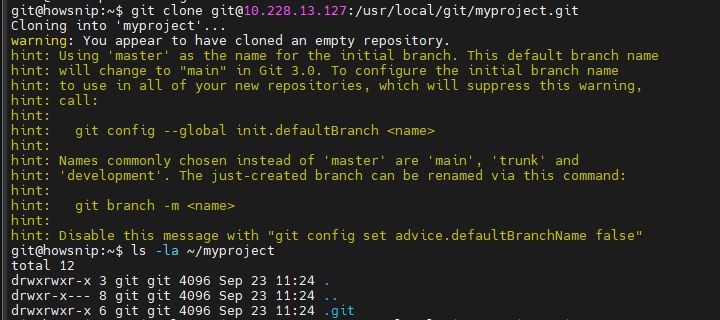
Replace server with your server’s hostname or IP address. If SSH authentication is configured correctly, Git will clone the repository to your local system.
Verify the Setup
To confirm everything is working:
- Clone the repository.
- Create a test file locally.
- Commit the changes.
- Push the commit back to the server.
If the push succeeds, your Git server is functioning correctly.
Conclusion
You have successfully set up a Git server on Ubuntu using a dedicated Git user, SSH authentication, and a bare repository.
This configuration provides a simple and secure way to host Git repositories on your own infrastructure. With the server in place, you can start creating additional repositories and allow team members to collaborate using standard Git workflows.