
Redis is one of the most popular in-memory data stores used for caching, session storage, message queues, and real-time applications. Because Redis keeps data in memory instead of constantly reading from disk, it can deliver extremely fast responses and help improve application performance.
In this tutorial, you’ll learn how to install Redis on Ubuntu 24.04, verify the installation, manage the Redis service, apply basic security settings, configure persistence, monitor performance, and remove Redis when needed.
Note: This guide is suitable for both beginners and experienced Linux users. Screenshots can be placed after each major step to help readers follow along.
What Is Redis?
Redis (Remote Dictionary Server) is an open-source in-memory data structure store. It supports data types such as:
- Strings
- Hashes
- Lists
- Sets
- Sorted Sets
Unlike traditional databases that primarily store data on disk, Redis keeps active data in memory for extremely fast access. This makes it ideal for Application caching, User session storage, Real-time analytics, Leaderboards, Message queues and Rate limiting.
Because of its speed and simplicity, Redis is commonly used alongside web applications and databases to reduce latency and improve performance.
Prerequisites
Before you begin, make sure you have:
- An Ubuntu 24.04 server or desktop system.
- A non-root user with sudo privileges.
- Basic familiarity with the Linux terminal.
- Adequate system resources (RAM and CPU) for Redis workloads.
- Network and firewall settings that allow Redis communication when required.
Redis Installation Overview
The installation process consists of the following steps:
- Update system packages.
- Install Redis from Ubuntu repositories.
- Verify the installation.
- Start and enable the Redis service.
- Test Redis connectivity.
Step 1: Update System Packages
Before installing any software, update your package index and upgrade existing packages. This helps prevent compatibility issues and ensures your system is up to date.
Run the following commands:
sudo apt update
sudo apt upgrade -y
Wait for the process to complete before proceeding.
Step 2: Install Redis on Ubuntu 24.04
Redis is available directly from the Ubuntu package repository, so no additional repositories are required.
Install Redis using:
sudo apt install redis-server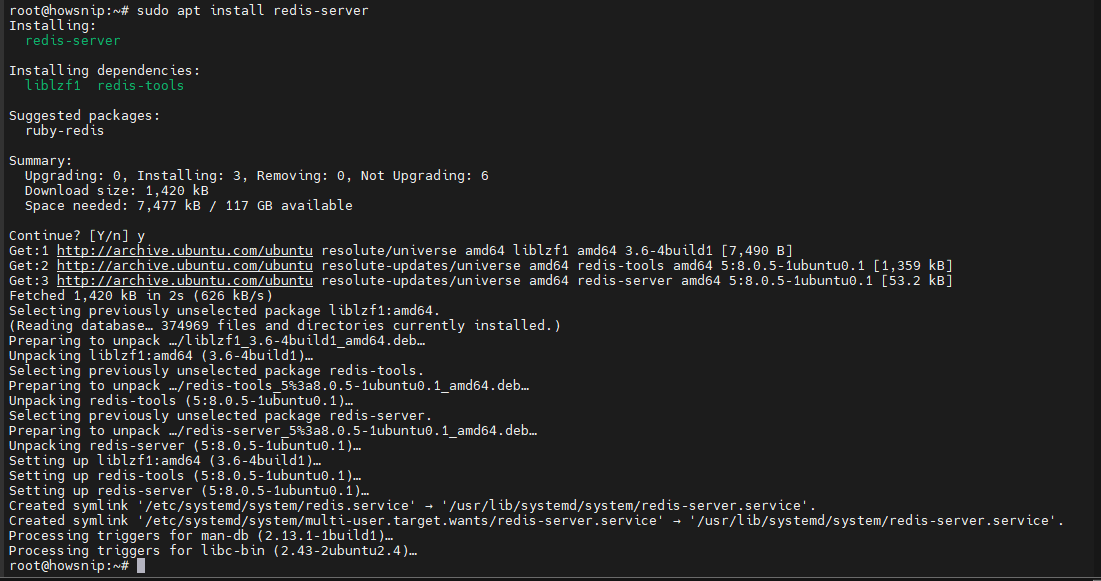
After installation, verify the installed version:
redis-server --version
If Redis is installed successfully, the command will display the installed Redis version.
Step 3: Verify the Redis Installation
Once Redis is installed, verify that the necessary files and packages are available.
Check the Redis Binary Location
which redis-server
This command shows the location of the Redis server executable.
Verify Installed Redis Packages
dpkg -l | grep redis
This lists Redis-related packages currently installed on the system.
Check Redis Service Status
systemctl status redisStep 4: Start and Enable the Redis Service
Redis often starts automatically after installation. If it isn’t running, start it manually.
Start Redis
sudo systemctl start redisThis starts the Redis server immediately.
Enable Redis at Boot
sudo systemctl enable redis-server.service
Enabling the service ensures Redis starts automatically whenever the server reboots.
Verify Service Status
Run:
systemctl status redisIf Redis is working correctly, you should see an active (running) status.
Step 5: Test the Redis Connection
Redis includes a command-line client called redis-cli that allows you to communicate with the server.
Launch the Redis CLI:
redis-cli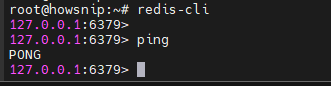
Once connected, test communication with the Redis server:
pingExpected output:
PONG
The PONG response confirms that Redis is running and accepting commands.
Exit the Redis CLI:
exit
Configuring Redis
The primary Redis configuration file is located at:
/etc/redis/redis.confBefore making changes, it’s a good practice to create a backup of the configuration file.
Open the configuration file:
sudo vim /etc/redis/redis.conf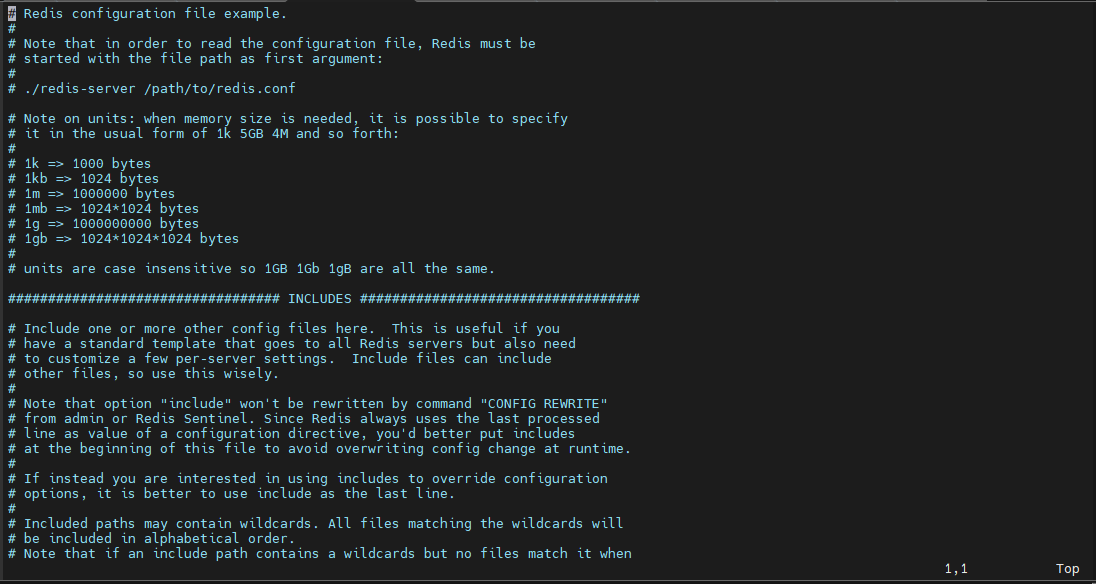
Bind Redis to Localhost for Security
By default, Redis is intended to listen only on the local machine.
Locate the bind directive and ensure it includes:
bind 127.0.0.1 ::1If the line is commented out, remove the # character.
After saving the file, restart Redis:
sudo systemctl restart redis
Important: Restricting Redis to localhost helps prevent unauthorized remote access.
Set a Password for Redis
Redis supports password authentication using the requirepass directive.
Locate the following line in redis.conf:
# requirepass foobaredRemove the comment and replace the example password:
requirepass Your-Password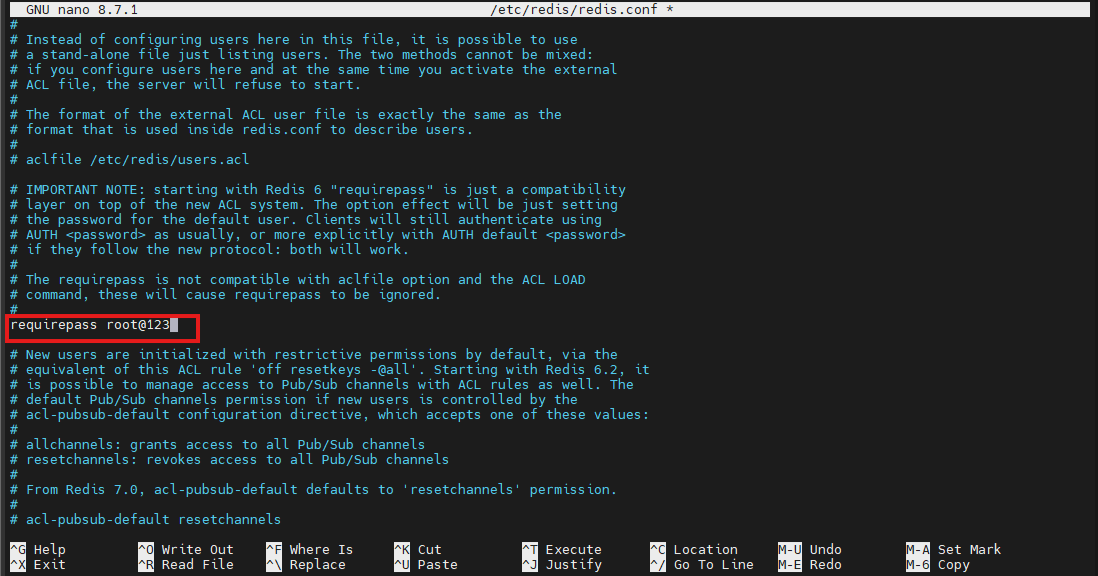
Restart Redis:
sudo systemctl restart redisAuthenticate Using the Password
Open the Redis CLI:
redis-cliAuthenticate:
auth Your-Password

If authentication succeeds, Redis will accept commands normally.
Warning: Use a strong password and avoid predictable values.
Change the Default Redis Port
Redis listens on port 6379 by default.
Locate:
port 6379
Change it if needed:
port 6380
Restart Redis:
sudo systemctl restart redisConnect using the new port:
redis-cli -p 6380
Changing the default port can help avoid conflicts with other services and adds a small additional security layer.
Configure Redis Persistence
Redis supports persistent storage so data can survive server restarts.
There are two persistence methods:
- RDB Snapshots
- AOF (Append Only File)
Configure RDB Snapshots
Locate the following settings:
save 900 1
save 300 10
save 60 10000
These rules determine when Redis automatically saves snapshots to disk.
For example:
Save after 1 change in 900 seconds.
Save after 10 changes in 300 seconds.
Save after 10,000 changes in 60 seconds.
You can adjust these values according to your workload requirements.
Enable AOF Logging
Find:
appendonly noChange it to:
appendonly yes
AOF provides stronger durability because every write operation is logged to disk.

However:
- Better data protection
- Increased disk activity
- Slightly higher system overhead
Restart Redis after saving changes:
sudo systemctl restart redisSecure Redis
Redis should never be exposed directly to the public internet unless additional security controls are in place.
Configure the Firewall
If you use UFW, you can restrict Redis access.
Allow local access:
sudo ufw allow from 127.0.0.1 to any port 6379Block external access:
sudo ufw deny 6379Even if Redis is configured correctly, firewall restrictions provide an additional security layer against unauthorized access.
Verify Protected Mode
Redis includes a built-in protection mechanism called Protected Mode.
Locate:
protected-mode yesLeave this enabled.
Restart Redis after any changes:
sudo systemctl restart redisProtected mode helps prevent unintended remote connections when authentication is not configured.
Restrict Access to Specific IP Addresses
If remote access is necessary, allow only trusted systems.
Update the bind configuration:
bind 127.0.0.1 enter_trusted_IPReplace enter_trusted_IP with the actual address of the trusted client.
Restart Redis after updating the configuration. This approach is much safer than allowing unrestricted network access.
Tune Redis for Better Performance
Redis performs well out of the box, but memory management can be optimized for production environments.
Set Maximum Memory Usage
Locate:
# maxmemory <bytes>Specify a memory limit appropriate for your server.
Example:
maxmemory 1gb
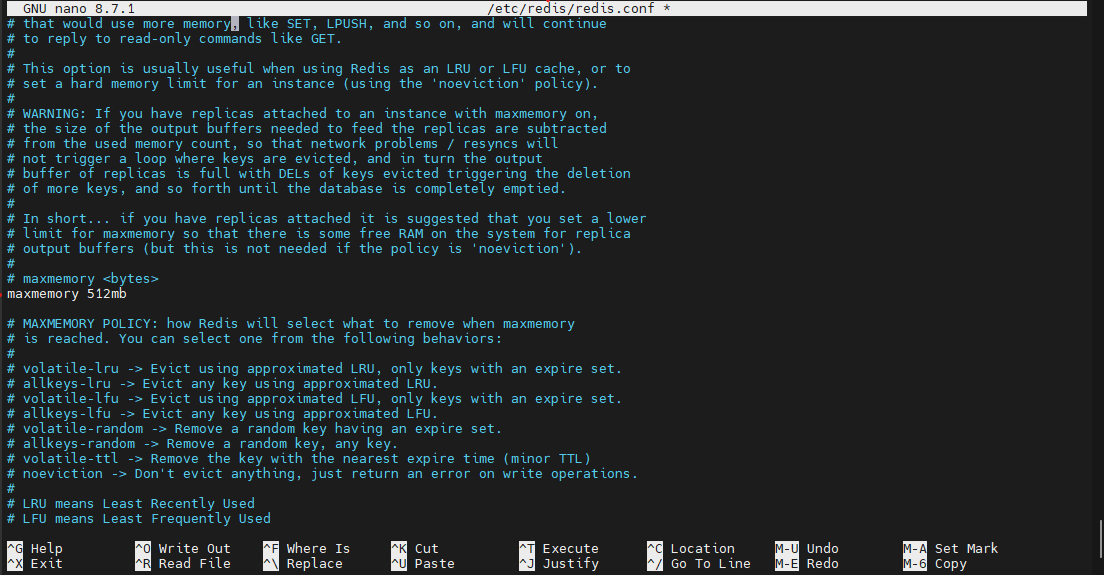
Choose a value that leaves enough RAM available for the operating system and other applications.
Configure an Eviction Policy
Set an eviction policy such as:
maxmemory-policy allkeys-lruThe allkeys-lru policy removes the least recently used keys when the configured memory limit is reached.
Restart Redis after making changes.
Run Redis as a Background Service
Redis normally runs as a service under systemd on Ubuntu.
If you need daemon mode, locate:
daemonize yesThis instructs Redis to run in the background.
After modifying the configuration, restart Redis:
sudo systemctl restart redisMonitor Redis Performance
Redis includes several built-in monitoring commands.
If authentication is enabled, authenticate before running these commands.
Monitor Live Activity
redis-cli monitorCheck Memory Usage
redis-cli info memory
It shows memory consumption and memory-related statistics.
Check CPU Usage
redis-cli info cpu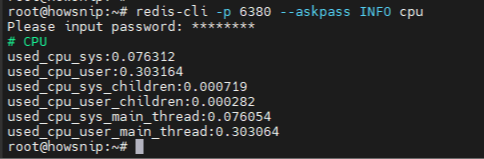
View General Server Statistics
redis-cli info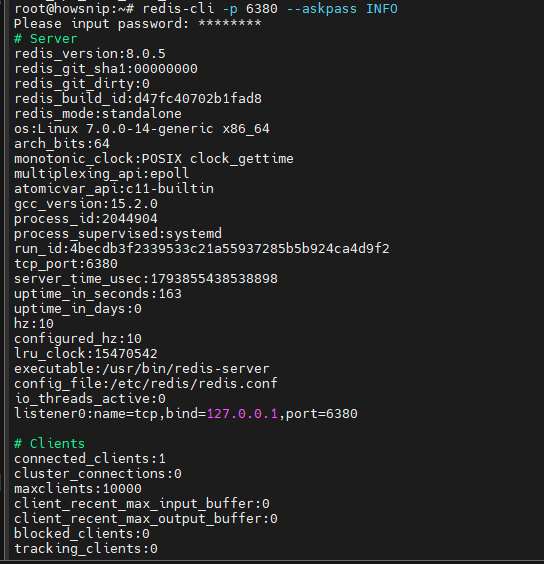
It provides detailed information about:
- Clients
- Memory
- CPU
- Persistence
- Replication
- Server status
Uninstall Redis
If you no longer need Redis, remove it completely from the system.
Stop the Redis Service
sudo systemctl stop redisRemove the Redis Package
sudo apt remove redis -yThis removes the main Redis package.
Remove Configuration Files
sudo apt purge redis -yThis removes package configuration files as well.
Delete Remaining Redis Files
sudo rm -rf /etc/redis
Clean Unused Dependencies
sudo apt autoremove -yThis removes packages that are no longer required.
Warning: Ensure you no longer need Redis data before deleting configuration directories.
Cloud-hosted Redis deployments are often preferred for applications that require consistent performance and high availability.
Conclusion
Installing Redis on Ubuntu 24.04 is a straightforward process that provides a powerful and high-performance data store for modern applications. In this guide, you learned how to install Redis, verify the deployment, manage the service, secure access with passwords and firewall rules, configure persistence, monitor system performance, and remove Redis when necessary.
With Redis running on Ubuntu 24.04, you have a fast and reliable platform for caching, session management, real-time workloads, and application performance optimization.