

Running WordPress on your local Linux machine is a great way to develop websites, test plugins, explore themes, or learn WordPress without purchasing hosting or a domain name. One of the most common methods is to install a LAMP stack, which includes Apache, MySQL, and PHP.
This tutorial walks through the complete process of setting up a local WordPress installation on Linux, from installing the required software to launching your WordPress site in a browser.
Prerequisites
Before you begin, make sure you have:
- A Linux system with terminal access
- Administrative (sudo) privileges
- An internet connection to download packages and WordPress files
Step 1: Install the LAMP Stack
A LAMP stack consists of:
- Linux (your operating system)
- Apache (web server)
- MySQL (database server)
- PHP (server-side scripting language)
Install Apache
Start by updating your package list and installing Apache:
sudo apt update
sudo apt install apache2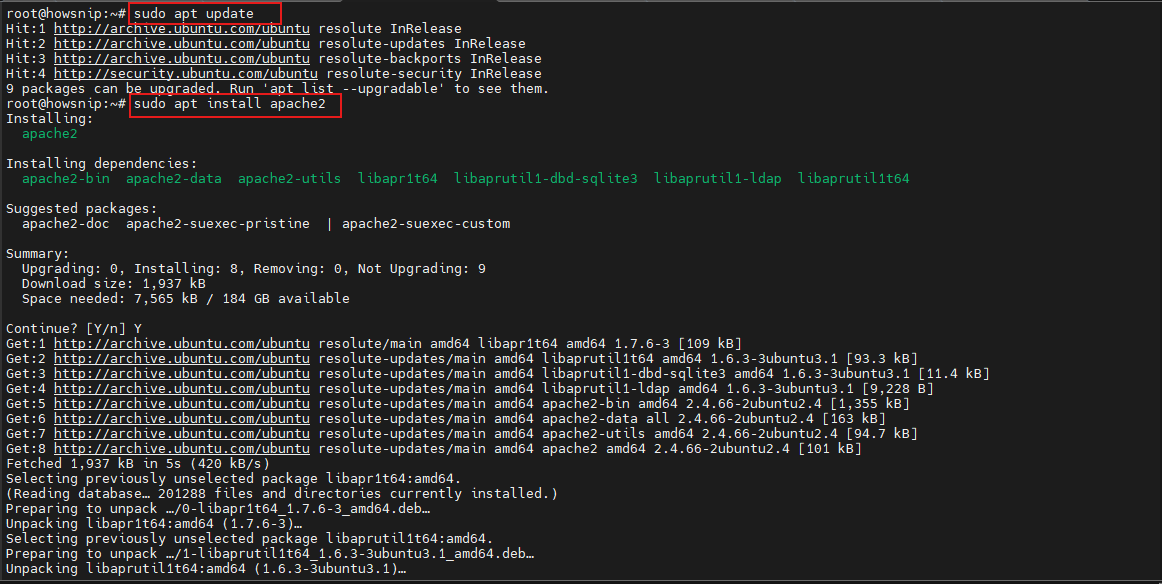
During installation, you may be prompted to confirm the download. Enter Y and press Enter to continue.
Once installation is complete, Apache typically starts automatically.
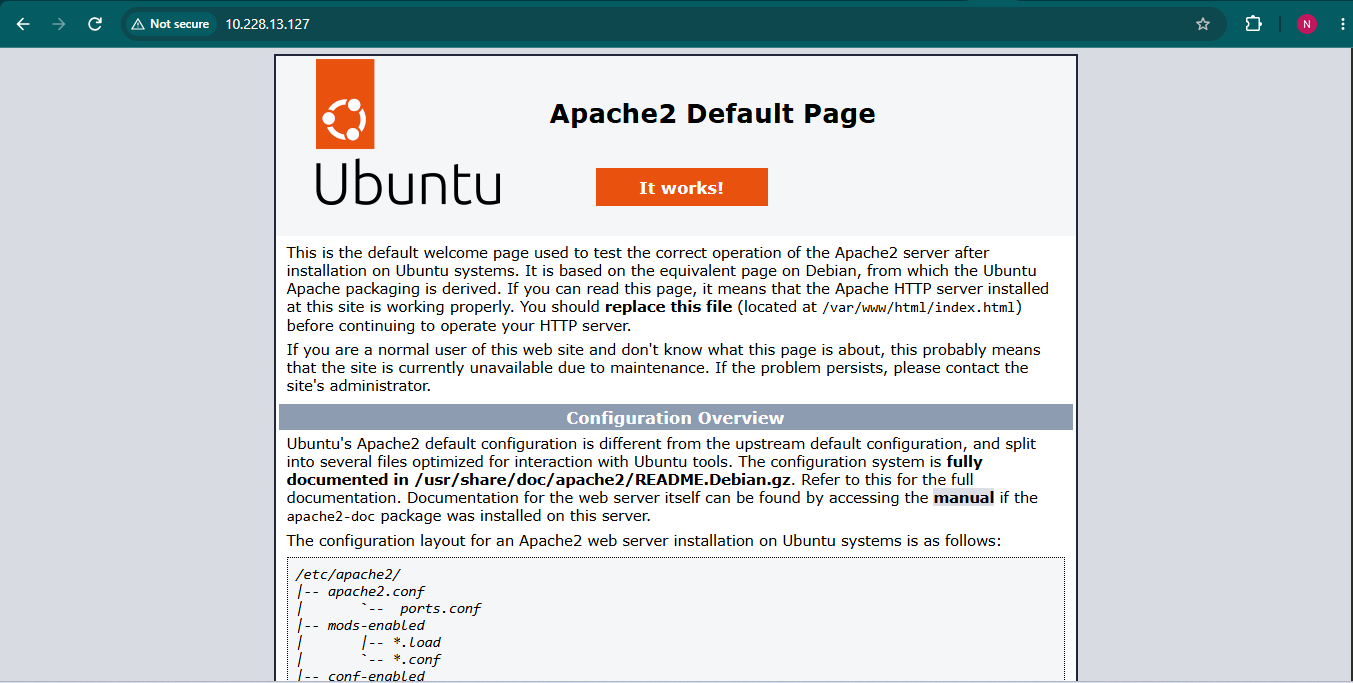
Verify Apache Is Running
Open your web browser and visit:
http://localhostIf Apache is working correctly, you should see the default Apache welcome page.
Install MySQL
Next, install MySQL:
sudo apt install mysql-server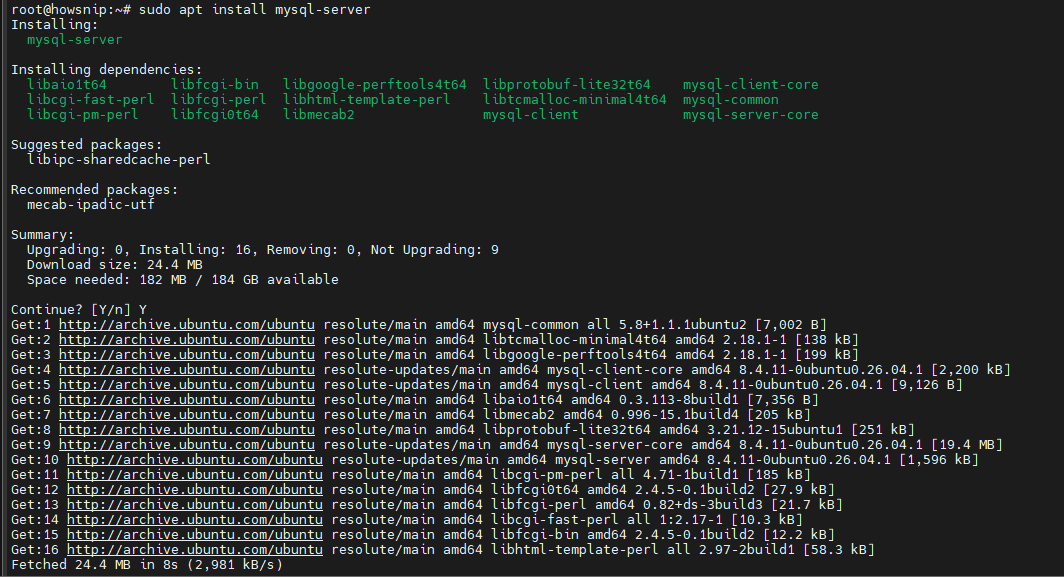
After installation, verify that the MySQL server is running:
sudo mysqlIf the connection is successful, you’ll enter the MySQL shell.
Exit the shell using:
exit
Install PHP
Install PHP and the required Apache and MySQL integration packages:
sudo apt install php libapache2-mod-php php-mysql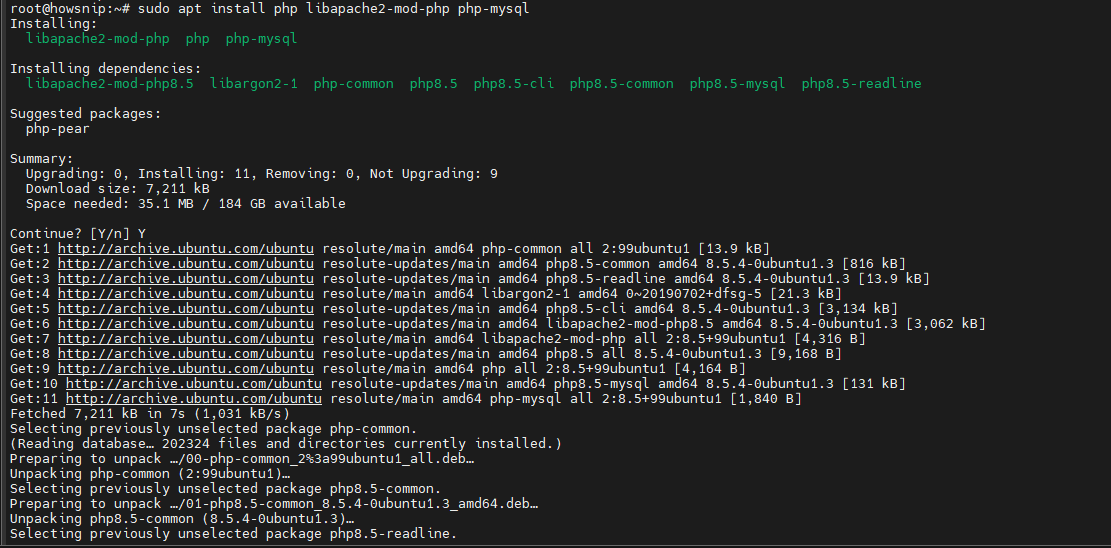
After this step, all core components of the LAMP stack will be installed.
Step 2: Configure the LAMP Environment
The default configuration is suitable for most local WordPress installations. However, it’s useful to understand where WordPress will be stored and how to modify server settings if needed.
Check the Apache Document Root
By default, Apache uses the following web root directory:
/var/www/htmlThis is where WordPress will be installed.
If you want to change the document root, open the Apache configuration file:
sudo nano /etc/apache2/apache2.conf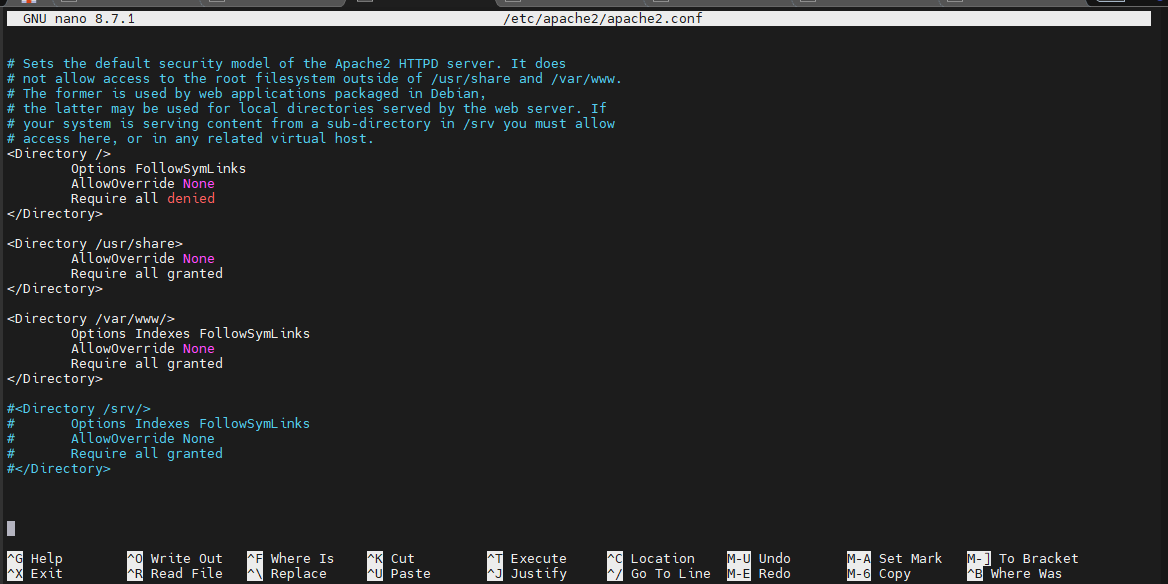
Look for the directory configuration section:
<Directory /var/www/>
Options Indexes FollowSymLinks
AllowOverride None
Require all granted
</Directory>
You can modify the directory path if you want Apache to serve files from a different location.
Save your changes and exit the editor when finished.
Modify Apache Listening Ports (Optional)
Apache listens on ports 80 (HTTP) and 443 (HTTPS) by default.
To change the ports, edit the ports configuration file:
sudo nano /etc/apache2/ports.confLook for entries such as:
Listen 80You can add, remove, or modify the port values as needed.
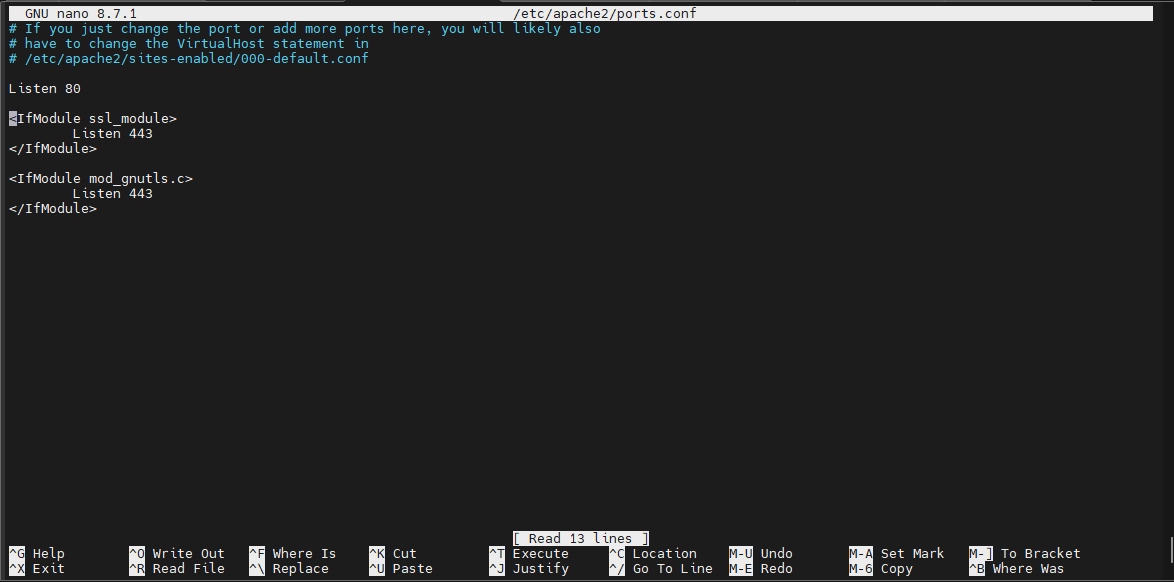
Save the file after making changes.
Important: If you change Apache ports, you’ll need to include the new port number when accessing the site in your browser.
Modify the MySQL Port (Optional)
MySQL uses port 3306 by default.
To change it, edit the MySQL configuration file:
sudo nano /etc/mysql/mysql.conf.d/mysqld.cnfLocate the line containing:
port = 3306Replace the port number if required, then save your changes.
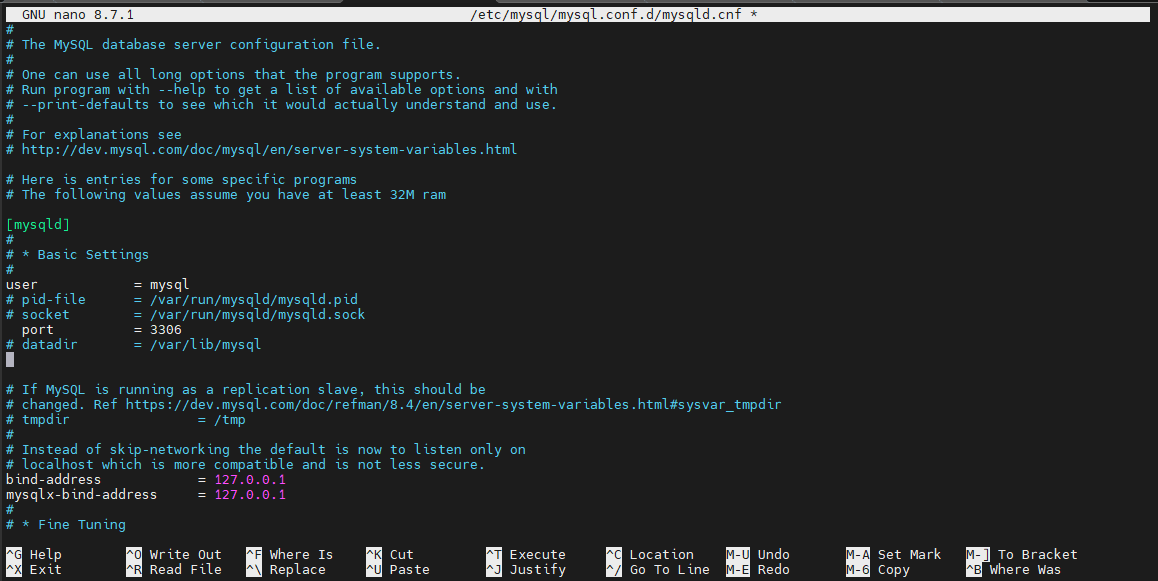
Step 3: Secure MySQL and Create a WordPress Database
Before creating a database, it’s recommended to secure your MySQL installation.
Run the MySQL Security Script
Execute:
sudo mysql_secure_installationThe script will guide you through several security options, including password validation settings.
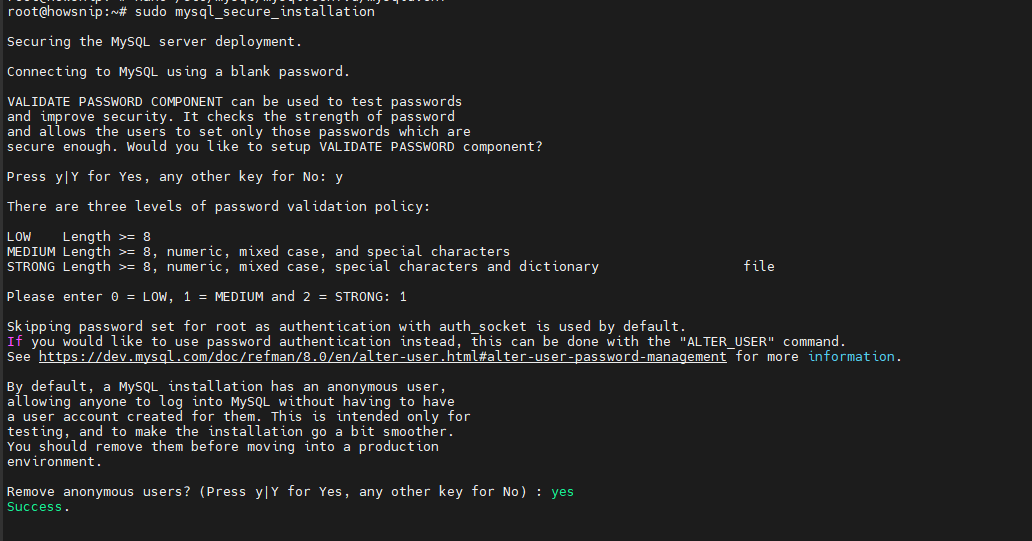
When prompted:
- Enter Y to enable password validation if desired.
- Choose your preferred password policy.
- Set a strong password for the MySQL root account.
Make sure to save this password because you’ll need it later during the WordPress installation.
Access MySQL
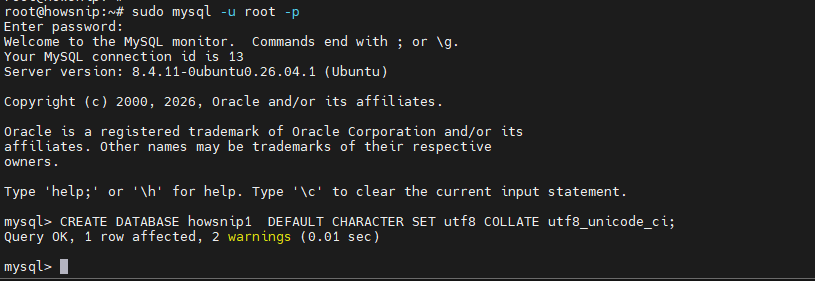
Log in using the root account:
sudo mysql -u root -pWhen prompted, enter the root password you just created.
Create a New Database
Within the MySQL shell, create a database for WordPress:
CREATE DATABASE database_name DEFAULT CHARACTER SET utf8 COLLATE utf8_unicode_ci;Replace database_name with your preferred database name. If successful, MySQL will return a Query OK message.
Verify the Database
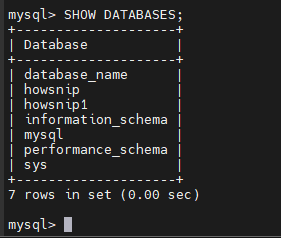
To confirm the database was created successfully, run:
SHOW DATABASES;You should see your new database listed among the results.
Exit MySQL when finished:
exitStep 4: Download and Install WordPress
With the server and database ready, you can install WordPress.
Download WordPress
Navigate to the Apache web root directory:
cd /var/www/htmlDownload the latest WordPress package:
sudo wget -c http://wordpress.org/latest.tar.gz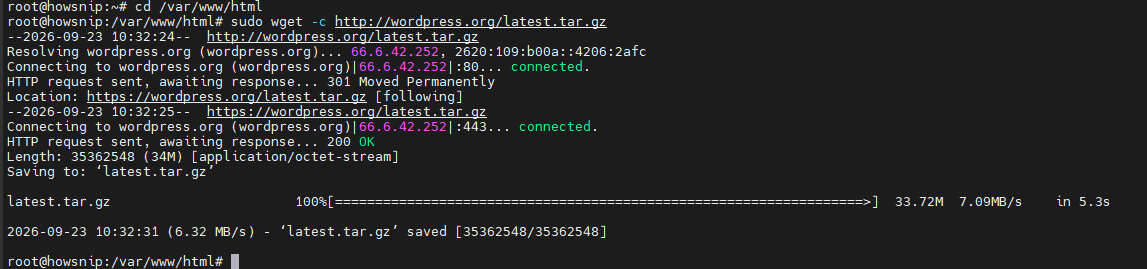
Extract the WordPress Files
Extract the downloaded archive:
sudo tar -xzvf latest.tar.gz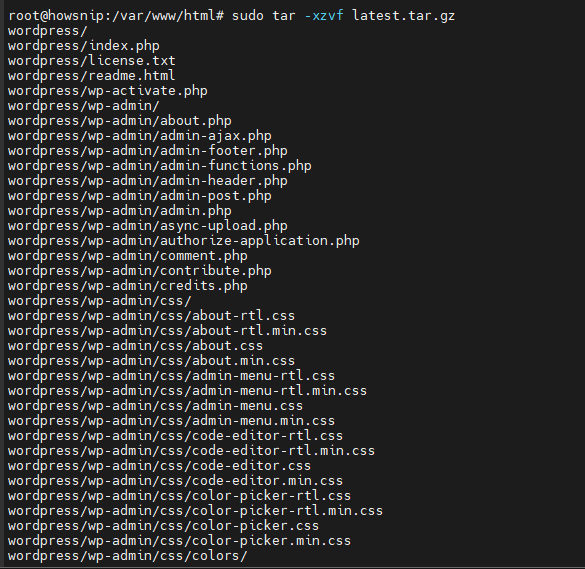
This creates a new directory:
/var/www/html/wordpressSet Directory Ownership
Grant Apache ownership of the WordPress directory:
sudo chown -R www-data:www-data /var/www/html/wordpressThis ensures the web server can access and manage WordPress files correctly.

Step 5: Complete the WordPress Installation
Open your browser and navigate to:
http://localhost/wordpressIf Apache is configured to use a custom port, include that port number in the URL.
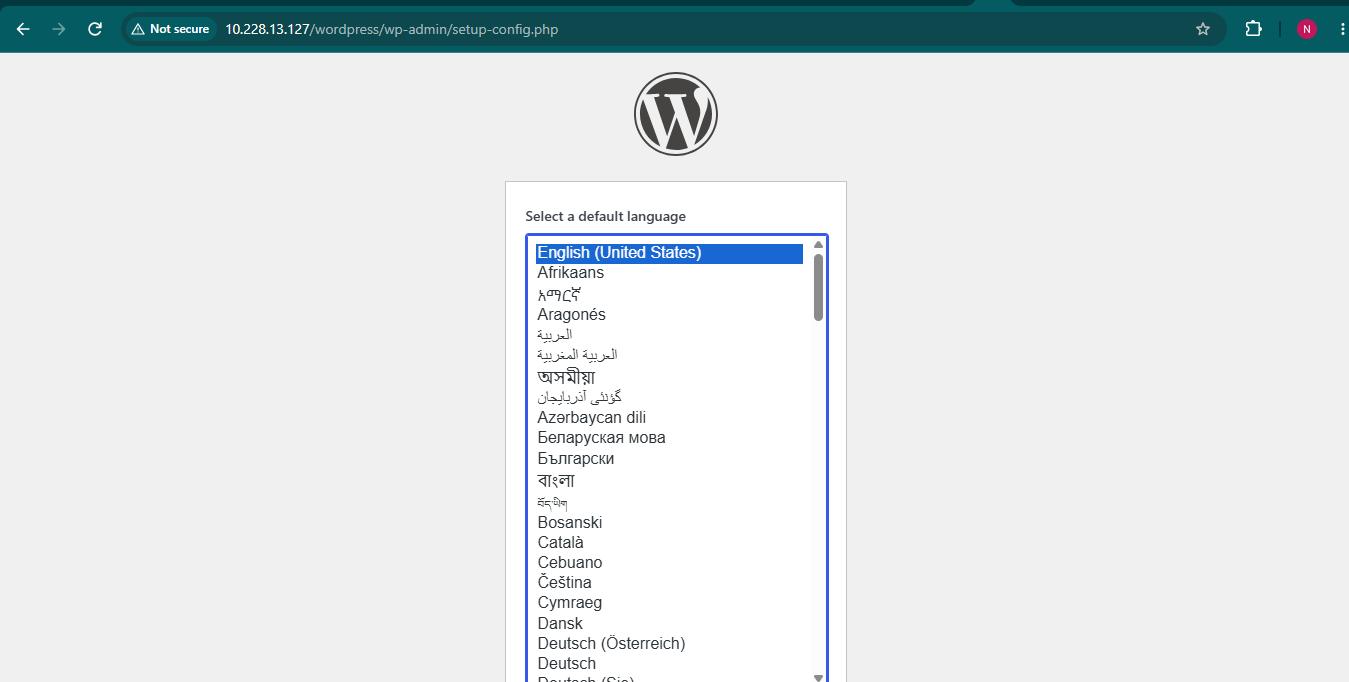
Select a Language
Choose your preferred language and continue.
Enter Database Details
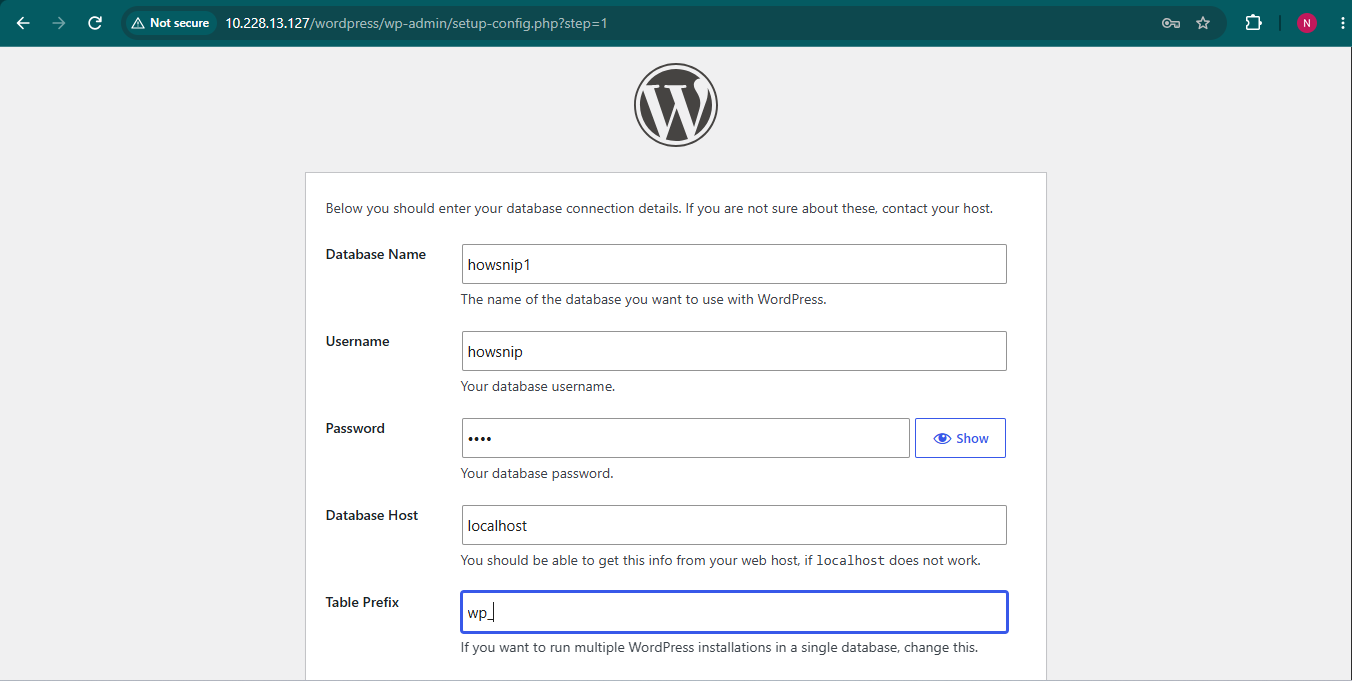
WordPress will ask for your database information.
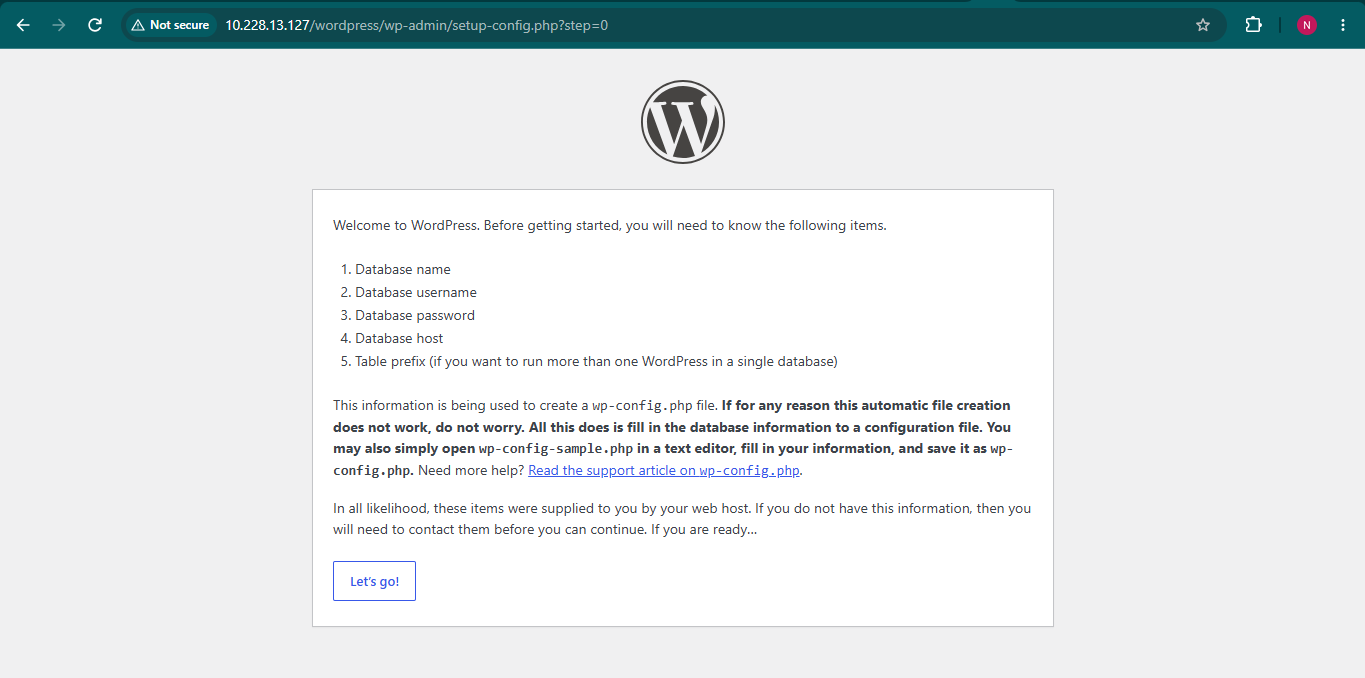
Fill in:
- Database Name: Your newly created database name
- Username: MySQL root user (or another MySQL user if configured)
- Password: MySQL password
- Database Host: Leave the default value
- Table Prefix: Leave the default value unless you have a specific reason to change it
Click Submit to continue.
Configure the Website
On the next page, enter:
- Site Title
- Administrator Username
- Administrator Password
- Email Address
Click Install WordPress. WordPress will create the required tables and finish the installation.
Log In to WordPress
After installation completes, you’ll be redirected to the WordPress login page.
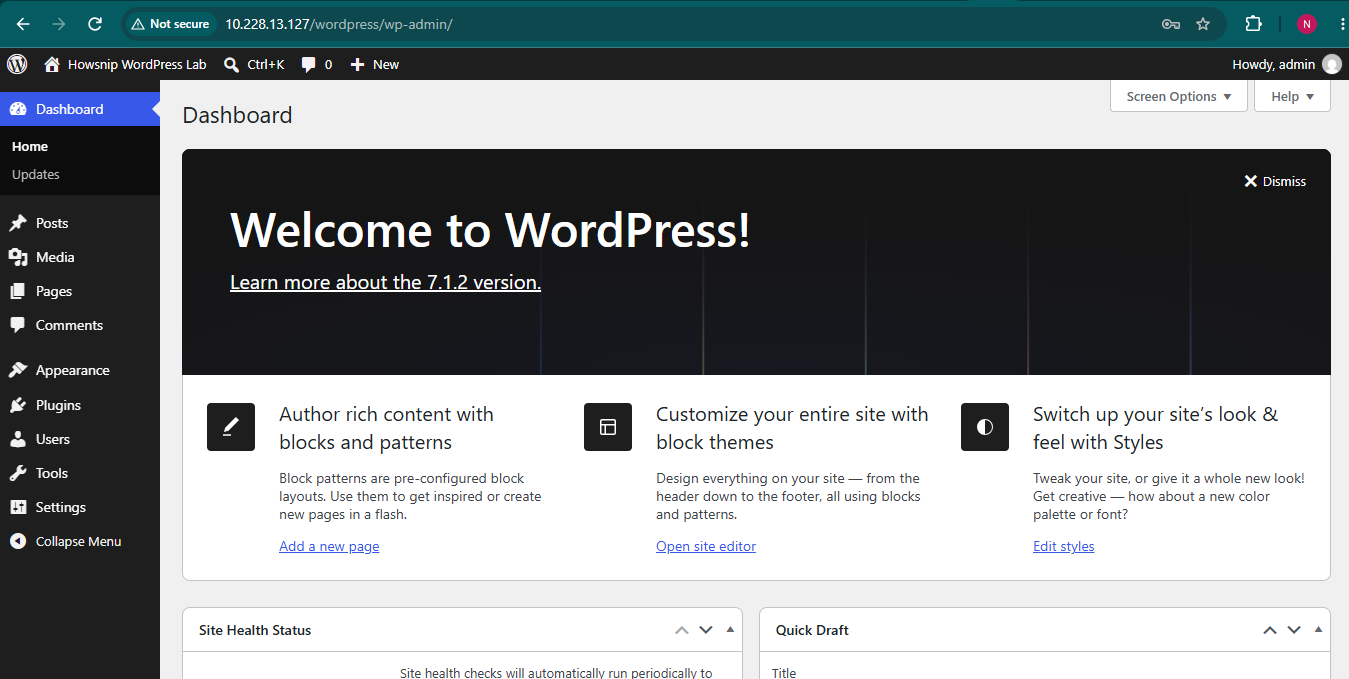
Sign in using the administrator credentials you created, and your local WordPress website will be ready to use.
Troubleshooting Tips
- If http://localhost does not load, verify that Apache is running.
- If WordPress cannot connect to the database, double-check your database name, username, and password.
- Ensure the WordPress directory ownership was updated correctly using the chown command.
- If you changed Apache or MySQL ports, verify that the new port settings match your configuration.
Conclusion
Installing WordPress locally on Linux using a LAMP stack gives you a reliable environment for development, testing, and learning.
By installing Apache, MySQL, and PHP, creating a database, and configuring WordPress, you can quickly launch a fully functional local website without requiring web hosting. Once everything is set up, you can experiment freely and develop your WordPress projects in a safe local environment.