

Samba makes it easy to share files and folders between Linux and Windows systems over a network. Whether you need a simple shared folder for home use or secure file sharing for multiple users, Samba provides a flexible solution.
In this tutorial, you’ll learn how to install Samba on Linux, create shared directories, configure user access, and manage permissions. The guide includes both guest-access and authenticated user setups, making it suitable for beginners and advanced users alike.
Prerequisites
Before you begin, make sure you have:
- A Linux system with administrative (sudo) access
- An active network connection
- Basic familiarity with the terminal
- A firewall configured to allow Samba traffic if needed
Step 1: Install Samba on Linux
Most Linux distributions include Samba in their official package repositories, making installation quick and straightforward.
Install Samba on Ubuntu and Debian
First, update your package list:
sudo apt update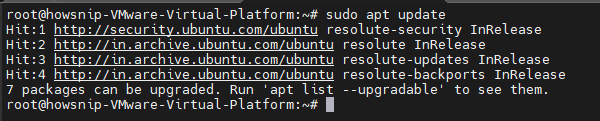
Then install Samba:
sudo apt install samba
Verify the Installation
Check the installed Samba version:
smbd --version
If the command returns a version number, Samba has been installed successfully.
Note: Updating your system before installing new packages can help avoid dependency-related issues.
Install Samba on RHEL, CentOS, or Fedora
Run the following command:
sudo dnf install samba samba-client samba-commonAfter installation, verify it with:
smbd --versionStep 2: Configure a Basic Samba Share
Samba settings are stored in the configuration file:
/etc/samba/smb.confThe following example creates a shared folder that can be accessed over the network.
Create the Shared Directory
Create a directory for sharing:
sudo mkdir -p /srv/samba/shared_folder
Set directory permissions:
sudo chmod 2775 /srv/samba/shared_folder
Configure ownership for guest access:
sudo chown nobody:nogroup /srv/samba/shared_folder
Edit the Samba Configuration File
Open the Samba configuration file:
sudo nano /etc/samba/smb.confScroll to the end of the file and add:
[SharedFolder]
path = /srv/samba/shared_folder
browsable = yes
read only = no
guest ok = yes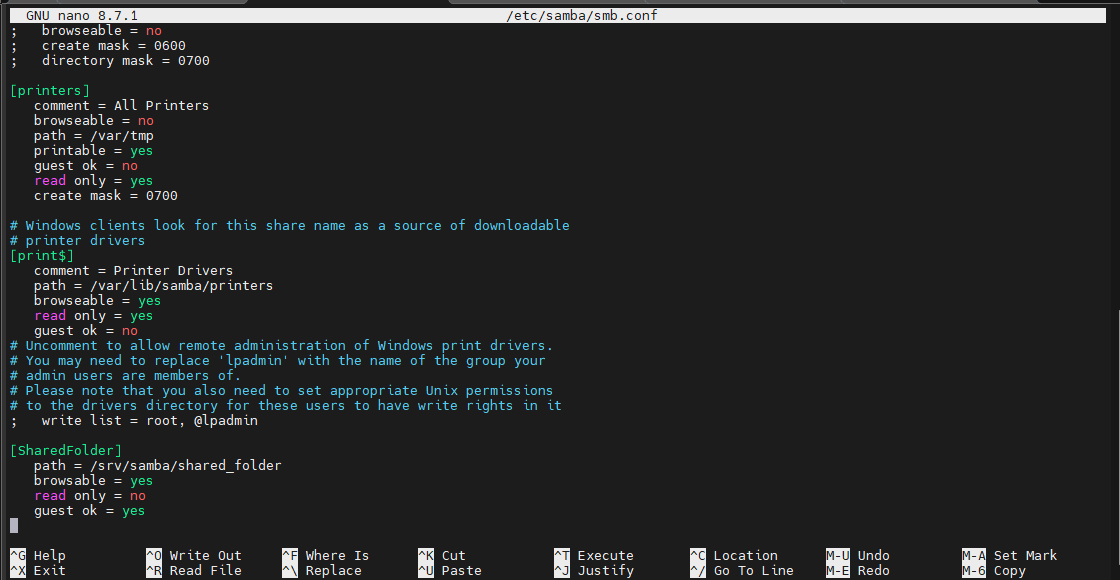
Configuration Explained
- path specifies the shared folder location.
- browsable = yes allows users to see the share.
- read only = no enables file modifications.
- guest ok = yes allows access without authentication.
Important: Guest access is convenient but less secure. For production environments, use authenticated users instead.
Restart Samba Services
Apply the configuration changes:
sudo systemctl restart smbd
Enable Samba to start automatically after reboot:
sudo systemctl enable smbd
Allow Samba Through the Firewall
If UFW is enabled, allow Samba traffic:
sudo ufw allow 'Samba'
This ensures other devices on the network can access the shared folder.
Step 3: Access the Share from Windows
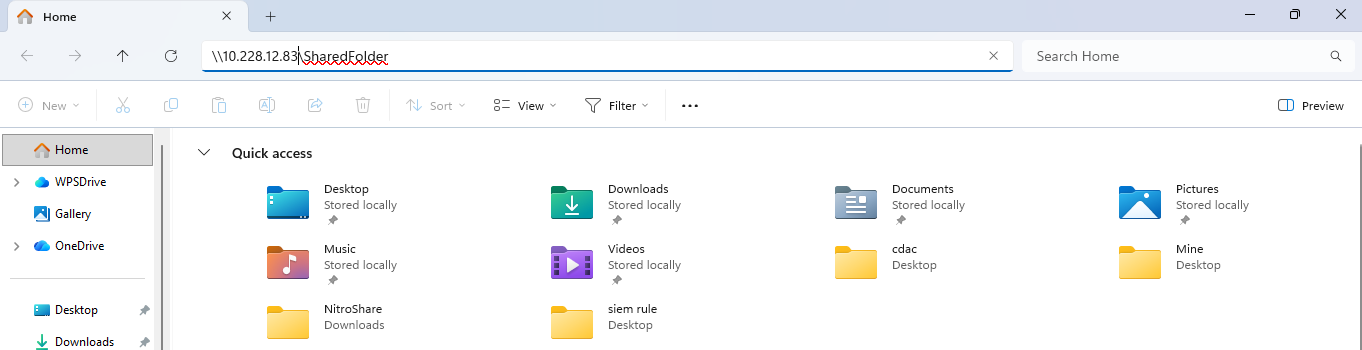
Open File Explorer on the Windows system.
In the address bar, enter:
\\<IP-address-of-Linux-machine>\SharedFolderExample:
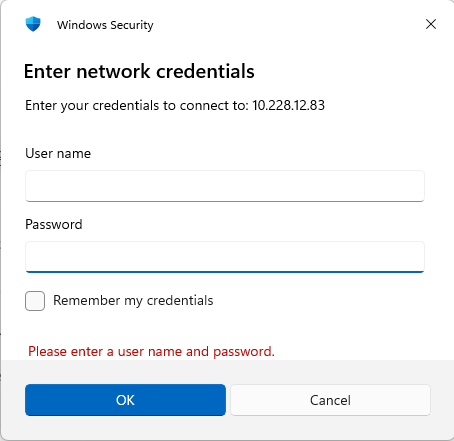
\\10.228.12.83\SharedFolderIf the Samba configuration is correct, the shared folder should open immediately.
Step 4: Add and Manage Samba Users
For secure file sharing, Samba can require users to authenticate before accessing shared resources.
Create a Linux User
Every Samba user must first exist as a Linux user account.
Create a new user:
sudo adduser sambauser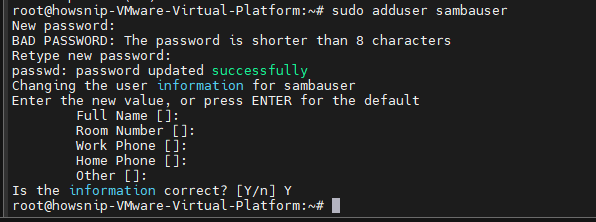
Follow the prompts to set a password and complete the account creation process.
Add the User to Samba
Create a Samba password for the user:
sudo smbpasswd -a sambauser
Enable the account:
sudo smbpasswd -e sambauser
Note: The Samba password can be different from the Linux account password.
Step 5: Create a Secure Samba Share
To restrict access to specific users, update the share configuration.
Open the configuration file:
sudo nano /etc/samba/smb.confReplace or add the following section:
[SecureShare]
path = /srv/samba/shared_folder
valid users = sambauser
guest ok = no
writable = yes
browsable = yes
What This Configuration Does
- Restricts access to sambauser
- Disables guest access
- Allows reading and writing files
- Makes the share visible on the network
Save the file and restart Samba:
sudo systemctl restart smbd
Test the Secure Share from Windows
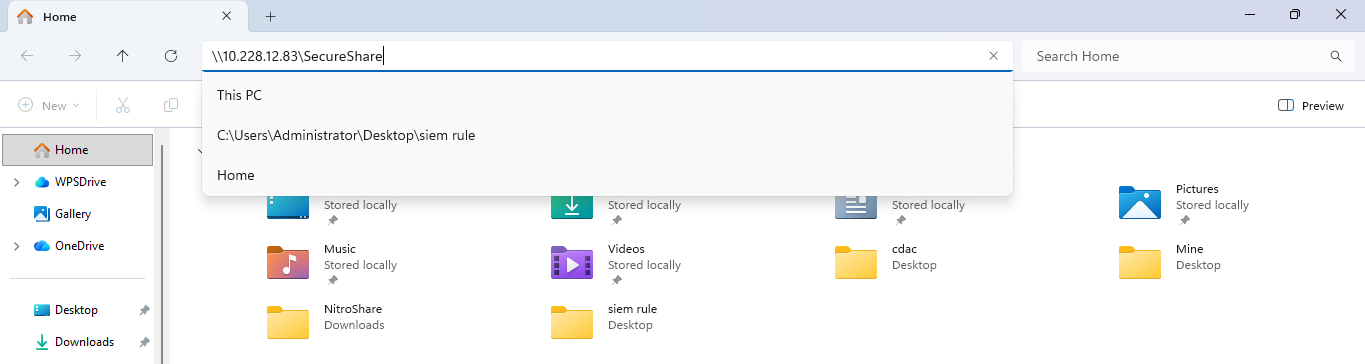
Open File Explorer and browse to:
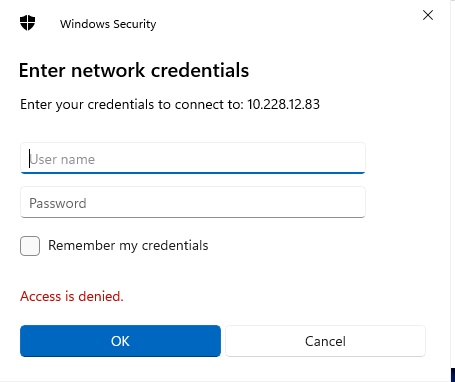
\\10.228.12.83\SecureShareWhen prompted, enter the Samba username and password created earlier.
Managing Samba Users
The following commands are useful for user administration:
Add a Samba User
sudo smbpasswd -a usernameEnable a User
sudo smbpasswd -e usernameDisable a User
sudo smbpasswd -d usernameDelete a Samba User
sudo smbpasswd -x usernameAdvanced Samba Sharing Options
Once basic file sharing is working, you can customize access permissions to better match your requirements.
Create a Read-Only Share
A read-only share allows users to view files without modifying or deleting them.
Share Configuration
[ReadOnlyShare]
path = /srv/samba/readonly
valid users = sambauser
read only = yes
guest ok = no
browsable = yes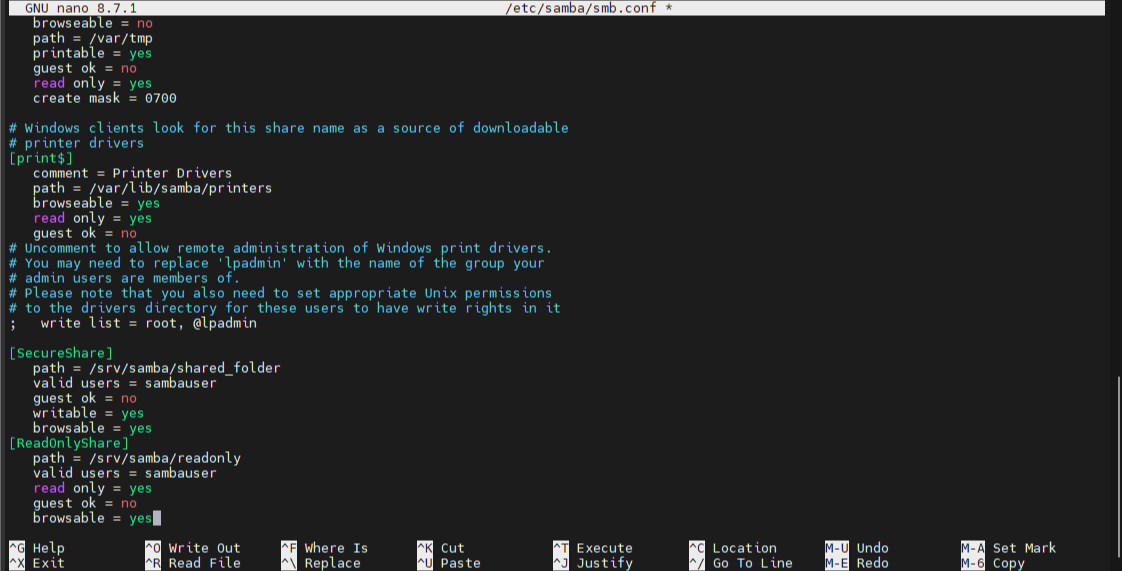
Create and Configure the Folder
sudo mkdir -p /srv/samba/readonly
sudo chown -R root:sambauser /srv/samba/readonly
sudo chmod -R 755 /srv/samba/readonly
Note: Ensure the directory exists and has the correct permissions before accessing it through Samba.
Configure Group-Based Access
Group-based permissions simplify management when multiple users need access to the same share.
Create a Group
sudo groupadd sambashare
Add Users to the Group
sudo usermod -aG sambashare sambauser
Create the Shared Folder
sudo mkdir -p /srv/samba/groupfolder
Set ownership and permissions:
sudo chown -R :sambashare /srv/samba/groupfolder
sudo chmod -R 770 /srv/samba/groupfolder
Configure the Share
[GroupShare]
path = /srv/samba/groupfolder
valid users = @sambashare
writable = yes
guest ok = no
browsable = yes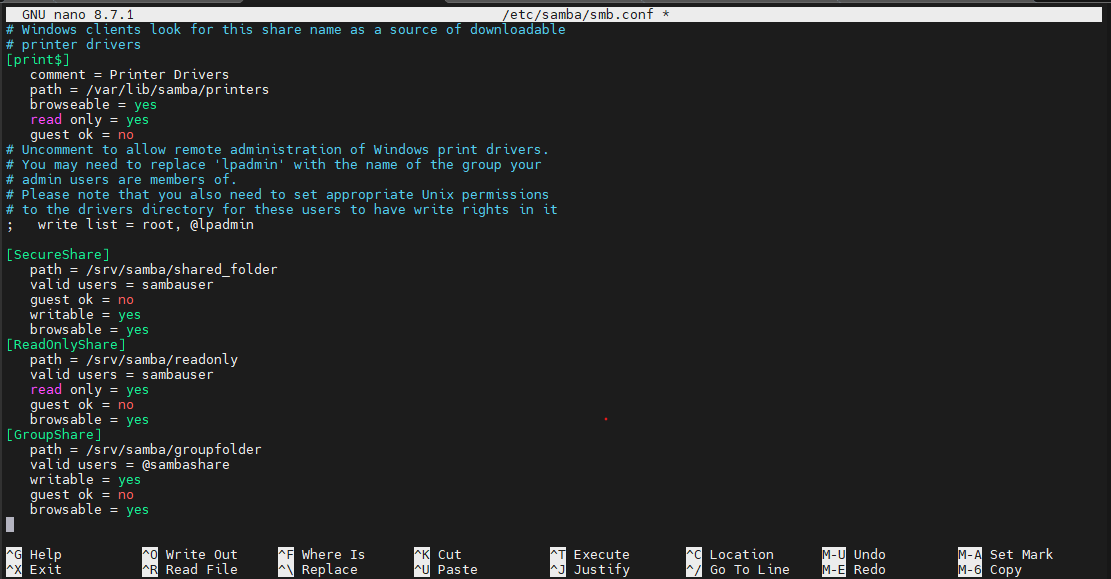
Apply the changes:
sudo systemctl restart smbd
Assign Different Permissions to Different Users
You can grant write access to some users while giving others read-only access.
[MixedAccess]
path = /srv/samba/mixed
valid users = user1 user2
read list = user2
write list = user1
guest ok = no
browsable = yes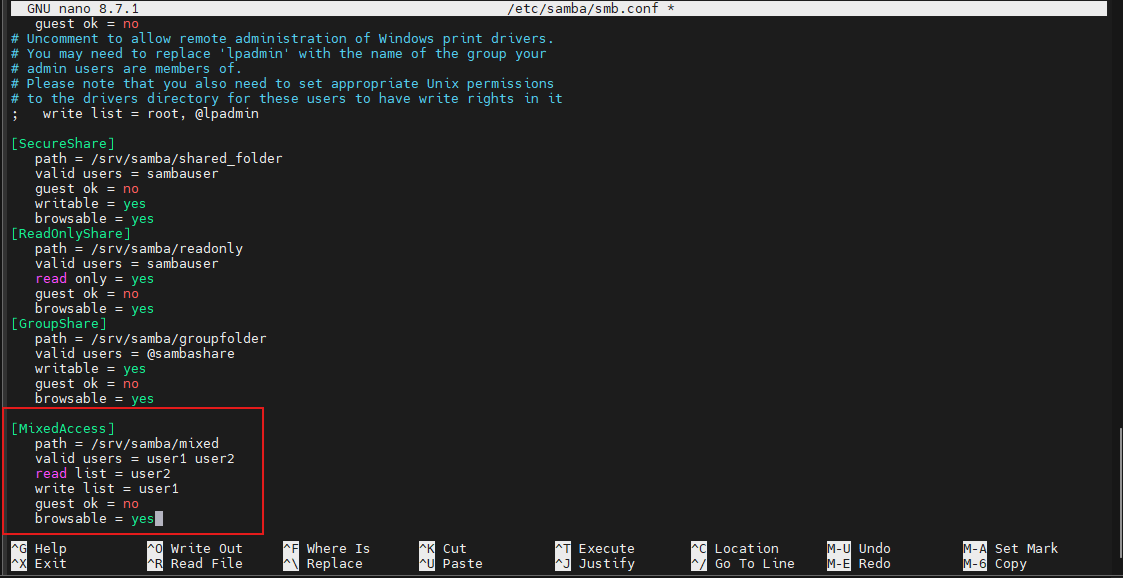
In this example:
- user1 can read and write files
- user2 has read-only access
Hide or Block Specific Files
Samba can hide files from users or completely prevent access.
Hide Files
hide files = /secret.txt/*.bak/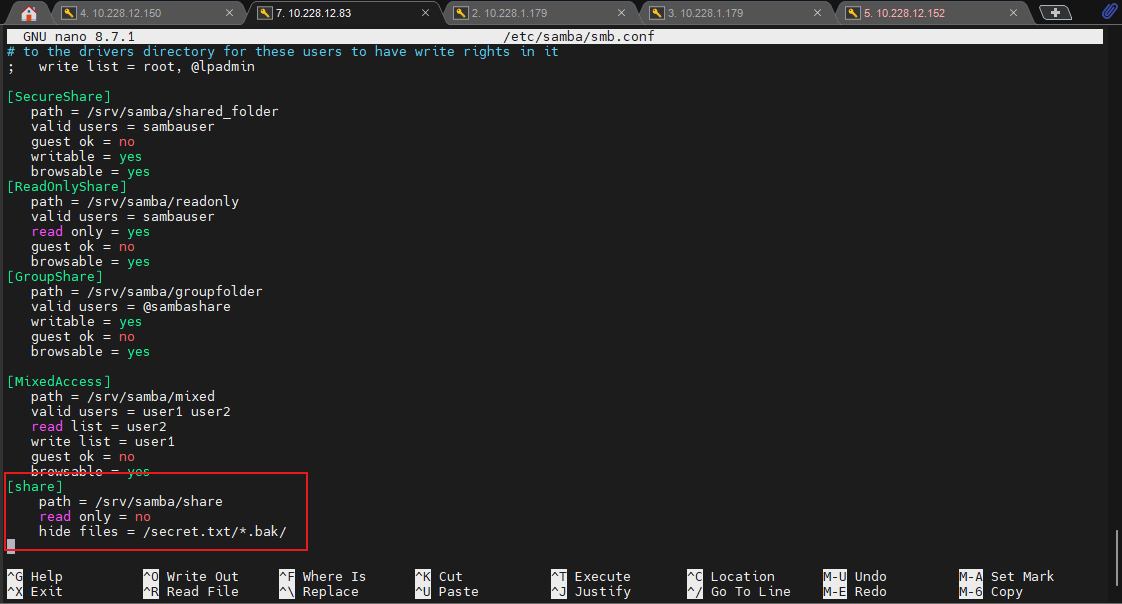
Block Access to Files
veto files = /secret.txt/*.bak/
delete veto files = yes- hide files prevents files from appearing in directory listings.
- veto files blocks access to matching files entirely.
- delete veto files = yes allows deletion of vetoed files when applicable.

Conclusion
Samba provides a reliable way to share files between Linux and Windows systems. By installing Samba, creating shared directories, and configuring user permissions, you can build anything from a simple guest-access file share to a secure multi-user file server.
Also Read – How To Generate a Self-Signed SSL Certificate with OpenSSL
As your environment grows, advanced features such as group-based permissions, read-only shares, and user-specific access controls help keep file sharing organized and secure.