

GitLab is a powerful open-source DevOps platform that combines source code management, CI/CD, issue tracking, and collaboration tools in a single application. Whether you’re managing personal projects or coordinating large development teams, GitLab provides everything needed to streamline the software development lifecycle.
In this tutorial, you’ll learn how to install GitLab on Ubuntu 26.04 using Docker Compose. Since GitLab support for Ubuntu 26.04 is not available through the official APT repository at the time of writing, we’ll deploy GitLab inside a Docker container.
Prerequisites
Before you begin, make sure you have:
- An Ubuntu 26.04 server
- At least 8 GB RAM available
- SSH access as root or a user with sudo privileges
- A domain name or subdomain (recommended), or a public server IP address
Throughout this guide:
- Commands prefixed with # should be run as root or using sudo
- Commands prefixed with $ should be run as a regular user
Step 1: Update the System
First, connect to your Ubuntu server via SSH.
ssh root@IP_Address -p Port_NumberReplace:
- IP_Address with your server’s IP address
- Port_Number with your SSH port
Verify the Ubuntu Version
Check that the server is running Ubuntu 26.04:
lsb_release -a
This command displays the current Linux distribution and version.
Update Package Information
Next, refresh the package index:
apt update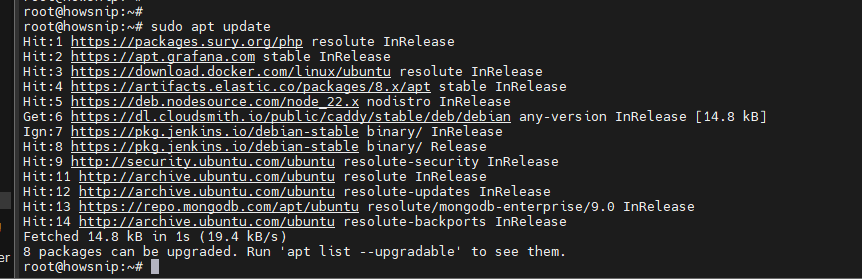
This ensures your system uses the latest package information before installing additional software.
Step 2: Install Required Dependencies
Several packages are required before installing Docker and GitLab.
Run:
apt install ca-certificates curl gnupg git sudo
Note: Installing dependencies first helps avoid installation issues later.
Step 3: Create a Dedicated System User
It’s a good practice to manage GitLab using a dedicated user account.
Create a new user named master:
/usr/sbin/adduser master
During the setup process, you’ll be prompted to create a password.
Important: Use a strong password that includes uppercase letters, lowercase letters, numbers, and special characters.
Step 4: Grant Sudo Privileges
Add the newly created user to the sudo group:
/usr/sbin/usermod -aG sudo master
Adding the user to the sudo group allows administrative tasks to be executed without logging in directly as root.
You can verify group membership later with:
groups masterStep 5: Install Docker Engine
GitLab will be deployed inside a Docker container. First, configure Docker’s official repository.
Create the Docker Keyring Directory
install -m 0755 -d /etc/apt/keyrings
This creates a secure directory for repository signing keys.
Download Docker’s GPG Key
curl -fsSL https://download.docker.com/linux/debian/gpg | gpg --dearmor -o /etc/apt/keyrings/docker.gpgThe GPG key allows your system to verify Docker packages.
Set Correct Permissions
chmod a+r /etc/apt/keyrings/docker.gpgThis makes the key readable by APT.
Add the Docker Repository
echo \
"deb [arch=$(dpkg --print-architecture) signed-by=/etc/apt/keyrings/docker.gpg] https://download.docker.com/linux/debian \
$(. /etc/os-release && echo "$VERSION_CODENAME") stable" | \
tee /etc/apt/sources.list.d/docker.list > /dev/null
This command adds Docker’s package repository to your system.
Update Package Lists
apt update
Install Docker Components
apt install docker-ce docker-ce-cli containerd.io docker-buildx-plugin docker-compose-plugin
This installs:
- Docker Engine
- Docker CLI
- Container runtime
- Docker Buildx
- Docker Compose plugin
Verify the Installation
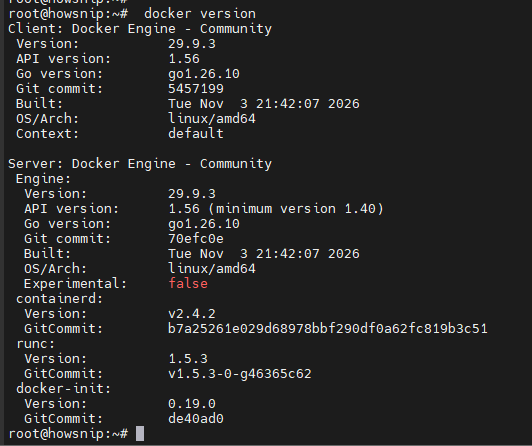
Confirm Docker is installed correctly:
docker versionIf Docker is running, you’ll see information about both the Docker client and server.
Step 6: Configure Docker for Non-Root Usage
By default, running Docker commands without sudo may produce a permissions error. To allow a user to run Docker commands directly, add the user to the Docker group.
/usr/sbin/usermod -aG docker master
Switch to the new user:
su - masterNow create the directories that GitLab will use for persistent storage:
sudo mkdir -p /opt/gitlab/{config,logs,data}Set ownership:
sudo chown -R master: /opt/gitlabWhy These Directories Matter
- /opt/gitlab/config – Stores GitLab configuration
- /opt/gitlab/logs – Stores service logs
- /opt/gitlab/data – Stores repositories and application data
Important: These directories ensure your GitLab data remains available even if the container is recreated.
Step 7: Create the Docker Compose Configuration
Move into the GitLab directory:
cd /opt/gitlabCreate a Docker Compose file:
nano docker-compose.yml
Paste the following configuration into the file:
services:
  web:
    image: 'gitlab/gitlab-ce:latest'
    container_name: 'gitlab'
    restart: always
    hostname: 'gitlab.yourdomain.com'

  environment:
    GITLAB_OMNIBUS_CONFIG: |
    external_url 'https://gitlab.yourdomain.com'
    gitlab_rails['gitlab_shell_ssh_port'] = 2222

  ports:
    - '80:80'
    - '443:443'
    - '2222:22'

  volumes:
    - '/opt/gitlab/config:/etc/gitlab'
    - '/opt/gitlab/logs:/var/log/gitlab'
    - '/opt/gitlab/data:/var/opt/gitlab'

  shm_size: '256m'
If you do not have a domain name, use your server’s public IP address for both:
- hostname
- external_url
Step 8: Deploy the GitLab Container
Start GitLab using Docker Compose:
docker compose up -d
The initial deployment can take several minutes.
Monitor Container Startup
Follow the logs in real time:
docker logs -f gitlabThis allows you to monitor initialization progress and identify any startup issues.

Step 9: Access GitLab
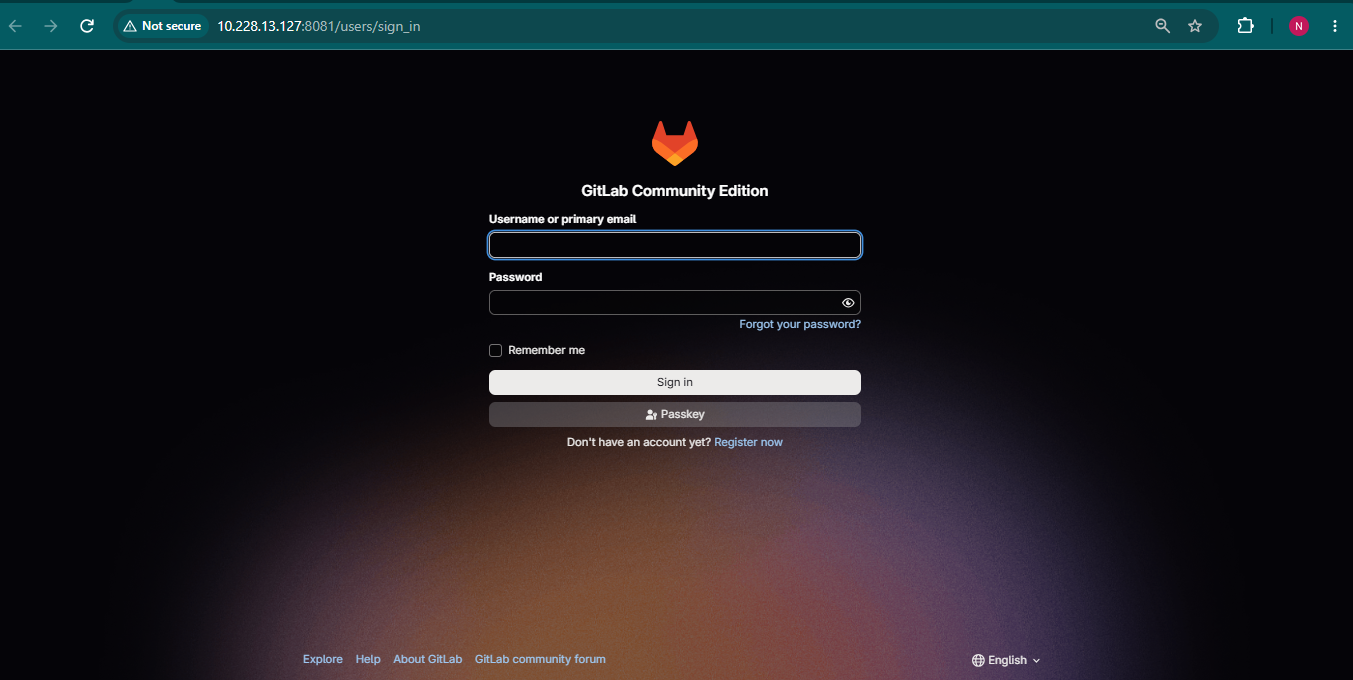
Once the container finishes initializing, open a web browser and visit:
https://gitlab.yourdomain.comor the IP address configured in external_url.
GitLab will display the initial login page.
Retrieve the Initial Root Password
GitLab automatically creates a root account during installation.
To view the generated password, run:
docker exec -it gitlab grep 'Password:' /etc/gitlab/initial_root_password
Example output:
Password: your-generated-password
Use:
- Username: root
- Password: The value returned by the command above
Security Tip: After your first login, change the default root password immediately.

Troubleshooting Notes
a) GitLab Takes a Long Time to Start
The first startup may take several minutes because GitLab must initialize its services and database.
Check progress with:
docker logs -f gitlabb) Can’t Access GitLab from a Browser
Verify that:
- Docker container is running
- Ports 80, 443, and 2222 are open
- The configured domain points to the correct server IP
- The external_url value is correct
c) Docker Permission Denied Error
If you still receive Docker permission errors after adding the user to the Docker group, log out and back in, or start a new shell session.
Conclusion
You have successfully installed GitLab on Ubuntu 26.04 using Docker Compose. The setup includes Docker Engine, persistent storage volumes, and a containerized GitLab deployment that can be managed easily through Docker.
After logging in with the initial root account, you can begin creating projects, managing repositories, configuring CI/CD pipelines, and collaborating with your development team from a single platform.