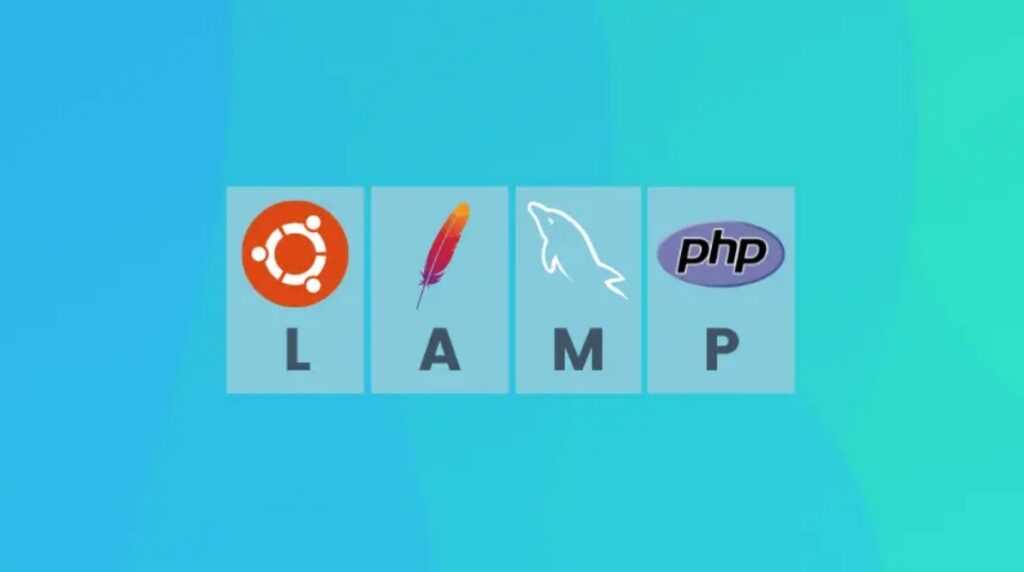

A LAMP stack is one of the most popular web hosting platforms for running dynamic websites and web applications. LAMP stands for Linux, Apache, MariaDB, and PHP. Together, these components provide everything needed to serve web content, process PHP applications, and store data in a database.
In this tutorial, you’ll learn how to install and configure a complete LAMP stack on Ubuntu 24.04, including Apache, PHP, MariaDB, and the optional phpMyAdmin web management interface.
Prerequisites
Before you begin, make sure you have:
- An Ubuntu 24.04 server
- A user account with sudo privileges
- Internet access to install packages
- Optional: UFW firewall enabled
Step 1: Install Apache Web Server on Ubuntu 24.04
Apache is the web server component of the LAMP stack. It handles incoming HTTP and HTTPS requests and serves website content to visitors.
First, update the package index and install Apache:
sudo apt update
sudo apt install apache2
Verify Apache Is Running
After installation, check the Apache service status:
sudo systemctl status apache2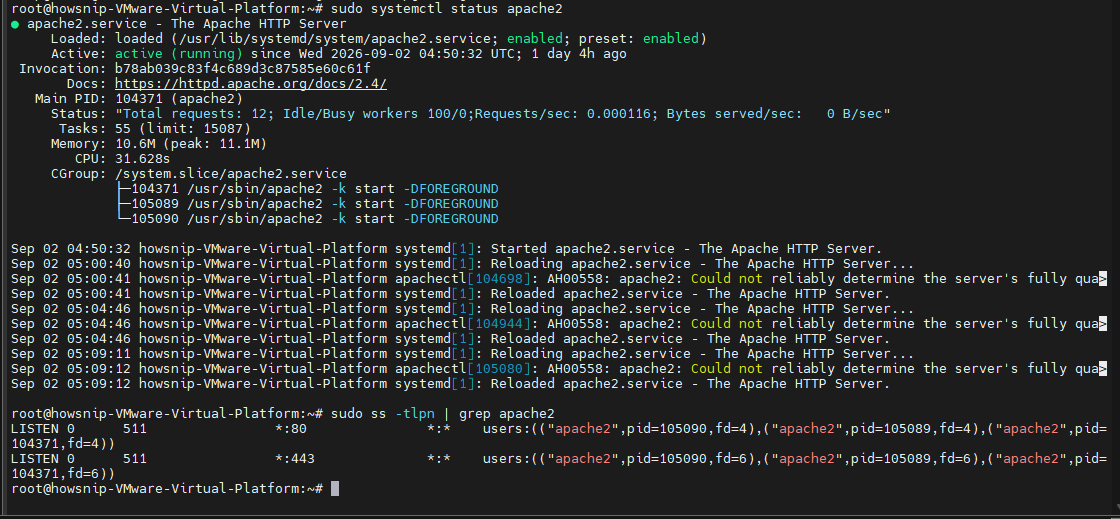
You can also verify which ports Apache is listening on:
sudo ss -tlpn | grep apache2By default, Apache listens on port 80 for HTTP traffic.
Allow Apache Through the Firewall
If UFW is enabled on your server, allow HTTP and HTTPS traffic:
sudo ufw allow 'Apache Full'
sudo ufw status
Test Apache in a Browser
Open a browser and visit:
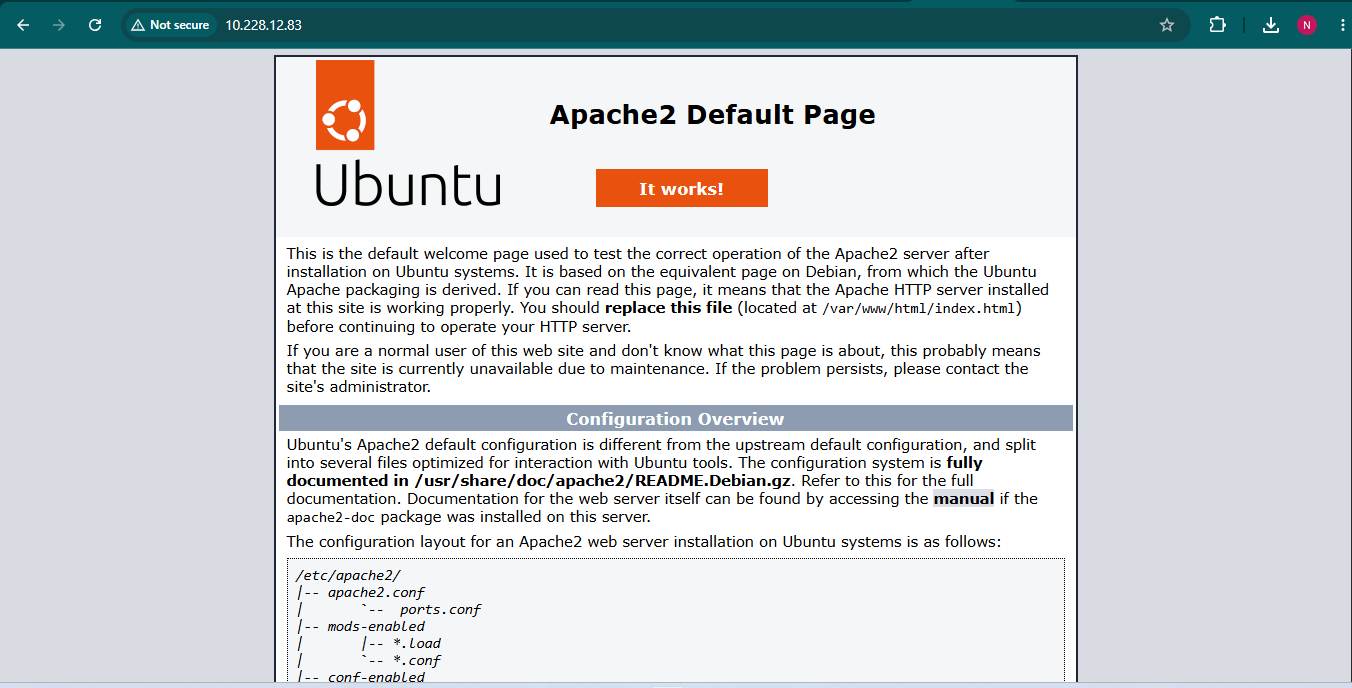
http://your_server_IP_addressIf Apache is working correctly, the default Apache welcome page will appear.
Enable HTTPS Support in Apache
If you want Apache to serve secure HTTPS connections, enable the SSL module and default SSL site:
sudo a2enmod ssl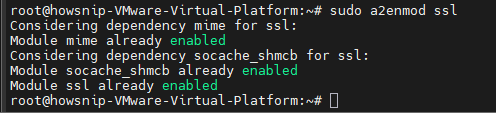
sudo a2ensite default-ssl.conf
sudo systemctl restart apache2Confirm Apache is now listening on HTTPS:
sudo ss -tlpn | grep apache2Verify HTTPS Access
Open the following URL:
https://your_server_IP_addressYou may see a browser security warning because Apache uses a self-signed certificate by default. This is expected. Accept the warning to continue.
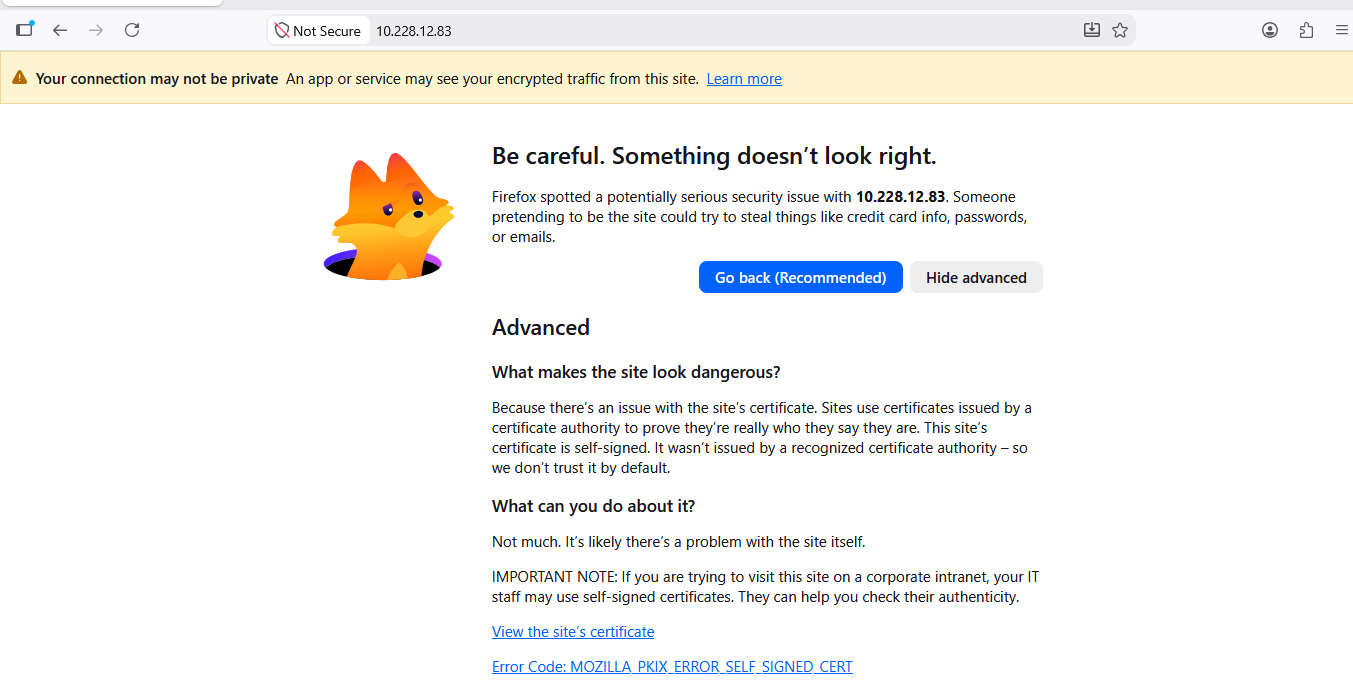
Important: Self-signed certificates are suitable for testing environments. Production servers should use a trusted SSL certificate.
Enable Apache at Boot
Ensure Apache starts automatically after server reboots:
sudo systemctl enable apache2
Step 2: Install PHP on Ubuntu 24.04
PHP processes dynamic web content and powers many popular applications such as WordPress and phpMyAdmin.
Search Available PHP Packages
You can view available PHP packages using:
apt search php8.5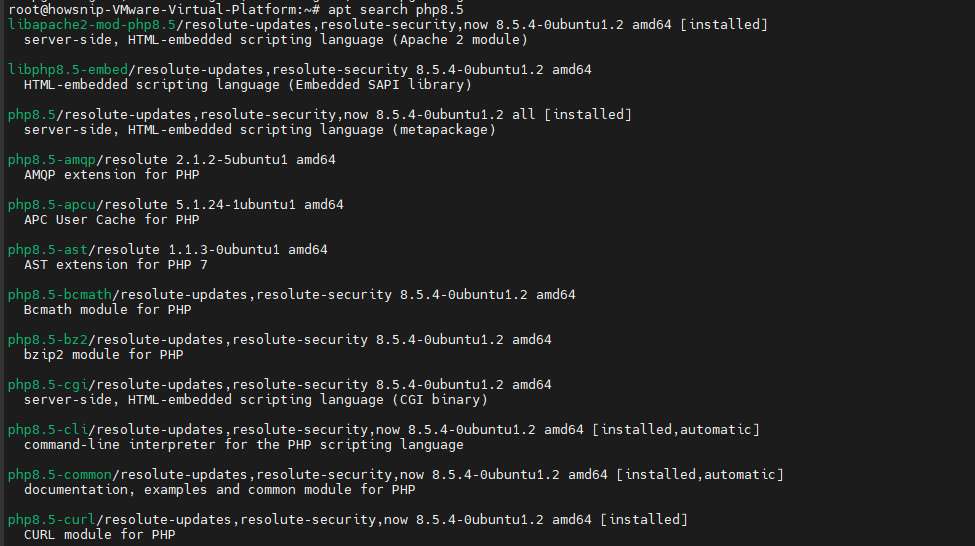
Install PHP and Common Modules
The original commands use PHP 8.5 packages. Install PHP along with commonly required extensions:
sudo apt install php8.5 libapache2-mod-php8.5 php8.5-mysql php8.5-xml php8.5-gd php8.5-curl php8.5-mbstring php8.5-zip -y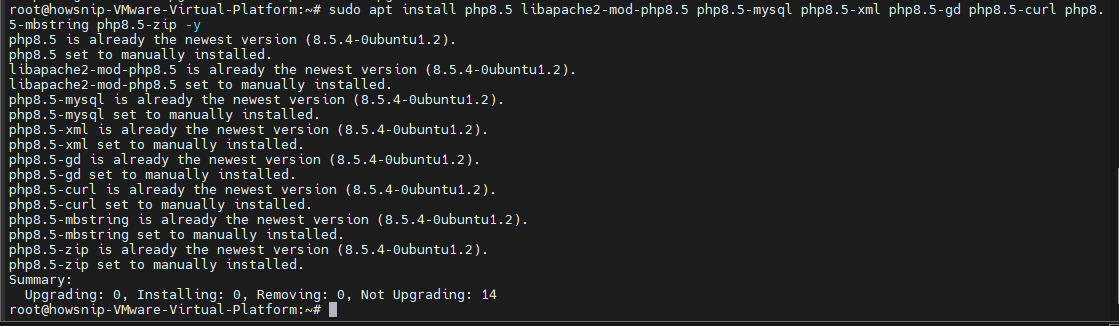
These modules provide support for:
- MySQL/MariaDB connectivity
- XML processing
- Image manipulation
- HTTP requests
- Multibyte character handling
- ZIP file support
- Verify the PHP Installation
Check the installed PHP version:
php -v
Test PHP with Apache
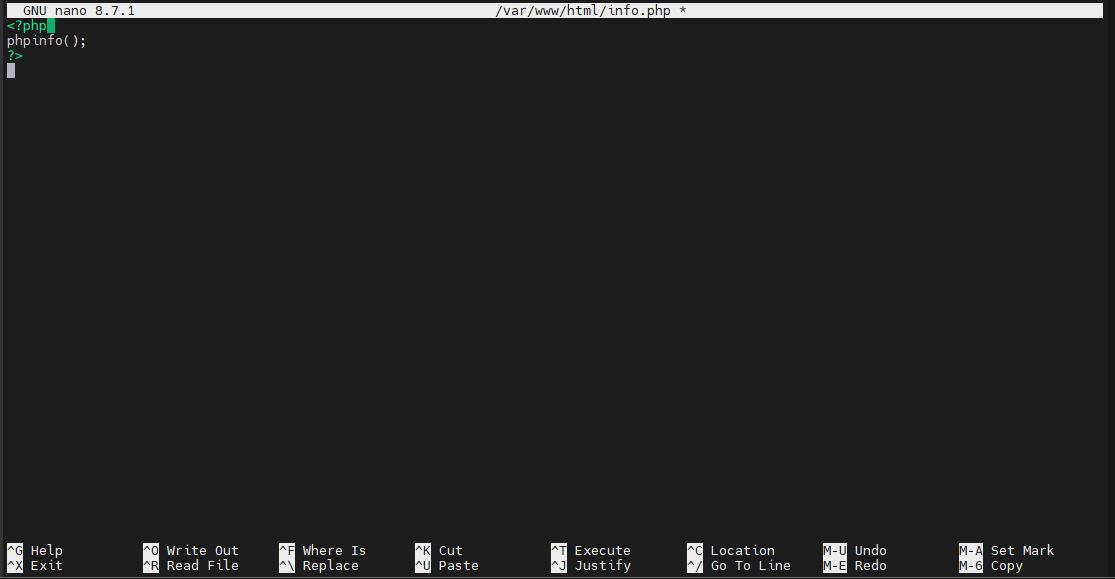
Create a PHP information page within Apache’s document root:
sudo nano /var/www/html/info.phpAdd the following code:
<?php
phpinfo();
?>
Save the file and restart Apache:
sudo systemctl restart apache2
Now open:
http://your_server_IP_address/info.php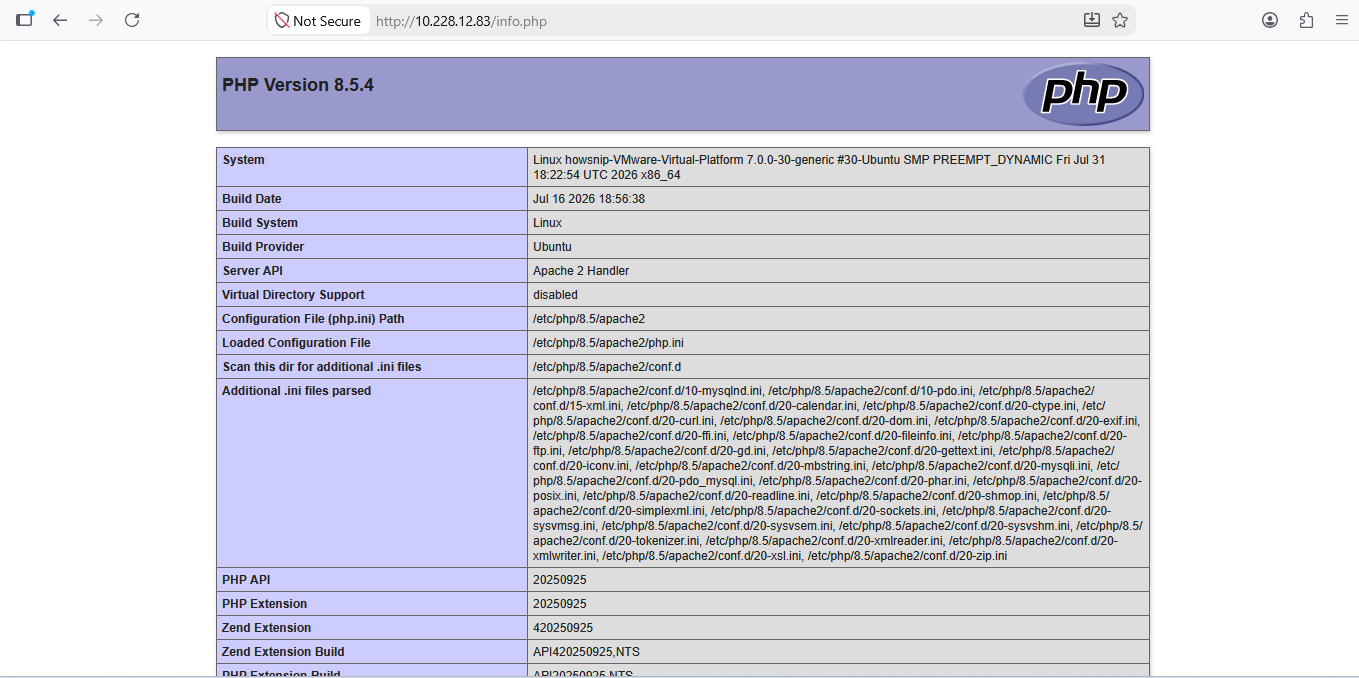
If PHP is configured correctly, a PHP information page will be displayed.
Install Additional PHP Modules
To see available PHP modules, begin typing a package name and use the TAB key for shell auto-completion:
sudo apt install php8.5[TAB]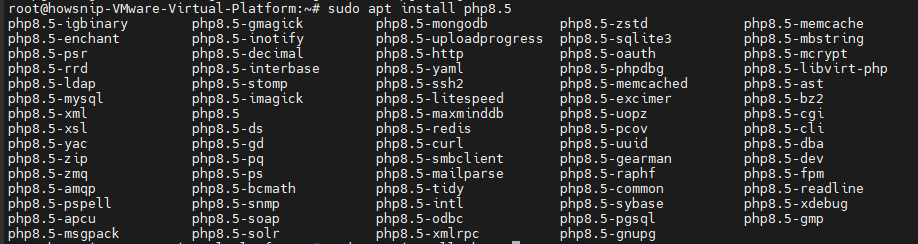
For example, to install image processing and internationalization support:
sudo apt install php8.5-imagick php8.5-intl php8.5-bcmath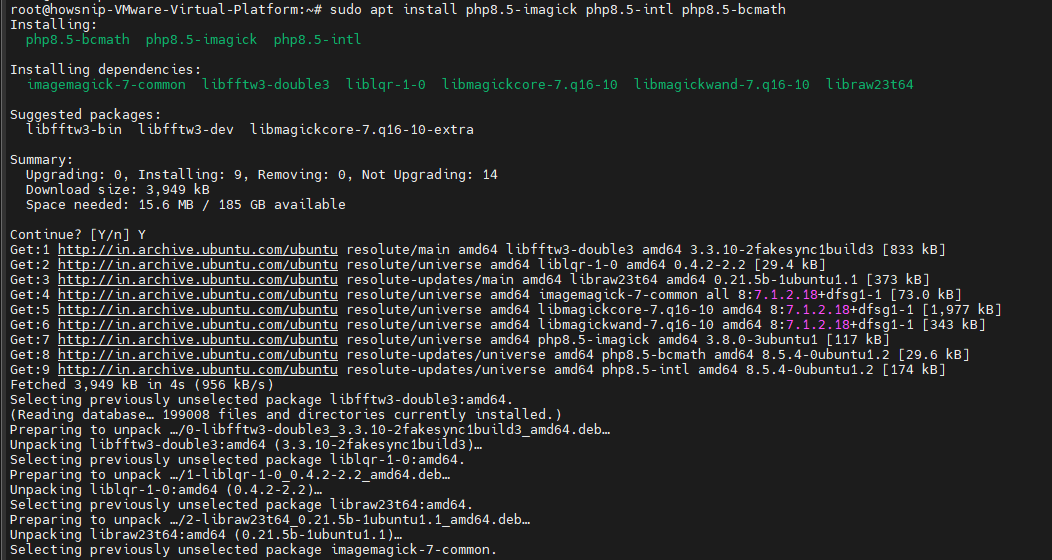
After installing additional PHP modules, restart Apache:
sudo systemctl restart apache2Note: Always restart Apache after adding new PHP extensions so they can be loaded properly.
Step 3: Install MariaDB on Ubuntu 24.04
MariaDB provides the database layer of the LAMP stack and is commonly used as a drop-in replacement for MySQL.
Install MariaDB and the PHP database connector:
sudo apt install mariadb-server mariadb-client php8.5-mysql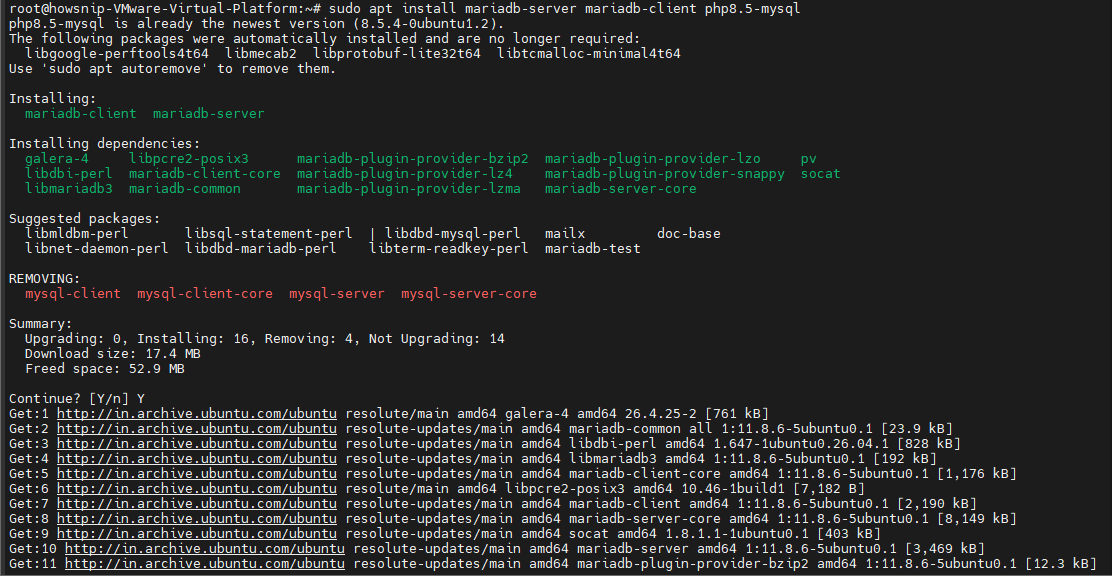
Secure the MariaDB Installation
Run the built-in security script:
sudo mysql_secure_installation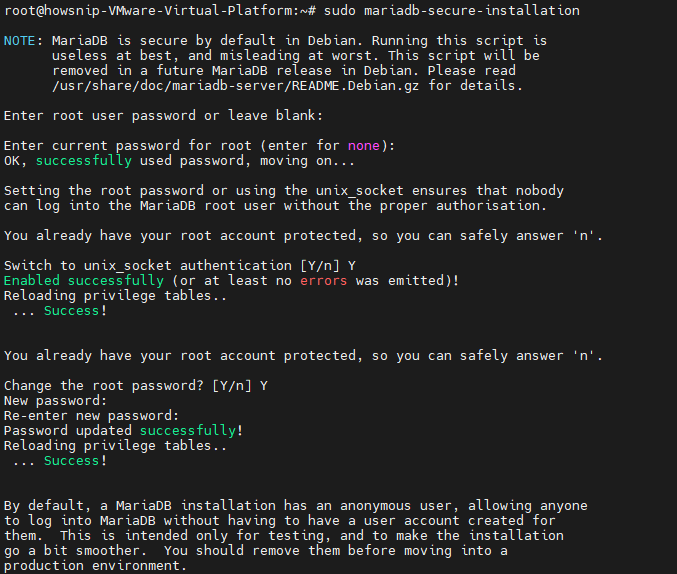
When prompted:
Press Enter for the current password if none exists.
- Type Y to switch to unix_socket authentication.
- Type Y to set a root password.
- Type Y to remove anonymous users.
- Type Y to disable remote root login.
- Type Y to remove the test database.
- Type Y to reload privilege tables.
Configure Password Authentication for Root
Log in to the MariaDB console:
sudo mysqlRun the following commands:
use mysql;
ALTER USER 'root'@'localhost' IDENTIFIED VIA mysql_native_password USING PASSWORD('your_strong_password');
FLUSH PRIVILEGES;
EXIT;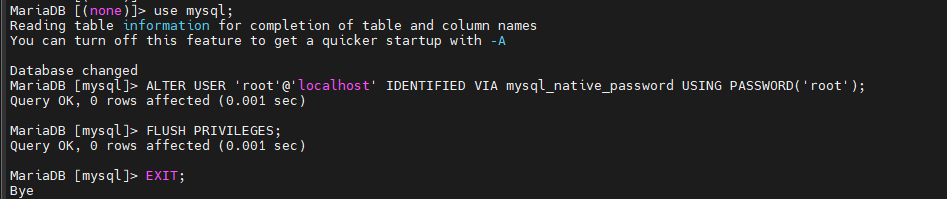
Replace your_strong_password with a secure password.
Restart and Test MariaDB Access
Restart the MariaDB service:
sudo systemctl restart mariadb
Then log in using the root account:
mysql -u root -p
Enter the password when prompted.
Step 4: Install phpMyAdmin (Optional)
phpMyAdmin provides a web-based interface for managing MariaDB databases.
Install phpMyAdmin:
sudo apt install phpmyadmin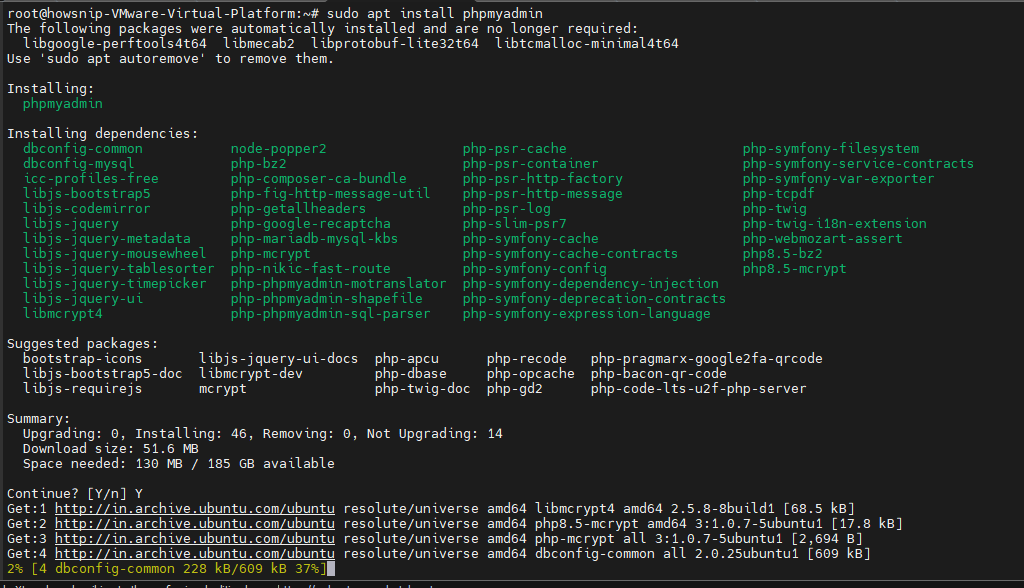
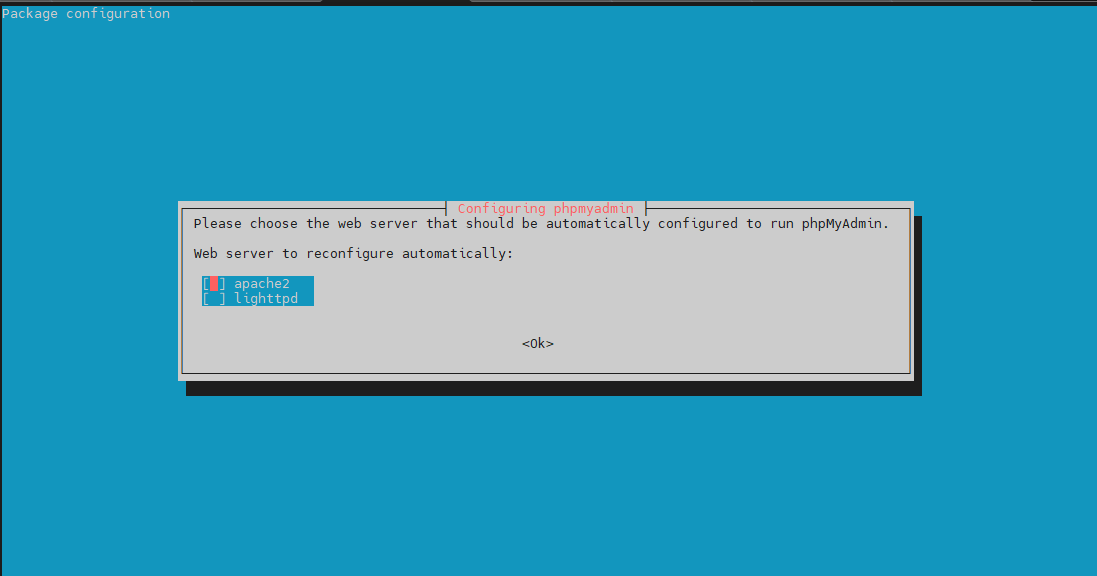
During installation:
Select apache2 when prompted.
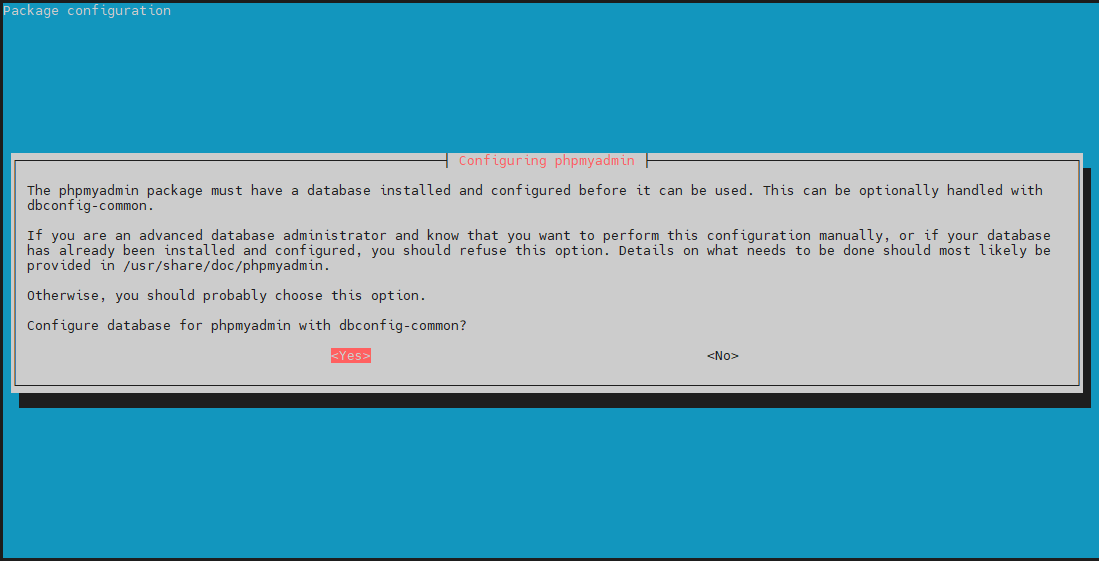
Choose Yes to configure phpMyAdmin with dbconfig-common.
Enter the MariaDB root password.
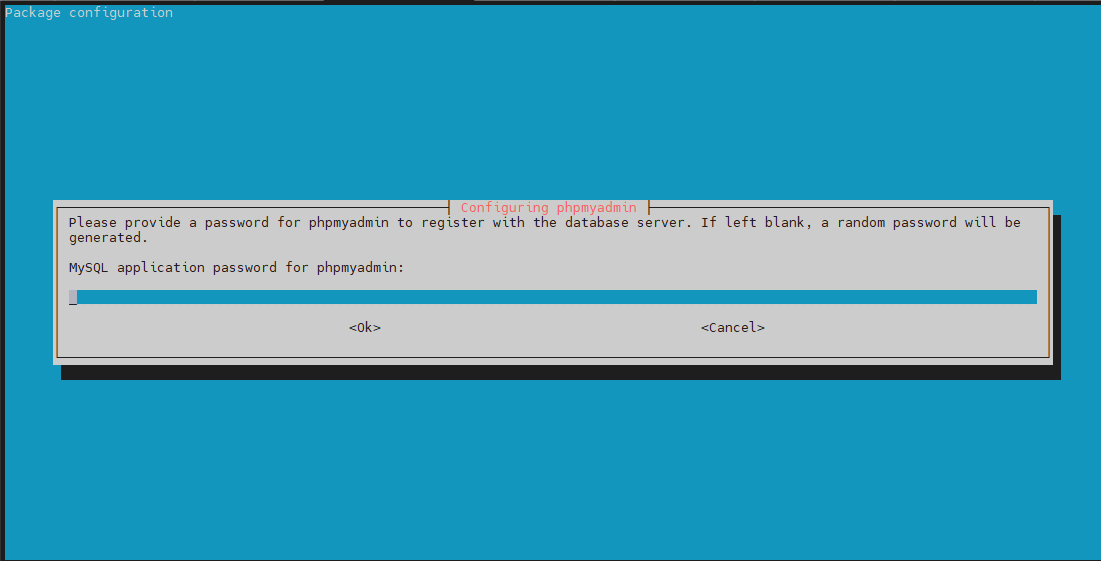
Create a strong password for the phpMyAdmin application.
Enable Required PHP Extension
After installation, enable the mbstring extension:
sudo phpenmod mbstring
Restart Apache:
sudo systemctl restart apache2
Access phpMyAdmin
Open the following URL in your browser:
http://your_server_IP_address/phpmyadmin/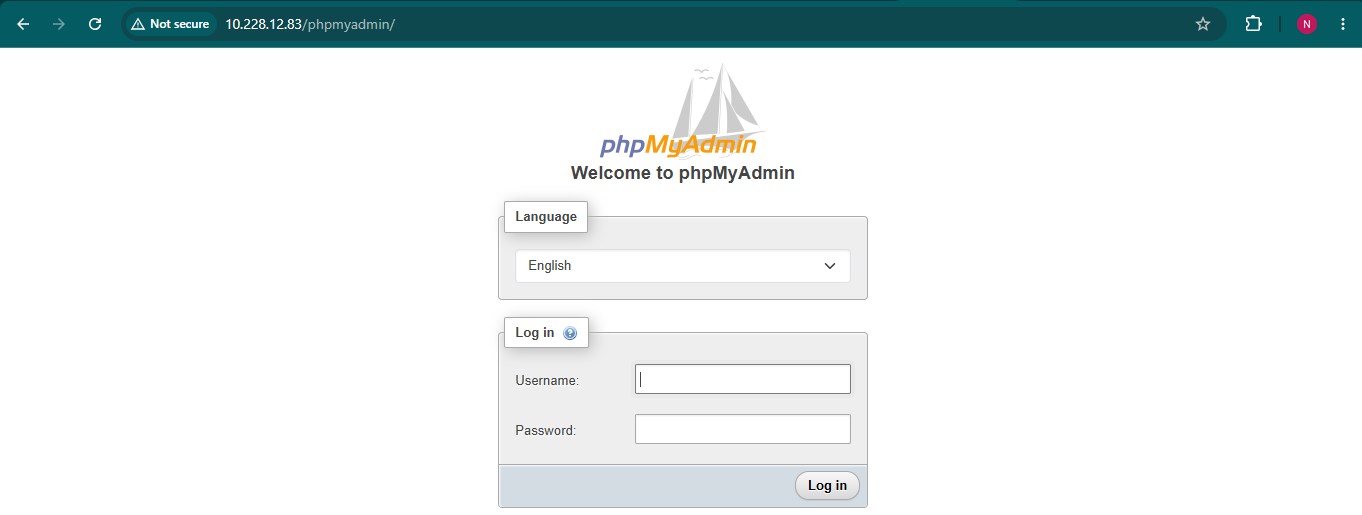
You can now log in and manage your MariaDB databases through a web interface.
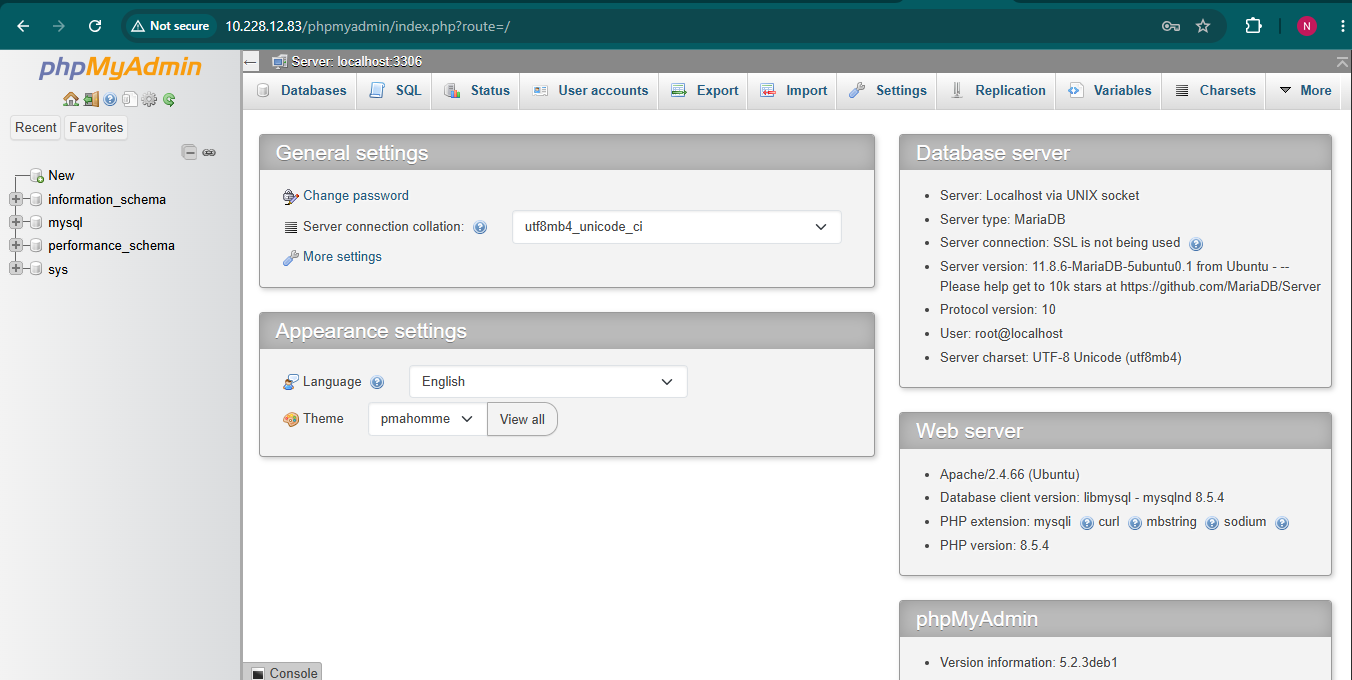
Conclusion
You have successfully installed a complete LAMP stack on Ubuntu 24.04, including Apache, PHP, and MariaDB. You also learned how to optionally install phpMyAdmin for browser-based database administration.
With the LAMP stack running, your server is ready to host PHP applications, content management systems, and dynamic websites. Before deploying production workloads, consider replacing the default self-signed SSL certificate with a trusted certificate and reviewing your server’s security settings.