

PostgreSQL is one of the most popular open-source relational database systems used for web applications, enterprise software, analytics, and development projects. If you’re setting up a new Ubuntu server or local development environment, installing PostgreSQL is a straightforward process.
In this tutorial, you’ll learn how to install PostgreSQL on Ubuntu 24.04 LTS and other supported Ubuntu releases, verify the installation, create a database user, and configure PostgreSQL to start automatically when the system boots.
Prerequisites
Before you begin, make sure you have:
- Ubuntu 24.04 LTS (local machine, cloud server, or WSL)
- Ubuntu 20.04 or later
- Terminal access
- An active internet connection
- A user account with sudo privileges
Step 1: Check Your Ubuntu Version
Before installing PostgreSQL, verify your Ubuntu release and kernel version. Run the following command to check the Ubuntu version:
lsb_release -a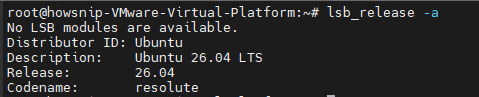
The above displays information about your Ubuntu release version and to view the kernel version, you can run:
uname -a
It shows details about the Linux kernel currently running on your system.
Step 2: Update Your System Packages
Updating your system ensures you install the latest available packages and security updates.
sudo apt update && sudo apt upgrade -y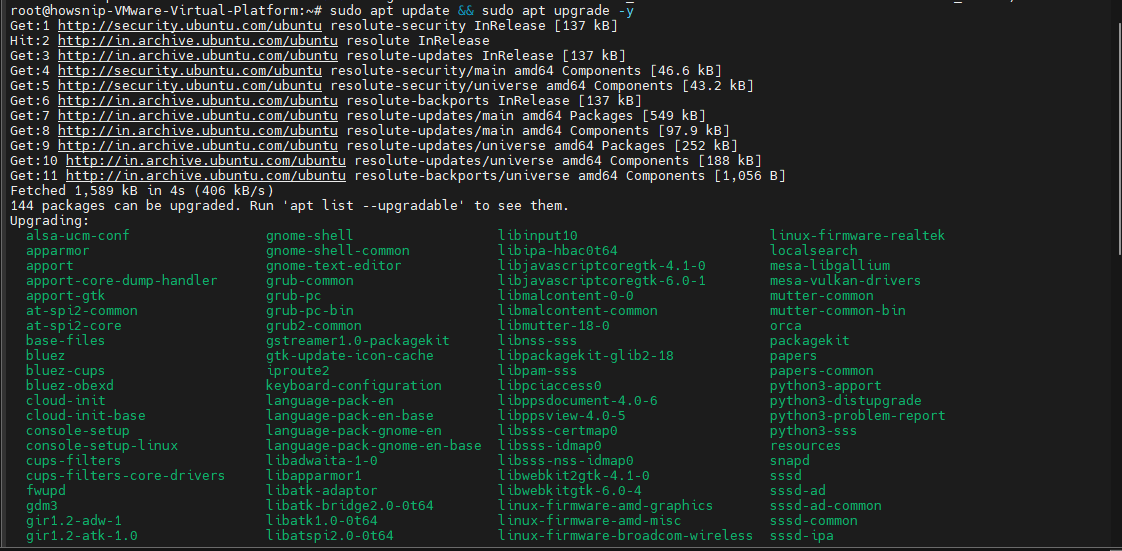
This command:
- Refreshes the package list (apt update)
- Upgrades installed packages (apt upgrade)
- Automatically approves prompts with the -y option
Note: Depending on the number of updates available, this process may take several minutes.
Step 3: Install PostgreSQL
Install PostgreSQL along with additional contributed utilities by running:
sudo apt install postgresql postgresql-contrib -y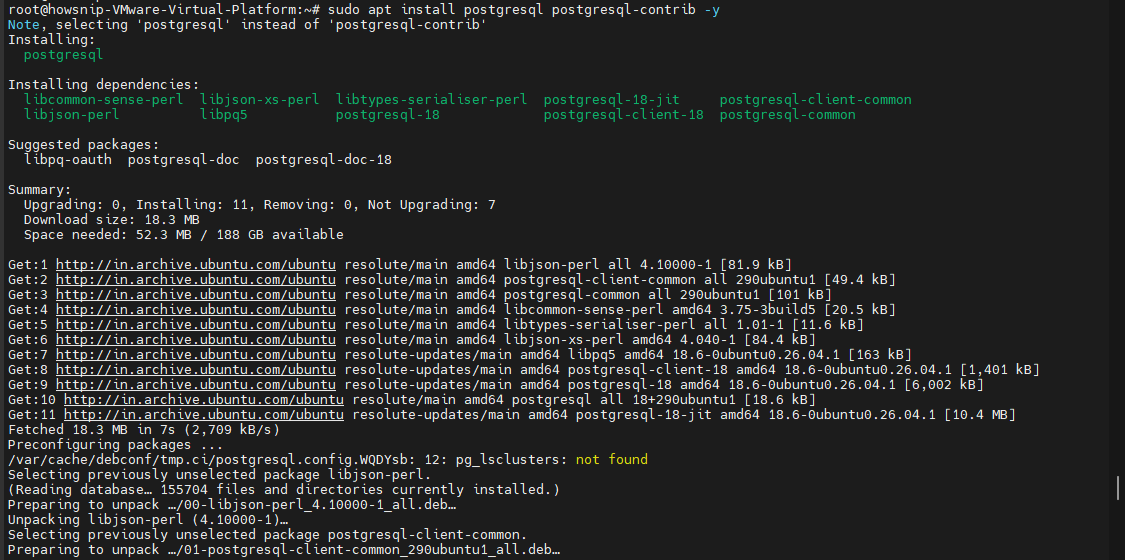
Wait for the installation to complete before proceeding.
Step 4: Verify the PostgreSQL Installation
After installation, verify that PostgreSQL was successfully installed.
which psql
This command displays the location of the PostgreSQL command-line client (psql) on your system.
Expected output:
/usr/bin/psqlIf you see a similar path, PostgreSQL has been installed successfully and the psql client is available.
Step 5: Switch to the PostgreSQL User
PostgreSQL automatically creates a system user named postgres during installation.
Switch to that user with:
sudo -i -u postgres
Once the command runs successfully, you’ll be working within a shell session as the postgres user.
Step 6: Access the PostgreSQL Shell
While logged in as the postgres user, launch the PostgreSQL command-line interface:
psql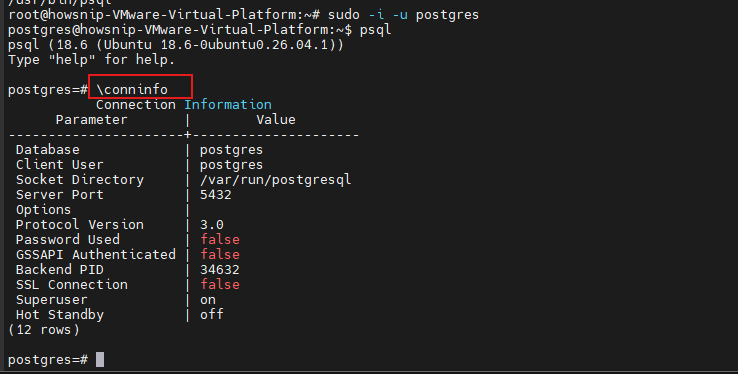
You can now run PostgreSQL commands directly from the SQL shell.
Useful PostgreSQL Commands
Display connection information:
\conninfoList available databases:
\l
Exit the PostgreSQL shell:
\q
These commands are useful for confirming that PostgreSQL is working correctly and for exploring your database environment.
Step 7: Create a Database User and Database
After accessing the PostgreSQL shell, create a dedicated database user and database.
CREATE USER user_lux WITH PASSWORD 'super_secure_password';
Create a database owned by that user:
CREATE DATABASE lux_db OWNER user_lux;Important: Replace super_secure_password with a strong password appropriate for your environment.
Step 8: Configure PostgreSQL to Start Automatically
To ensure PostgreSQL starts whenever the system boots, enable its service.
sudo systemctl enable postgresql
Start PostgreSQL immediately:
sudo systemctl start postgresql
Check the service status:
sudo systemctl status postgresql
If PostgreSQL is running correctly, the status output should indicate that the service is active.
Conclusion
You have successfully installed PostgreSQL on Ubuntu, verified the installation, accessed the PostgreSQL shell, created a database user and database, and configured the service to start automatically on boot.
With PostgreSQL now running, you can begin creating databases, managing users, and building applications that rely on a powerful and reliable relational database system.