

Setting up a new Ubuntu server correctly is one of the most important steps in building a secure and reliable environment. Before deploying applications or hosting services, it’s essential to update the system, secure remote access, configure a firewall, and put basic monitoring and backup measures in place.
This guide walks through a complete Ubuntu server setup process, from initial updates to security hardening and maintenance. Whether you’re managing a VPS, cloud instance, or dedicated server, these steps will help create a solid foundation for production use.
Prerequisites
- A freshly installed Ubuntu server
- A user account with sudo privileges (or root access for initial setup)
- SSH access to the server
- Basic familiarity with the Linux terminal
Step 1: Update and Upgrade the System
The first task on any new Ubuntu server is updating package indexes and installing the latest package versions. This ensures your system has current security patches and software updates.
a) Update Package Lists
Run the following command:
sudo apt update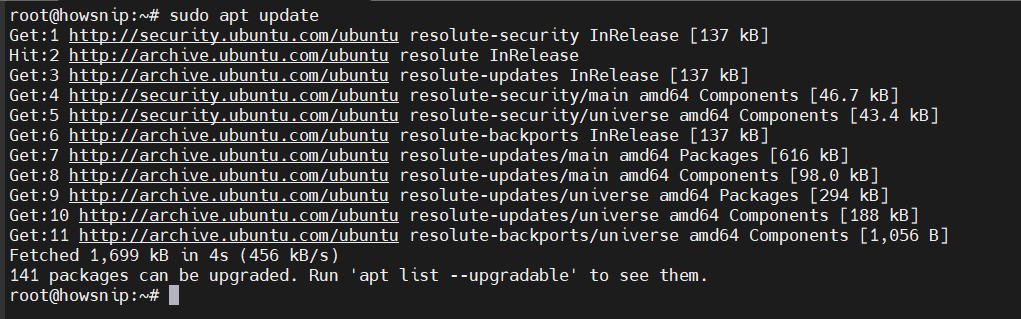
This refreshes the local package cache by downloading the latest package metadata from configured repositories.
b) Upgrade Installed Packages
sudo apt upgrade -y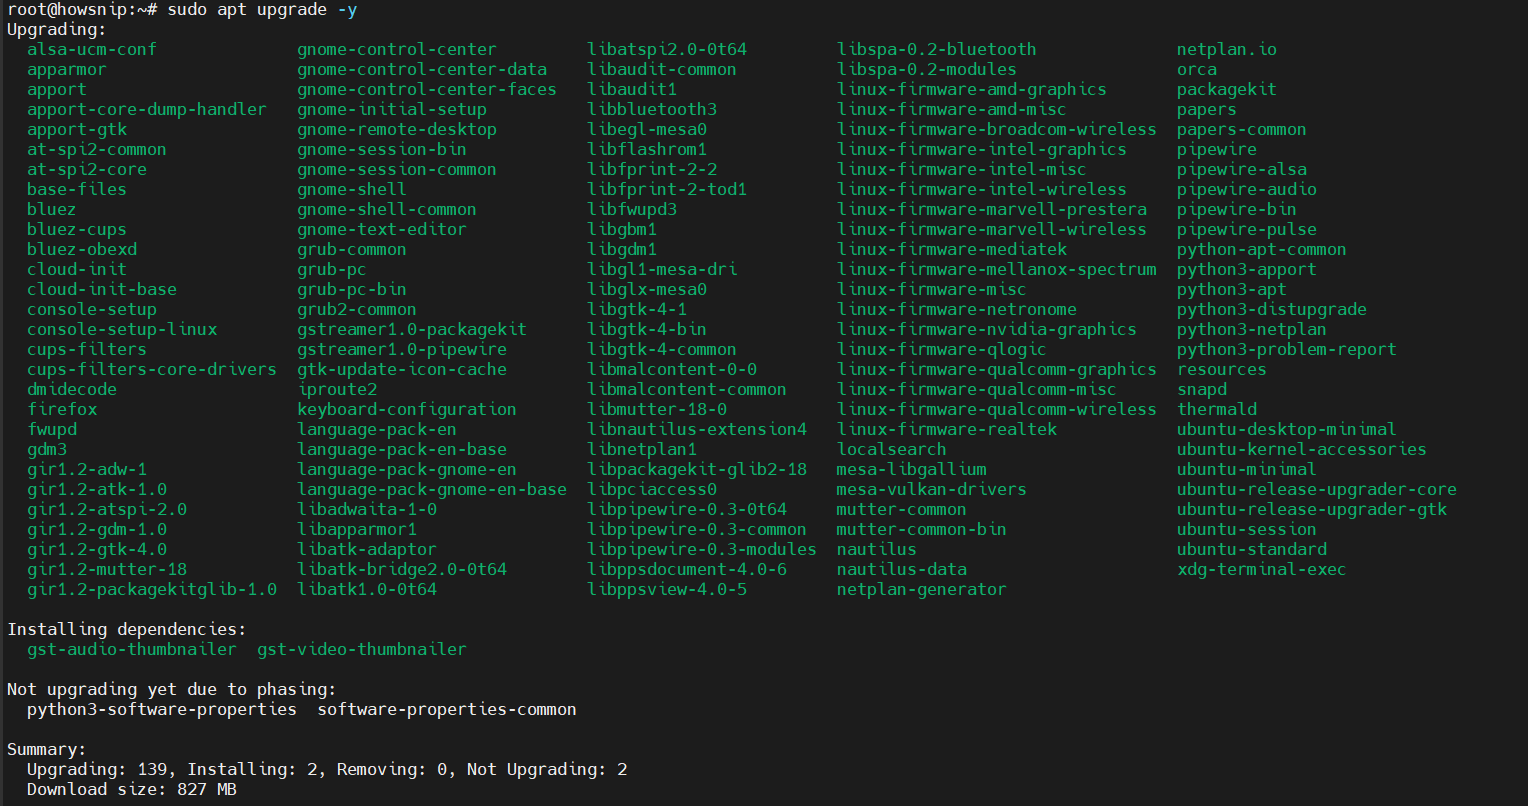
The -y flag automatically accepts update prompts.
This command upgrades currently installed packages to their latest available versions without installing additional packages or removing existing ones.
c) Remove Unused Packages
sudo apt autoremove -y && sudo apt autoclean
This cleanup command:
- Removes unnecessary dependency packages.
- Clears outdated package files from the local cache.
- Frees storage space.
Important: Kernel updates may require a server reboot. If managing production systems, test updates in a staging environment before deployment.
Step 2: Create a Non-Root User with Sudo Access
Using the root account for everyday administration increases security risks. Instead, create a dedicated administrative user.
a) Create a New User
Replace howsnip1 with your preferred username.
sudo adduser howsnip1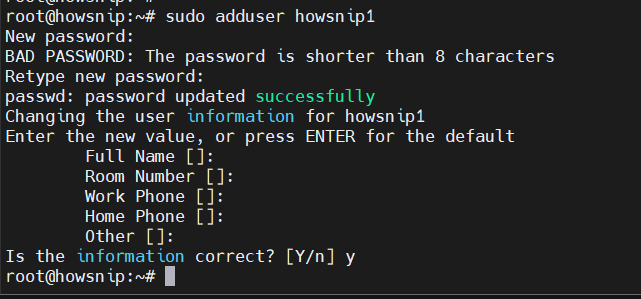
The command:
- Creates the user account
- Creates a home directory
- Prompts you to set a password
- Allows optional user profile information
b) Add the User to the Sudo Group
sudo usermod -aG sudo howsnip1
The -aG option adds the user to the sudo group without removing existing group memberships.
c) Verify Group Membership
groups howsnip1
You should see sudo listed among the user’s groups.
Note: Always use -aG with usermod. Omitting -a can overwrite existing group memberships.
Step 3: Configure SSH Key-Based Authentication
SSH key authentication is more secure than password-based logins and significantly reduces the risk of brute-force attacks.
a) Generate an SSH Key Pair
Run the following command on your local computer:
ssh-keygen -t ed25519 -C "user@your-server"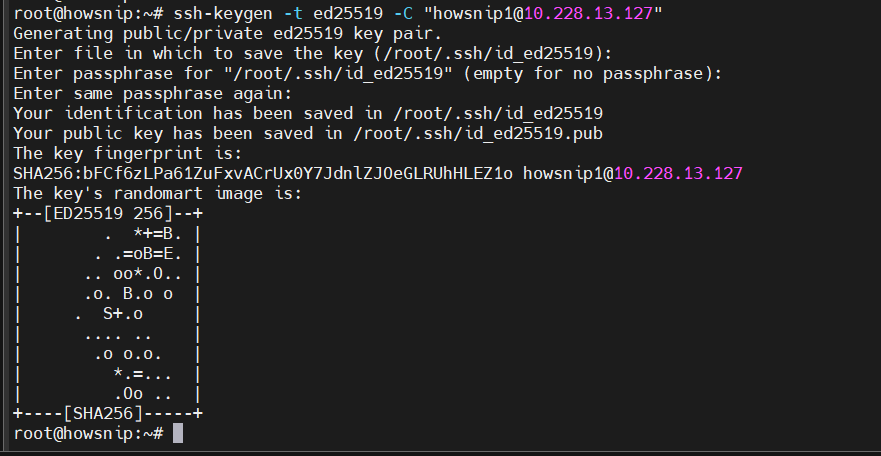
Explanation:
- -t ed25519 creates an Ed25519 key pair.
- -C adds a descriptive comment to the key.
b) Copy the Public Key to the Server
ssh-copy-id user@your_server_ip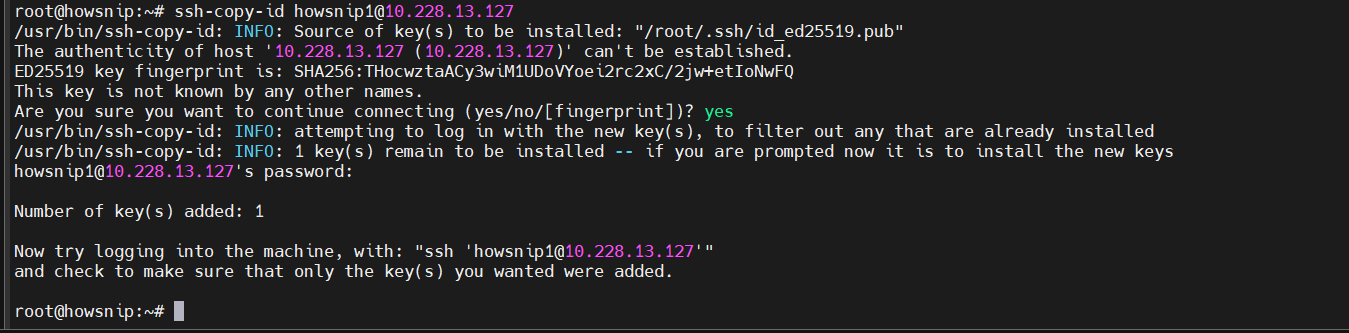
This automatically adds your public key to the server’s authorized_keys file and sets correct permissions.
c) Test SSH Login
ssh howsnip1@your_server_ip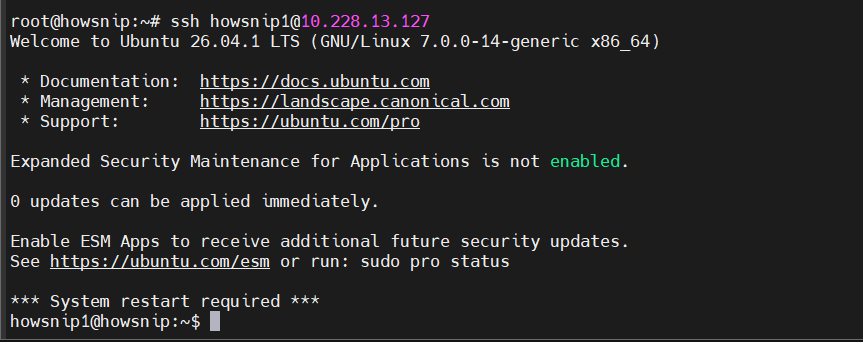
Successful login without a password prompt confirms that key authentication is working.
Warning: Verify key-based access in a separate terminal before disabling password authentication.
Step 4: Harden SSH Configuration
After confirming SSH key authentication works, strengthen SSH security by disabling root logins and password authentication.
a) Edit the SSH Configuration File
sudo nano /etc/ssh/sshd_config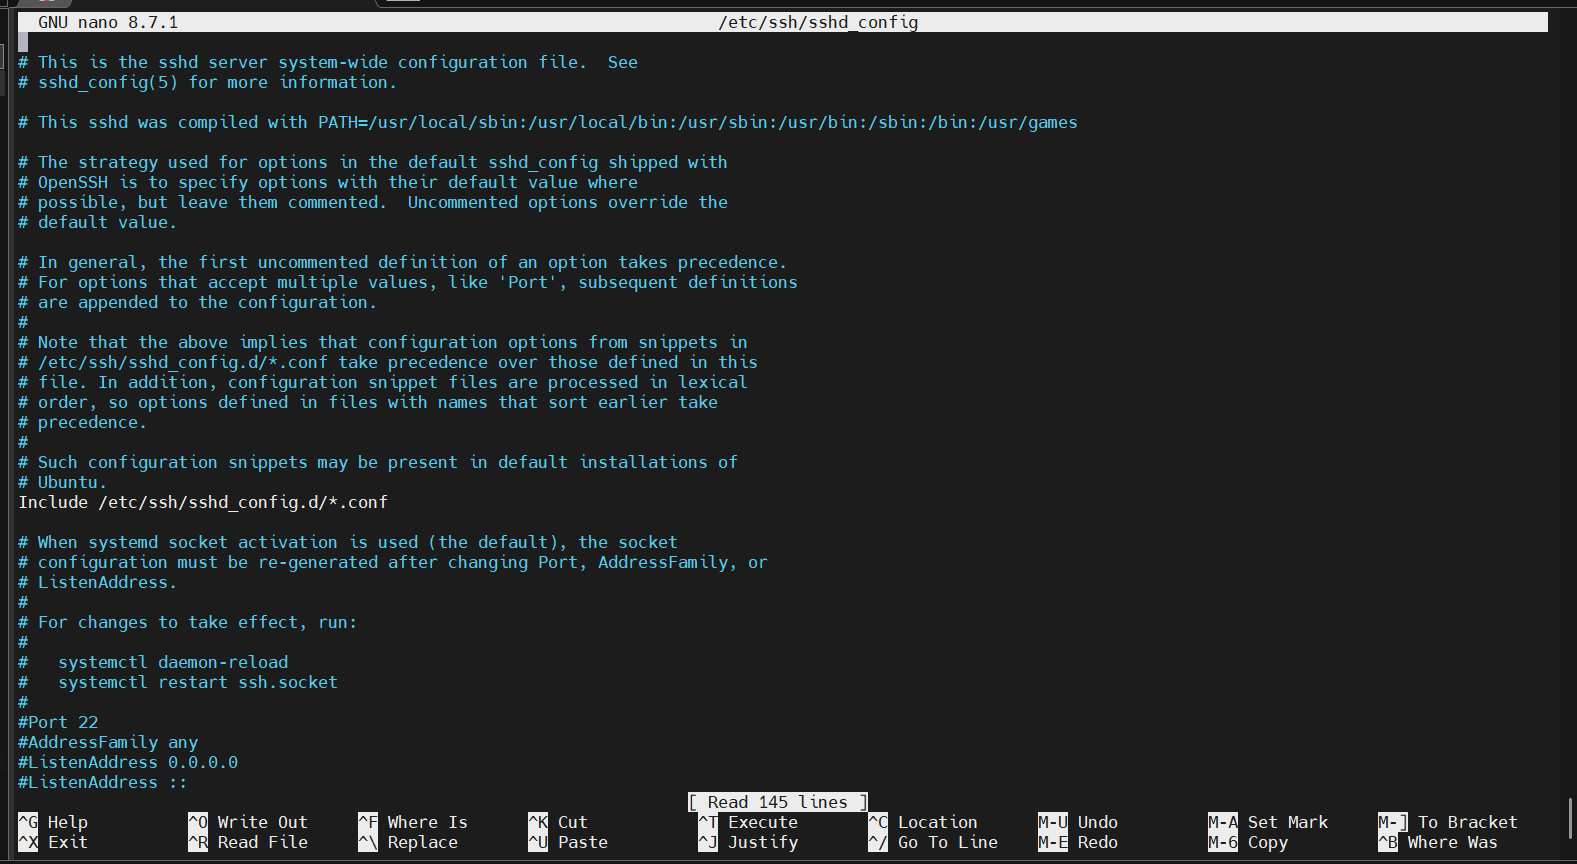
Update the configuration with the following settings:
PermitRootLogin no
PasswordAuthentication no
PubkeyAuthentication yes
ChallengeResponseAuthentication no
UsePAM yes
X11Forwarding no
MaxAuthTries 3
ClientAliveInterval 300
ClientAliveCountMax 2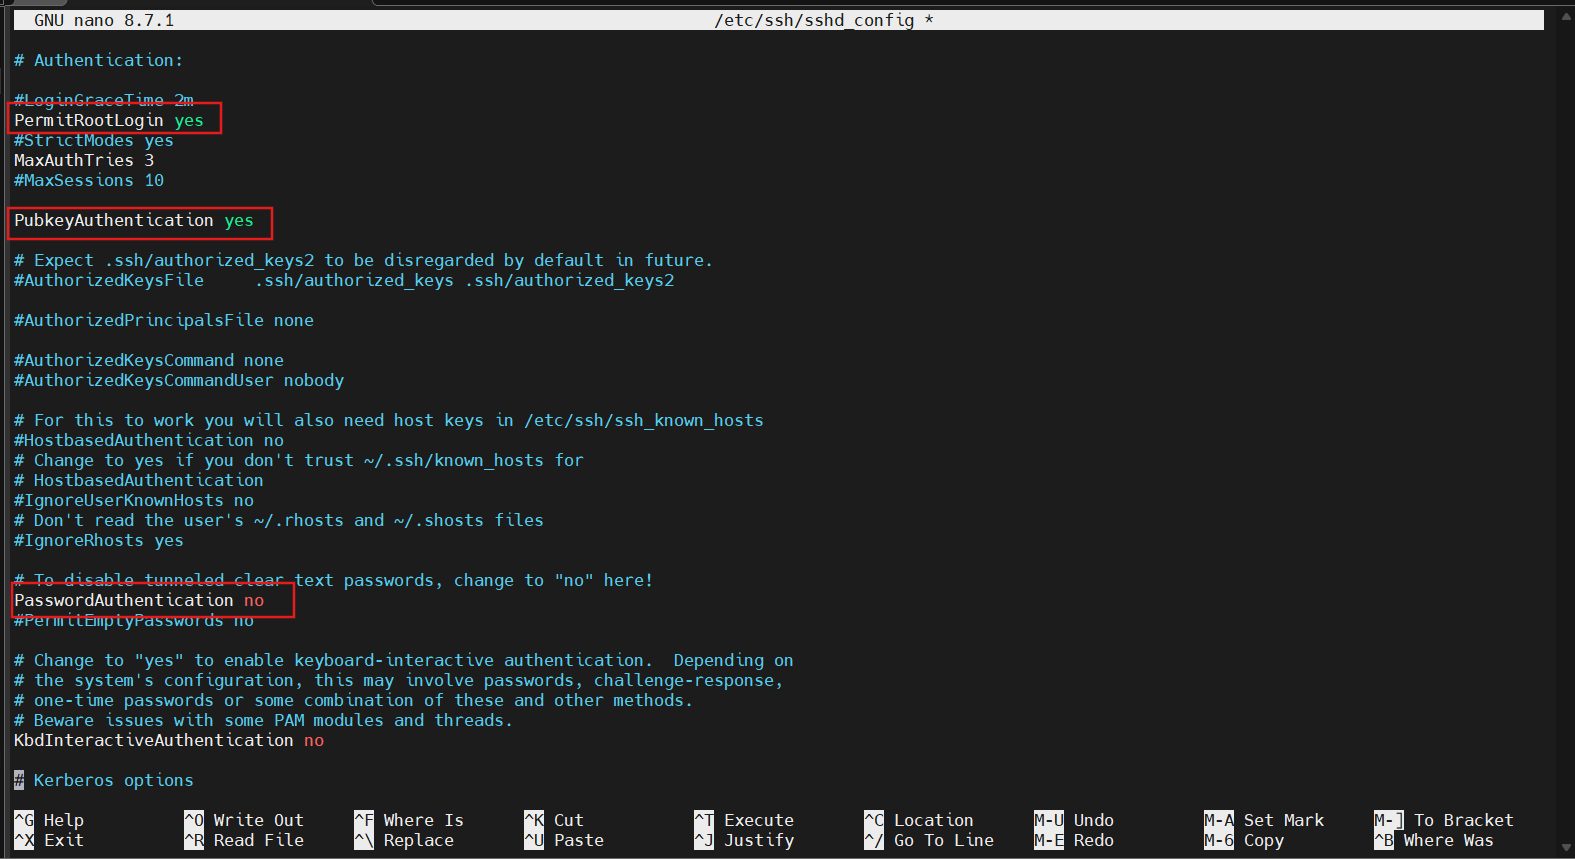
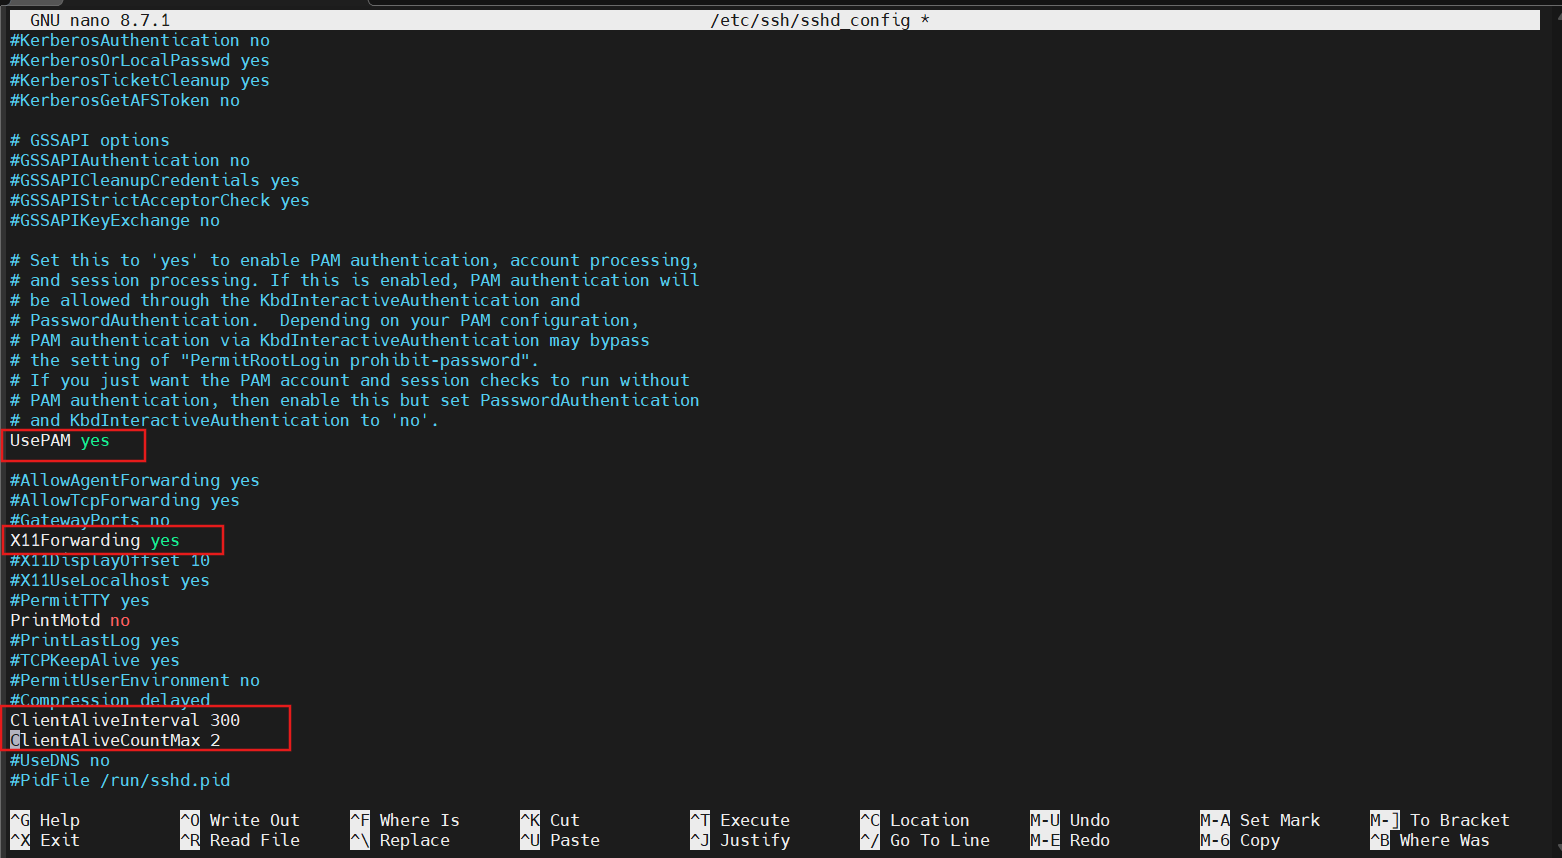
What These Settings Do
- PermitRootLogin no disables direct root SSH access.
- PasswordAuthentication no disables password-based logins.
- PubkeyAuthentication yes enables SSH key authentication.
- ChallengeResponseAuthentication no disables challenge-response logins.
- X11Forwarding no turns off X11 forwarding.
- MaxAuthTries 3 limits login attempts.
- ClientAliveInterval 300 sends a keepalive message every 300 seconds.
- ClientAliveCountMax 2 disconnects inactive sessions after two missed responses.
b) Test the Configuration
Before restarting SSH, verify the syntax:
sudo sshd -t
No output indicates the configuration is valid.
c) Restart SSH
sudo systemctl restart ssh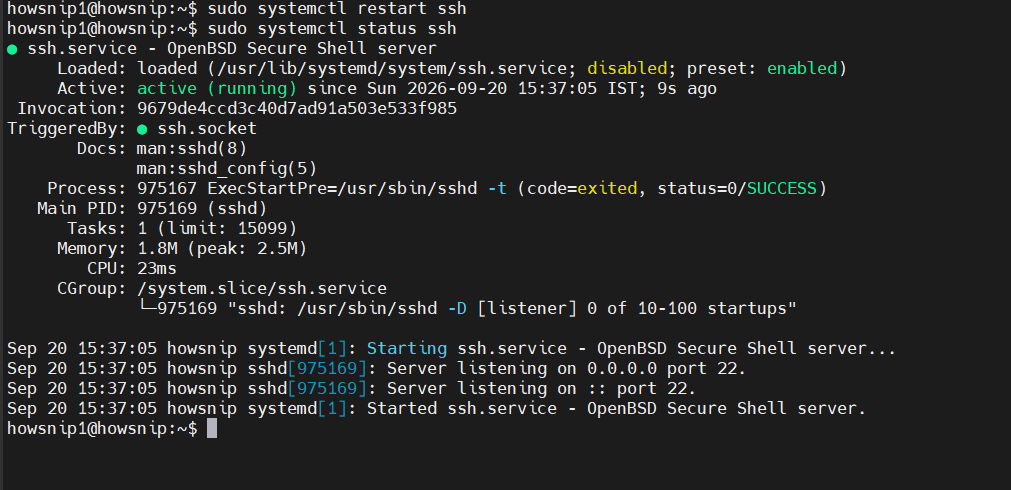
d) Verify Service Status
sudo systemctl status ssh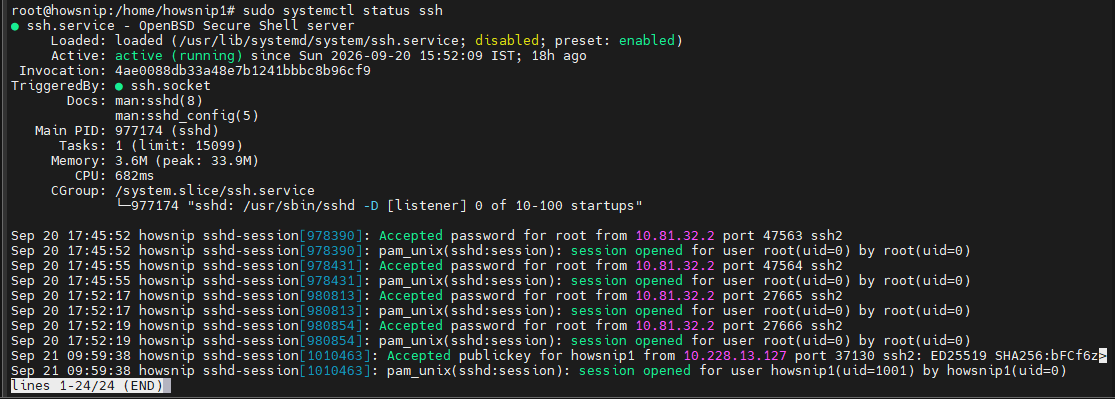
Important: Leave your current SSH session open until you confirm you can reconnect successfully.
Step 5: Configure the UFW Firewall
Ubuntu includes UFW (Uncomplicated Firewall), which simplifies firewall management.
a) Allow SSH Access
sudo ufw allow OpenSSH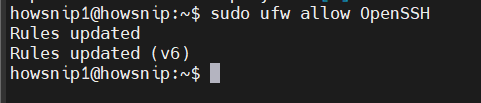
This creates a rule allowing SSH traffic.
b) Enable the Firewall
sudo ufw enable
Type y when prompted.
c) Verify Firewall Rules
sudo ufw status verbose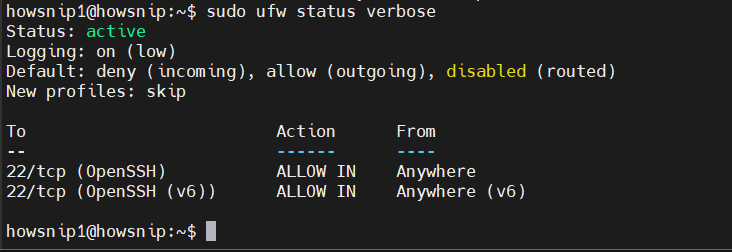
This displays active rules and default policies.
Warning: Always allow SSH access before enabling UFW, or you may lock yourself out of the server.
Step 6: Enable Automatic Security Updates
Keeping security patches installed automatically helps reduce exposure to known vulnerabilities.
a) Install Unattended Upgrades
sudo apt install unattended-upgrades -y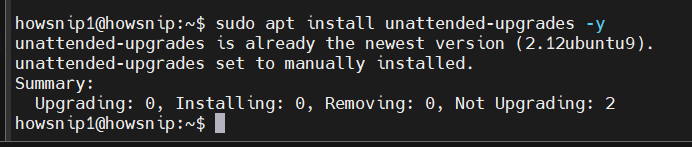
b) Enable Automatic Updates
sudo dpkg-reconfigure --priority=low unattended-upgrades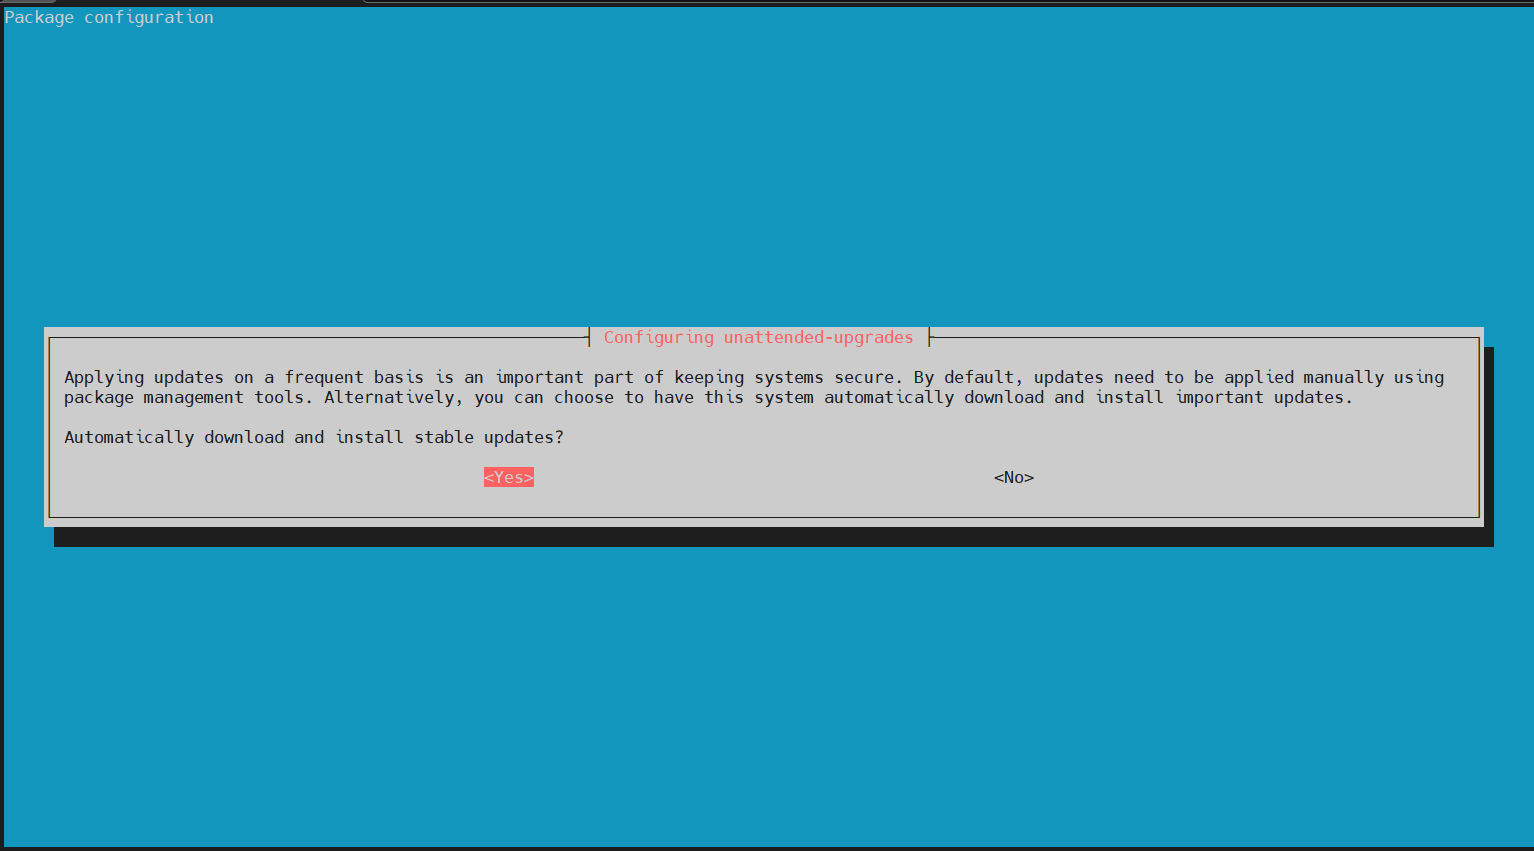
When prompted, select Yes.
c) Verify Configuration
sudo cat /etc/apt/apt.conf.d/20auto-upgrades
You should see:
APT::Periodic::Update-Package-Lists “1”;
APT::Periodic::Unattended-Upgrade “1”;
Note: Automatic updates improve security but should still be tested carefully in production environments.
Step 7: Configure Time Synchronization
Accurate system time is critical for logs, SSL certificates, backups, and authentication services.
a) Check Current Time Settings
timedatectl status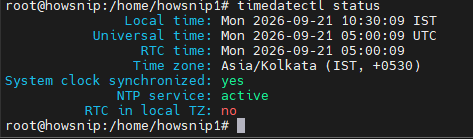
b) Set Your Timezone
Replace the example timezone as needed.
sudo timedatectl set-timezone Asia/Kolkata
c) Enable NTP Synchronization
sudo timedatectl set-ntp true
Step 8: Install Essential Administration Tools
A minimal Ubuntu installation often lacks tools commonly required for server management.
a) Install Recommended Packages
sudo apt install -y curl wget git vim htop net-tools ufw fail2ban apt-transport-https ca-certificates gnupg lsb-release software-properties-common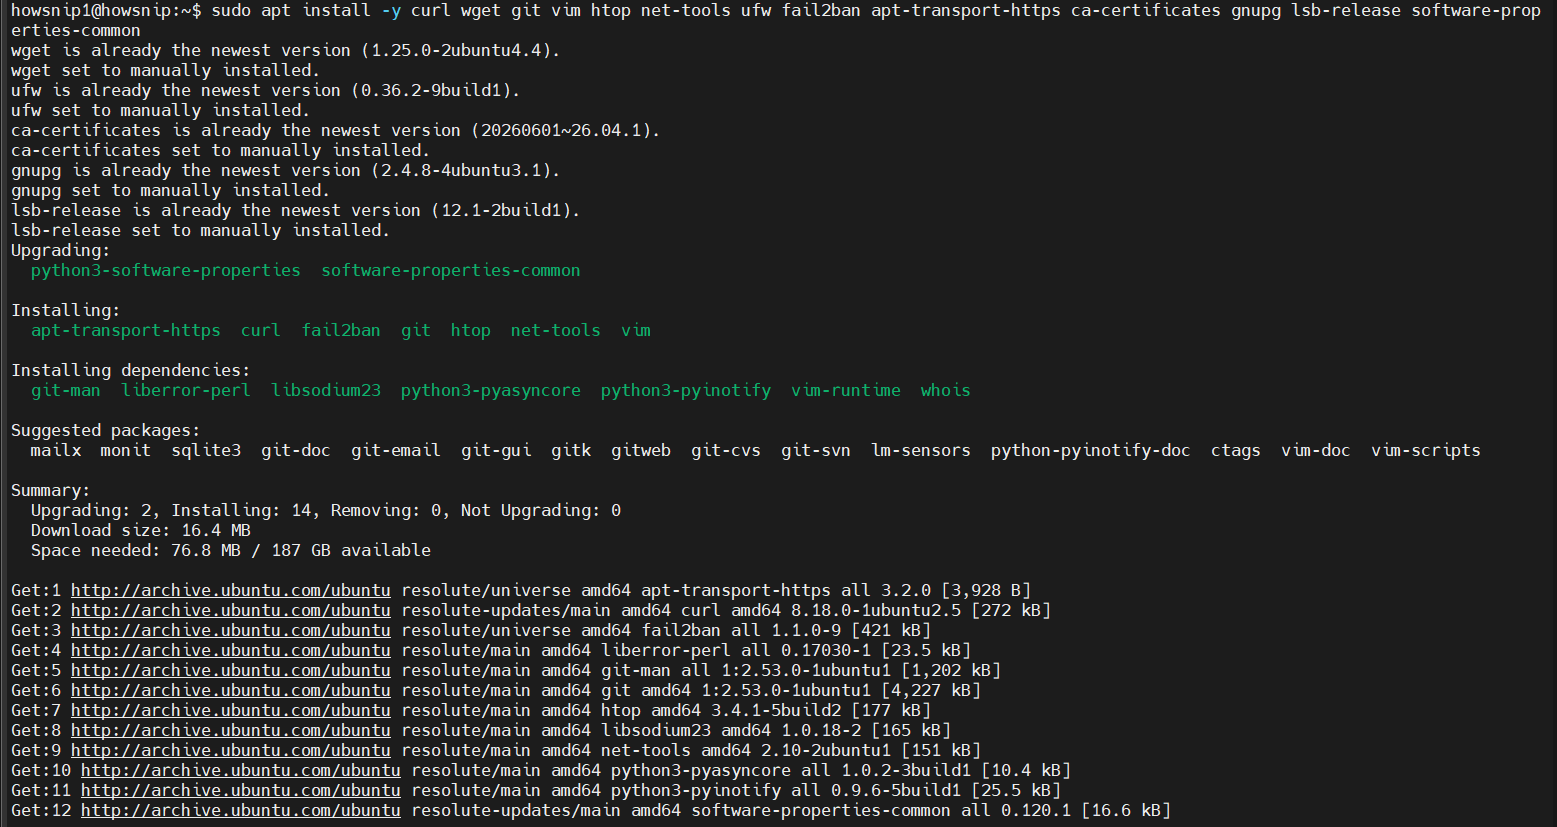
Package Overview
- curl, wget – Download files from remote servers.
- git – Version control system.
- vim – Terminal text editor.
- htop – Interactive process monitor.
- net-tools – Includes utilities like ifconfig and netstat.
- ufw – Firewall management.
- fail2ban – Intrusion prevention.
- apt-transport-https – Enables HTTPS package downloads.
- ca-certificates – Trusted SSL certificates.
- gnupg – Package signing verification.
- lsb-release – Distribution information.
- software-properties-common – Repository management utilities.
Step 9: Configure Fail2Ban
Fail2Ban helps protect against brute-force attacks by temporarily banning suspicious IP addresses.
a) Create the Local Configuration File
sudo nano /etc/fail2ban/jail.local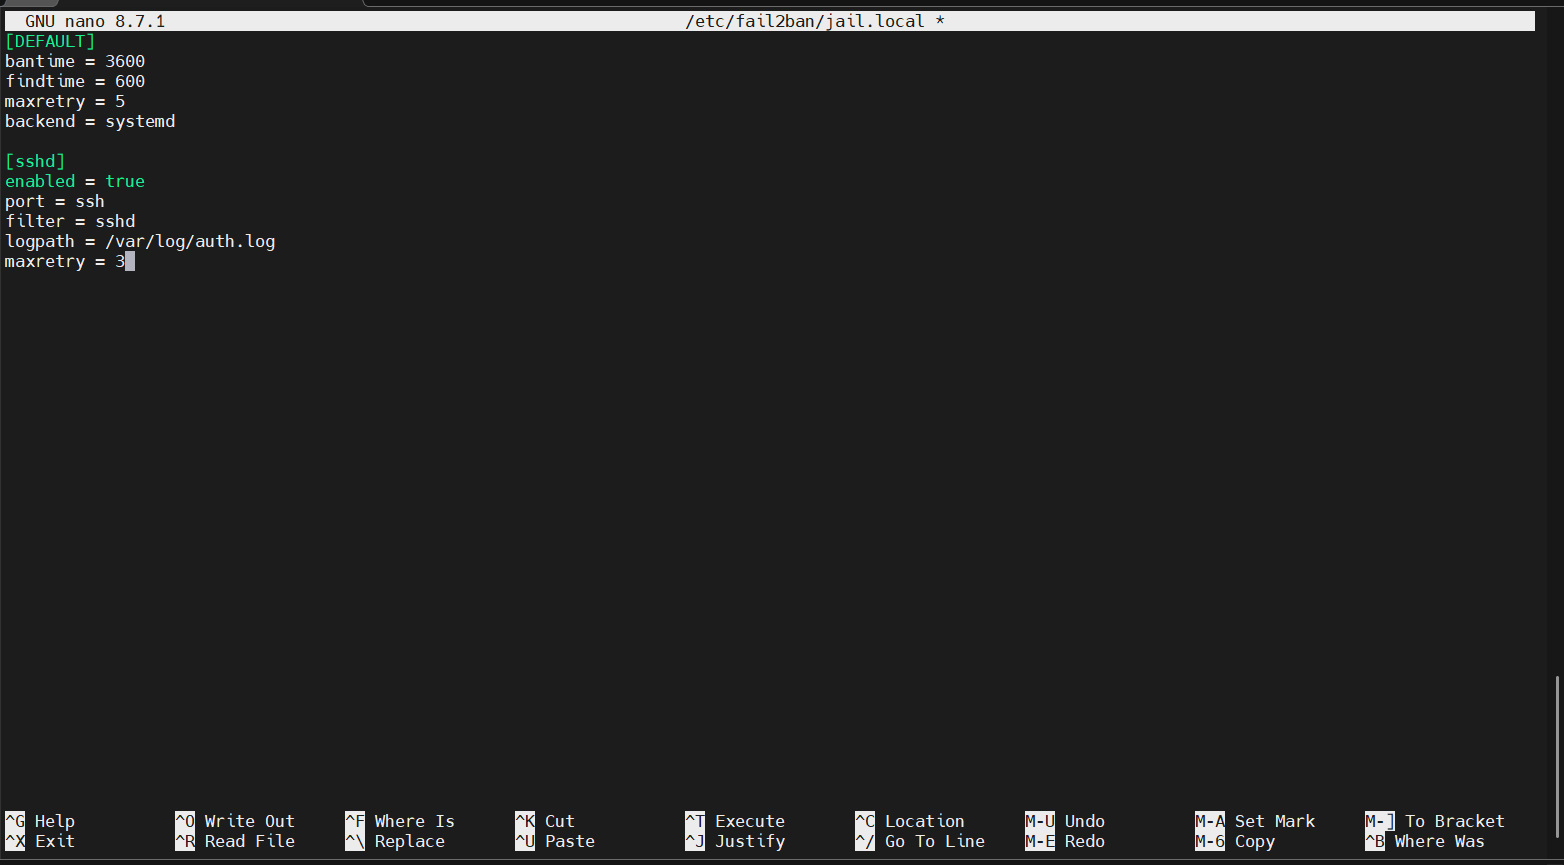
Add the following configuration:
[DEFAULT]
bantime = 3600
findtime = 600
maxretry = 5
backend = systemd

[sshd]
enabled = true
port = ssh
filter = sshd
logpath = /var/log/auth.log
maxretry = 3
Configuration Overview
- bantime – Ban duration of 1 hour.
- findtime – Monitoring period of 10 minutes.
- maxretry – Failed attempts allowed before a ban.
- backend = systemd – Reads logs from systemd.
b) Restart Fail2Ban
sudo systemctl restart fail2banc) Verify Protection Status
sudo fail2ban-client status sshdStep 10: Create Swap Space (If Needed)
Swap provides additional virtual memory when RAM usage becomes high.
a) Check Existing Swap
sudo swapon --show
free -h
b) Create a 2GB Swap File
sudo fallocate -l 2G /swapfile
c) Secure File Permissions
sudo chmod 600 /swapfile
d) Format the Swap File
sudo mkswap /swapfile
e) Enable Swap
sudo swapon /swapfile
f) Make Swap Persistent
echo '/swapfile none swap sw 0 0' | sudo tee -a /etc/fstab
g) Verify Swap Configuration
sudo swapon --show
Tip: Swap is especially useful on servers with limited RAM and can prevent unexpected out-of-memory situations.
Step 11: Configure Kernel Hardening Parameters
Linux kernel parameters can be adjusted to improve network and system security.
a) Create a Hardening Configuration File
sudo nano /etc/sysctl.d/99-hardening.conf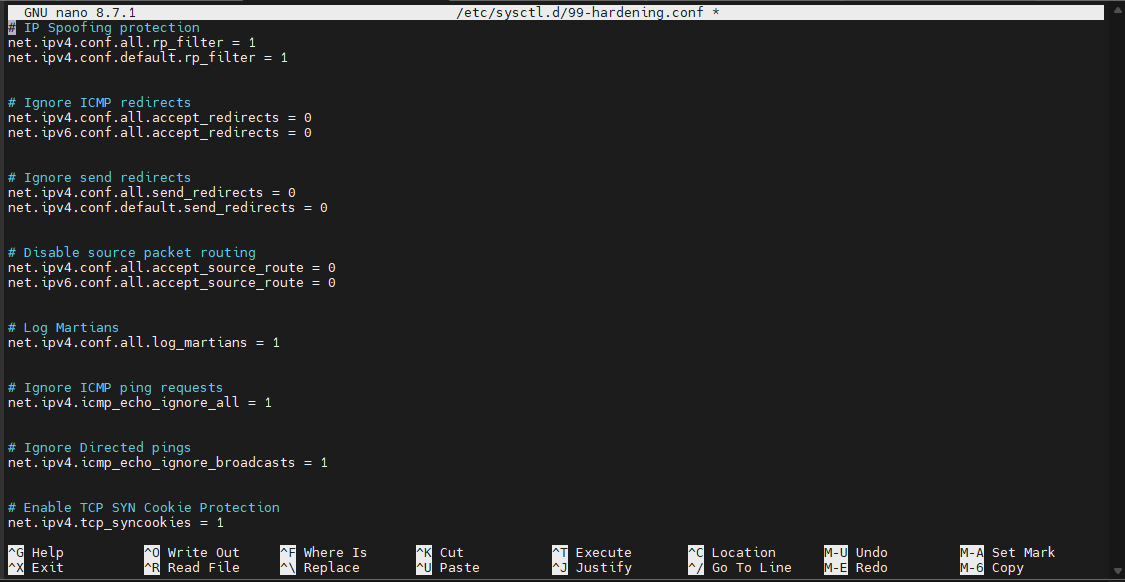
Add:
# IP Spoofing protection
net.ipv4.conf.all.rp_filter = 1
net.ipv4.conf.default.rp_filter = 1

# Ignore ICMP redirects
net.ipv4.conf.all.accept_redirects = 0
net.ipv6.conf.all.accept_redirects = 0

# Ignore send redirects
net.ipv4.conf.all.send_redirects = 0
net.ipv4.conf.default.send_redirects = 0

# Disable source packet routing
net.ipv4.conf.all.accept_source_route = 0
net.ipv6.conf.all.accept_source_route = 0

# Log Martians
net.ipv4.conf.all.log_martians = 1

# Ignore ICMP ping requests
net.ipv4.icmp_echo_ignore_all = 1

# Ignore Directed pings
net.ipv4.icmp_echo_ignore_broadcasts = 1

# Enable TCP SYN Cookie Protection
net.ipv4.tcp_syncookies = 1

# Disable IPv6 (if not needed)
net.ipv6.conf.all.disable_ipv6 = 1
net.ipv6.conf.default.disable_ipv6 = 1
Apply the Settings
sudo sysctl -p /etc/sysctl.d/99-hardening.conf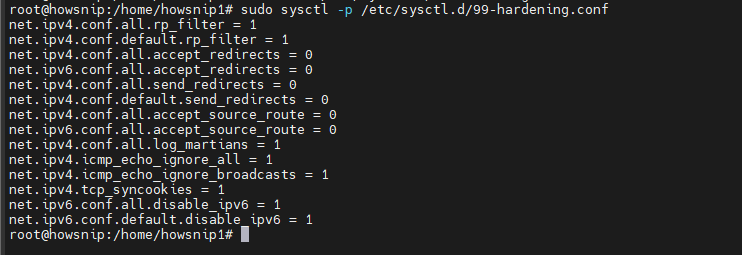
Important: Test carefully before disabling IPv6 or ICMP responses because some applications and monitoring systems may depend on them.
Step 12: Configure Logging and Monitoring
Basic monitoring and centralized logging help identify problems before they become service outages.
a) Install and Enable rsyslog
sudo apt install rsyslog -y
sudo systemctl enable rsyslog
sudo systemctl start rsyslog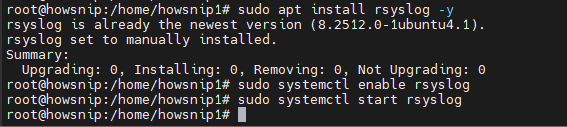
b) Install Logwatch
sudo apt install logwatch -y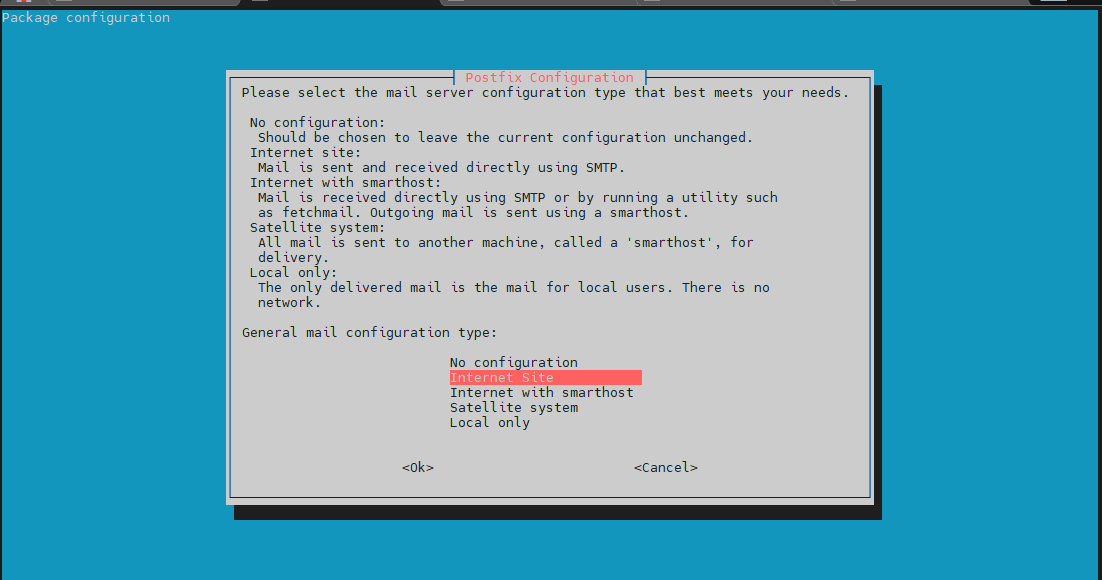
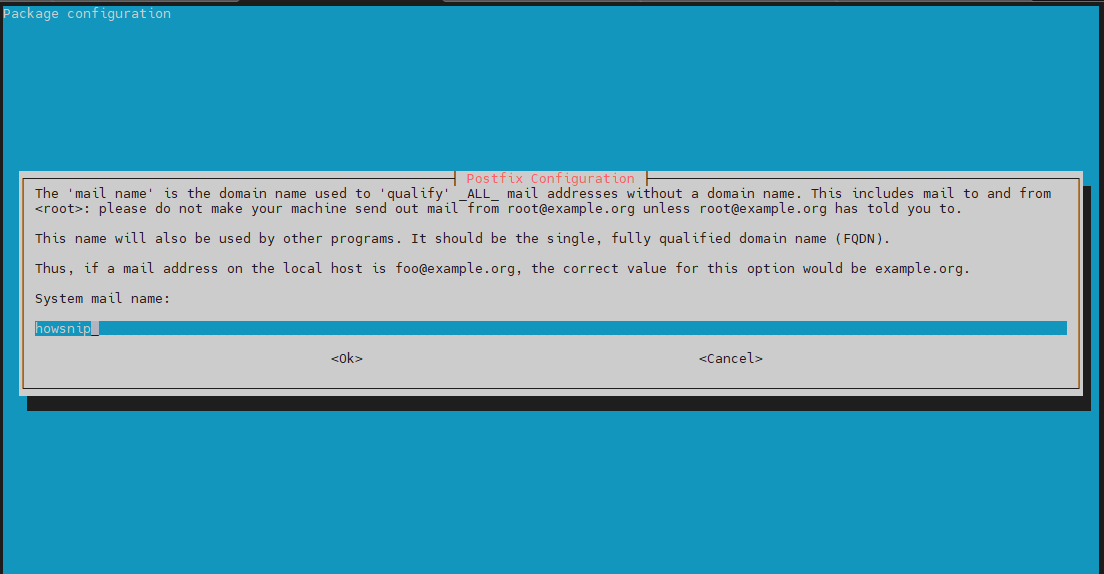
c) Configure Daily Email Reports
Edit the Logwatch cron job:
sudo nano /etc/cron.daily/00logwatch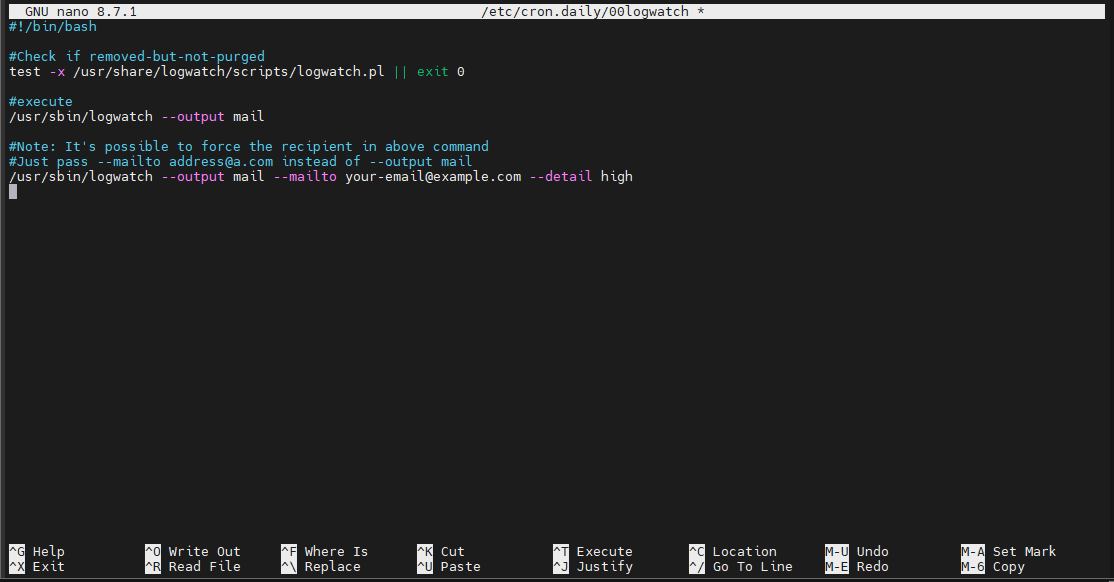
Add:
/usr/sbin/logwatch --output mail --mailto your-email@example.com --detail highTip: For production environments, consider centralized logging platforms such as Elasticsearch, Loki, or a SIEM solution.
Step 13: Create a Basic Backup Strategy
Backups are essential for disaster recovery and server maintenance.
a) Create a Backup Directory
sudo mkdir -p /backups
b) Create a Backup Script
sudo nano /usr/local/bin/backup.sh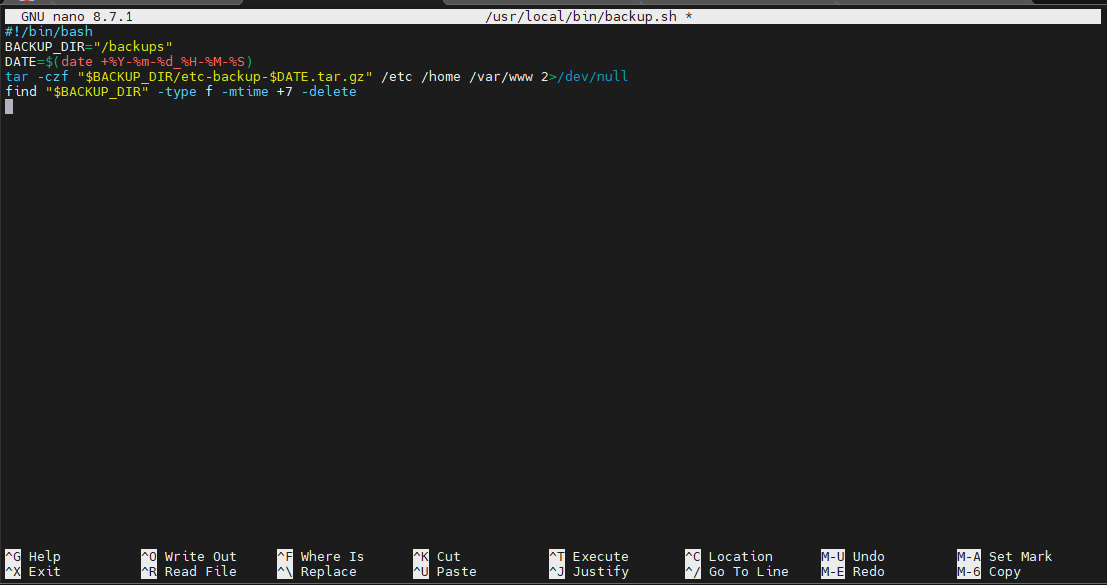
Add:
#!/bin/bash

BACKUP_DIR="/backups"
DATE=$(date +%Y-%m-%d_%H-%M-%S)

tar -czf "$BACKUP_DIR/etc-backup-$DATE.tar.gz" /etc /home /var/www 2>/dev/null

find "$BACKUP_DIR" -type f -mtime +7 -delete
This script:
- Creates compressed backups.
- Archives /etc, /home, and /var/www.
- Deletes backups older than 7 days.
c) Make the Script Executable
sudo chmod +x /usr/local/bin/backup.sh
d) Schedule Automatic Backups
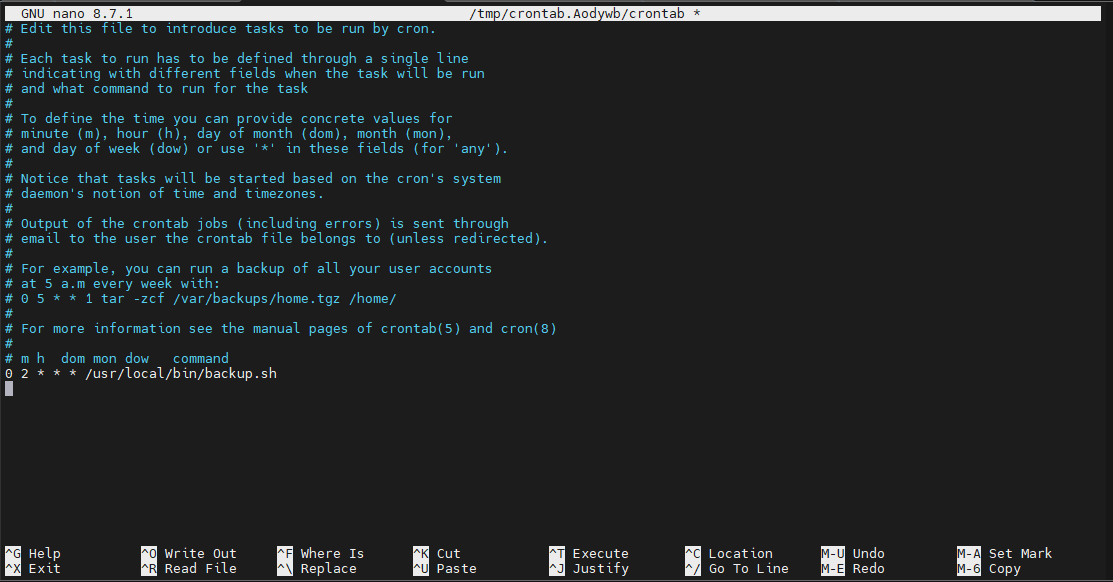
Open the root crontab:
sudo crontab -eAdd:
0 2 * * * /usr/local/bin/backup.shThis runs the backup every day at 2:00 AM.
Important: Always test restoration procedures, not just backup creation.
Step 14: Reboot and Verify Everything
Once configuration is complete, reboot the server and confirm that all services are working correctly.
a) Reboot the Server
sudo rebootb) Perform Final Verification Checks
Check uptime:
uptime
Check firewall:
sudo ufw status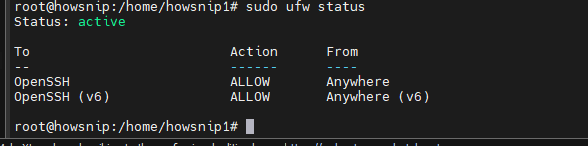
Check Fail2Ban:
sudo fail2ban-client status sshdCheck swap:
sudo swapon --show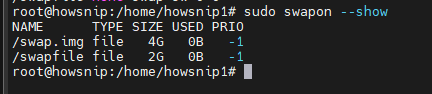
Check time synchronization:
timedatectl status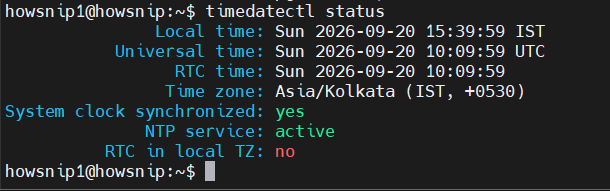
Check SSH service:
sudo systemctl status sshConclusion
A newly installed Ubuntu server should never be left with default settings. By updating the system, creating a dedicated administrative user, securing SSH access, configuring a firewall, enabling automatic updates, implementing monitoring, and setting up backups, you’ve established a much stronger and more maintainable server environment.
These steps provide a practical baseline for both personal and production servers. As your infrastructure grows, you can build on this foundation with centralized monitoring, advanced backup solutions, configuration management tools, and additional security controls.