
The wget command is one of the most useful download utilities available on Linux. It allows you to download files from the internet using HTTP, HTTPS, and FTP protocols directly from the command line.
Whether you’re downloading large ISO files, automating downloads in scripts, creating offline website copies, or working on remote servers without a graphical interface, wget is a reliable tool that gets the job done.
In this tutorial, you’ll learn how to install and use wget, along with practical examples ranging from basic file downloads to advanced automation techniques.
Note: This tutorial includes references to places where screenshots are helpful. You can insert your existing screenshots at those points.
What Is wget?
wget is a non-interactive command-line downloader. Unlike browser downloads that require an active session, wget can continue working unattended, making it ideal for automation and remote server management.
Some of its most useful capabilities of wget include:
- Downloading files via HTTP, HTTPS, and FTP
- Resuming interrupted downloads
- Running downloads in the background
- Downloading multiple files from a list
- Limiting bandwidth usage
- Handling authenticated downloads
- Mirroring websites for offline viewing
- Checking websites for broken links
Prerequisites
Before starting, make sure:
- You have access to a Linux system.
- You have permission to install packages (if wget is not already installed).
- You have an active internet connection.
Step 1: Install wget on Linux
Most Linux distributions include wget by default. If it is not available on your system, install it using your distribution’s package manager.
For Ubuntu and Debian, the command is:
sudo apt install wget
This command installs wget from the default repositories.
For Fedora,
sudo dnf install wgetFor RHEL and CentOS,
sudo yum install wgetThe above command uses YUM to install the package on Red Hat-based distributions.
For Arch Linux,
sudo pacman -S wgetIt installs wget from Arch repositories.
For Alpine Linux,
apk add wgetIt uses Alpine’s package manager to install the tool.
Basic wget Syntax
The general syntax of the command is:
wget [options] <URL>wget invokes the utility.
- [options] modifies the download behavior.
- <URL> specifies the file location to download.
Step 2: Download a File with wget
The simplest use case is downloading a file from a URL.
wget https://releases.ubuntu.com/22.04/ubuntu-22.04.5-live-server-amd64.iso
This command downloads the Ubuntu Server ISO into the current directory.
When executed, wget:
- Resolves the domain name.
- Connects to the remote server.
- Starts the download.
- Displays progress information, transfer speed, and estimated completion time.
By default, the downloaded file keeps its original filename.
Step 3: Save a File with a Custom Name
Sometimes downloaded files have long or confusing names. You can rename them while downloading using the -O option.
wget -O ubuntu-server.iso https://releases.ubuntu.com/22.04/ubuntu-22.04.5-live-server-amd64.iso
What this does
- Downloads the file from the specified URL.
- Saves it locally as ubuntu-server.iso.
This is especially useful when working with dynamically generated URLs or maintaining a naming convention in scripts.
Important: The option is a capital O, not a lowercase o.
Step 4: Download Files to a Different Directory
Use the -P option to specify a destination directory.
wget -P ~/Downloads https://www.w3.org/WAI/ER/tests/xhtml/testfiles/resources/pdf/dummy.pdf
What this does
- Downloads the file.
- Saves it directly into the Downloads folder.
If the directory does not exist, create it first:
mkdir -p ~/DownloadsStep 5: Resume an Interrupted Download
Large downloads can fail because of network interruptions or accidental termination. The -c option lets you continue where the download stopped.
wget -c https://releases.ubuntu.com/22.04/ubuntu-22.04.5-live-server-amd64.iso
What this does
- Checks whether a partial download already exists.
- Continues downloading only the missing portion.
- Prevents downloading the entire file again.
This feature is especially useful for multi-gigabyte files such as ISO images, backups, and archives.
Step 6: Control wget Output
By default, wget displays detailed information in the terminal. You can adjust how much information is shown.
a) Quiet Mode
Suppress all terminal output.
wget -q <URL>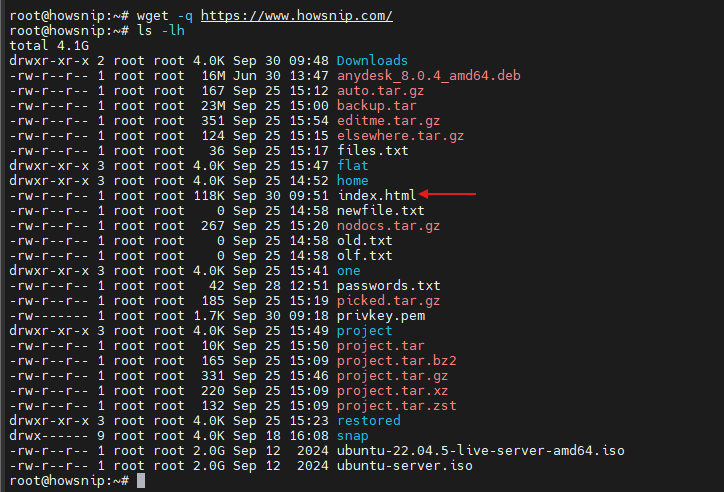
The above command is useful when running automated scripts.
b) Non-Verbose Mode
Display only important messages and errors.
wget -nv <URL>
This provides cleaner output while still showing important information.
c) Show Only the Progress Bar
wget -q --show-progress https://releases.ubuntu.com/22.04/ubuntu-22.04.5-live-server-amd64.iso
This displays a progress bar without the extra connection details.
For older versions of wget, you may need:
wget -q --show-progress --progress=bar:force <URL>Step 7: Download Multiple Files at Once
Instead of downloading files individually, place URLs in a text file.
Create a file called downloads.txt:
cat > downloads.txt << EOF
https://wordpress.org/latest.tar.gz
https://github.com/docker/compose/releases/download/v2.23.0/docker-compose-linux-x86_64
https://go.dev/dl/go1.21.5.linux-amd64.tar.gz
EOF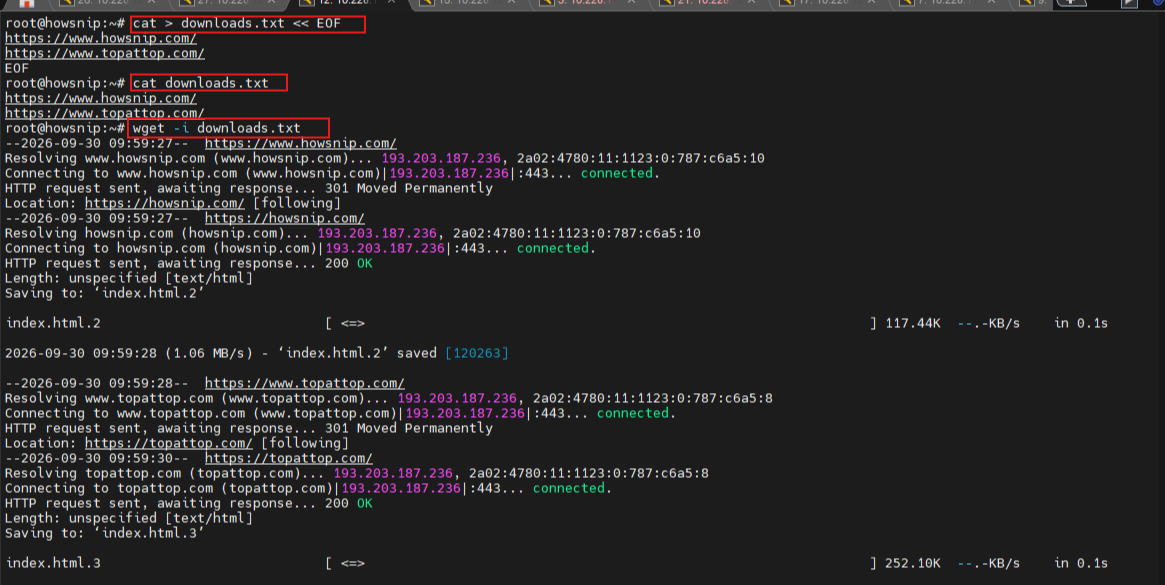
Download all files with:
wget -i downloads.txtWhat this does
- Reads URLs from the file.
- Downloads each file sequentially.
- Simplifies bulk downloads and automation tasks.
You can combine additional options as needed:
wget -i downloads.txt -P ~/Downloads -q --show-progressStep 8: Limit Download Speed
When sharing bandwidth with other users or applications, use –limit-rate.
wget --limit-rate=500k https://releases.ubuntu.com/22.04/ubuntu-22.04.3-live-server-amd64.iso
What this does
- Restricts download speed to approximately 500 KB/s.
- Prevents downloads from consuming all available bandwidth.
Examples:
- –limit-rate=100k – Limits speed to 100 KB/s.
- –limit-rate=2m – Limits speed to 2 MB/s.
Resume with a New Speed Limit
wget -c --limit-rate=200k https://releases.ubuntu.com/22.04/ubuntu-22.04.3-live-server-amd64.iso
This continues the download while applying a new bandwidth limit.
Step 9: Download Files from Password-Protected Sites
a) HTTP and HTTPS Authentication
Provide a username and password directly:
wget --http-user=myusername --http-password=mypassword https://example.com/protected/file.zip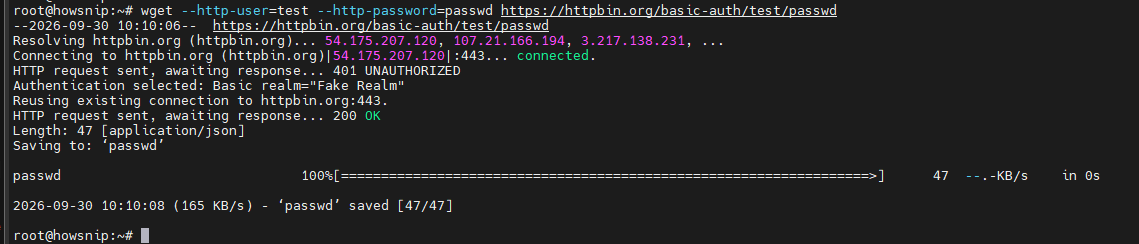
Security Warning
Passwords become visible in shell history and process listings.
A safer method is:
wget --http-user=myusername --ask-password https://example.com/protected/file.zip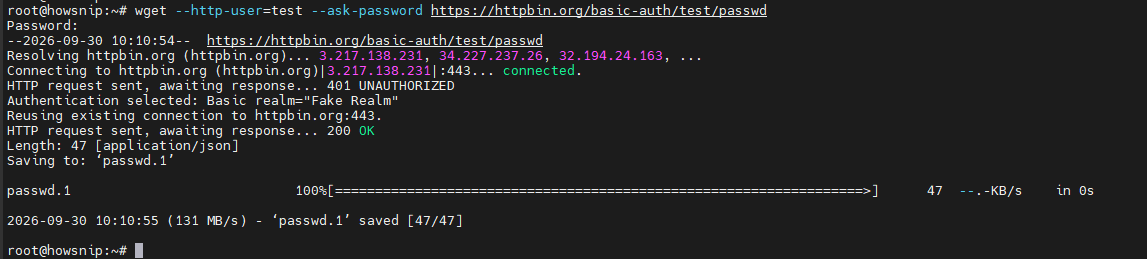
This prompts for the password securely.
b) FTP Authentication
wget --ftp-user=ftpuser --ftp-password=ftppass ftp://ftp.example.com/files/archive.tar.gz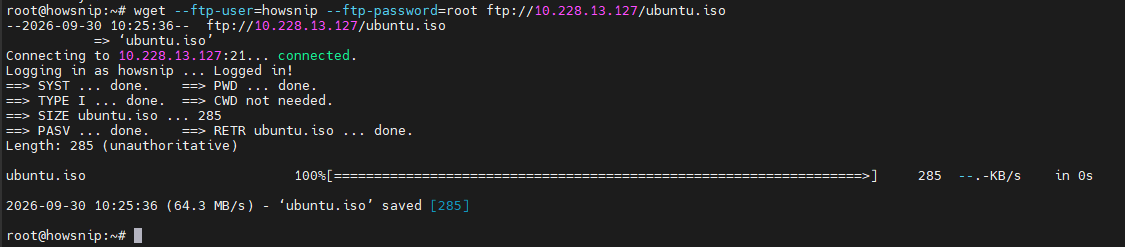
Alternatively:
wget ftp://username:password@ftp.example.com/files/archive.tar.gz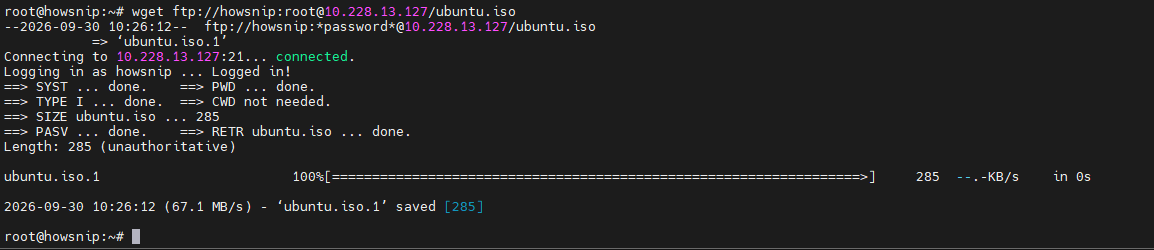
Again, avoid embedding passwords in commands when possible.
c) Store Credentials in ~/.wgetrc
Create a configuration file:
cat > ~/.wgetrc << EOF
http_user=myusername
http_password=mypassword
ftp_user=ftpuser
ftp_password=ftppass
EOF

chmod 600 ~/.wgetrc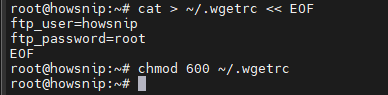
What this does
- Stores login credentials for automated use.
- Restricts file access to the current user.
Important: For sensitive production environments, dedicated secret management solutions are more secure than storing passwords in plain text files.
Step 10: Mirror an Entire Website
wget can create an offline copy of a website.
wget -m -p -k -E https://example.com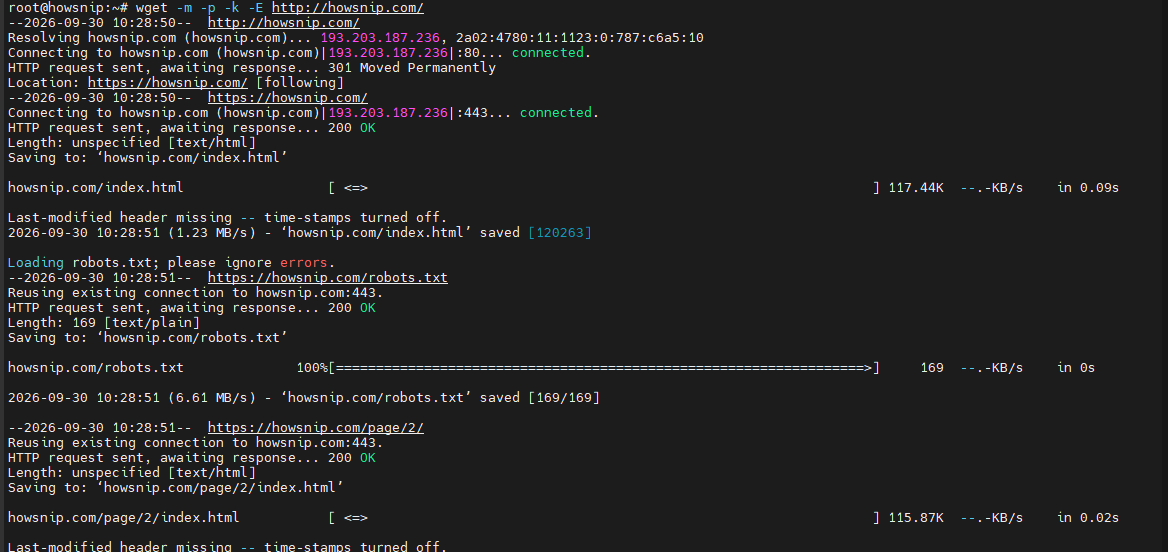
Here,
- Option Purpose-m Enable website mirroring
- -p Download required assets such as images, CSS, and JavaScript
- -k Convert links for offline browsing
- -E Add appropriate file extensions
a) Limit Mirror Depth
wget -m -p -k -E -l 3 --no-parent https://example.com/documentation/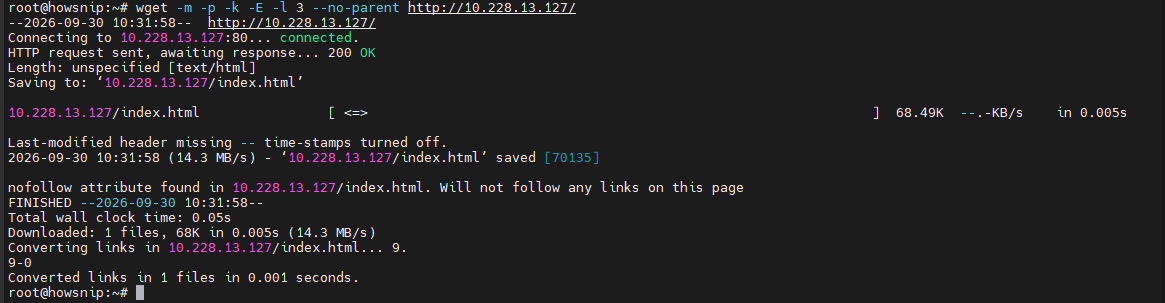
What these options do
- -l 3 limits recursion to three levels.
- –no-parent prevents crawling outside the specified directory.
b) Add Delays Between Requests
wget -m -p -k -E --wait=2 https://example.com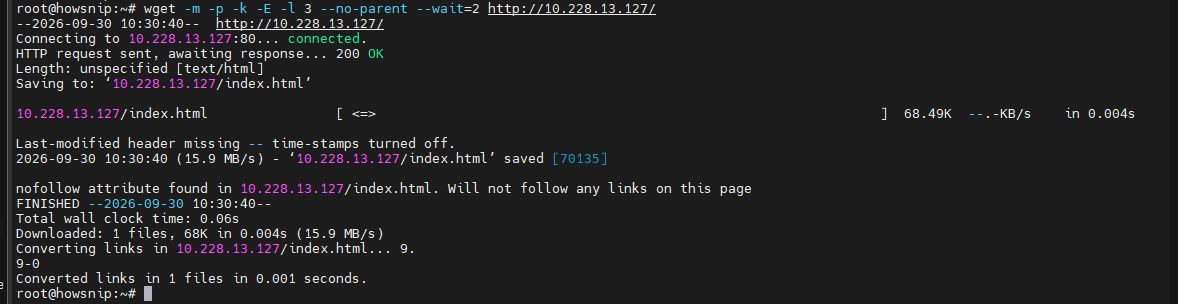
This waits two seconds between requests and reduces server load.
Warning: Always review a site’s terms of service and avoid overwhelming servers with aggressive crawling.
Step 11: Find Broken Links on a Website
Use Spider Mode to crawl a website without downloading content.
wget --spider -r -l 5 https://yourwebsite.com -o link-check.log
What this does
- Checks links instead of downloading files.
- Records results in a log file.
- Helps identify missing pages and broken URLs.
Extract 404 Errors
grep -B 2 '404' link-check.log | grep 'http' | cut -d ' ' -f 4 | sort -uThis command:
- Searches for 404 errors.
- Extracts affected URLs.
- Removes duplicates.
- Produces a clean list of broken links.
Step 12: Run Downloads in the Background
For large files, you may not want to keep a terminal session open.
wget -b https://releases.ubuntu.com/22.04/ubuntu-22.04.3-live-server-amd64.iso
What this does
- Sends the download to the background.
- Returns terminal control immediately.
- Displays the process ID (PID).
- Monitor Download Progress
By default, wget writes logs to wget-log.
tail -f wget-log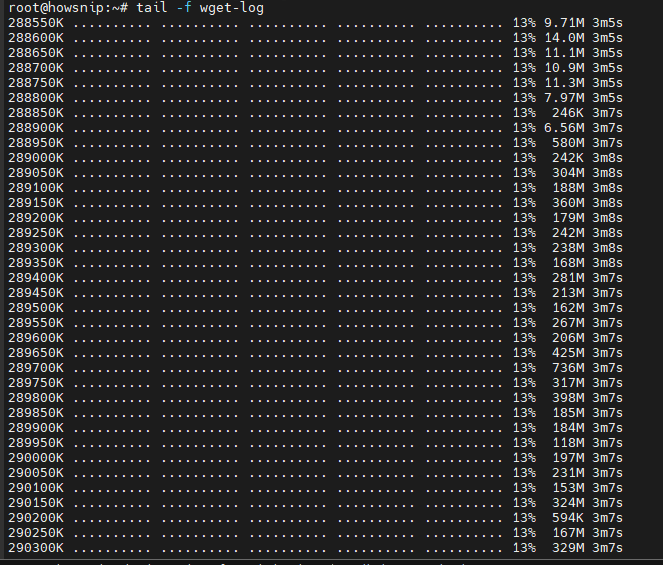
This displays download progress in real time.
To save logs elsewhere:
wget -b -o ~/downloads/ubuntu.log https://releases.ubuntu.com/22.04/ubuntu-22.04.3-live-server-amd64.iso
Stop a Background Download
kill 12345
Replace 12345 with the actual process ID shown by wget.
Step 13: Handle HTTPS Certificate Errors
Occasionally, downloads fail because of certificate validation issues.
wget --no-check-certificate https://self-signed.example.com/file.zip
What this does
- Disables SSL certificate verification.
- Allows downloads from servers using self-signed certificates.
Warning: Only use this option when you trust the source. Disabling certificate verification can expose you to security risks.
Useful Advanced wget Techniques
a) Download Only If the File Has Changed
wget -N https://example.com/daily-data.csv
The -N option enables timestamp checking.
Benefits
- Downloads only newer versions.
- Saves bandwidth.
- Useful for scheduled synchronization tasks.
b) Increase Retries on Unstable Connections
wget --tries=10 --retry-connrefused --waitretry=5 https://example.com/file.tar.gz
What this does
- Tries up to 10 times.
- Waits 5 seconds between attempts.
- Retries even if the server refuses the connection.
c) Use a Custom User-Agent
Some websites block wget’s default user-agent string.
wget --user-agent="Mozilla/5.0 (Windows NT 10.0; Win64; x64) AppleWebKit/537.36" https://example.com/file.pdf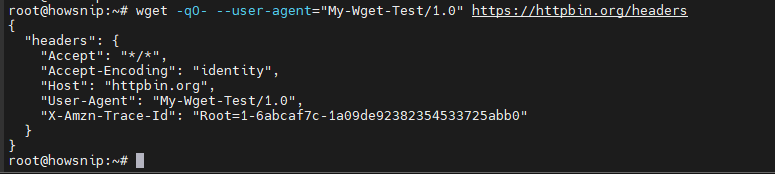
This makes the request appear similar to a standard web browser request.
Note: Only use custom user agents when permitted by the target website.
Conclusion
The wget command is a powerful Linux utility for downloading files, automating transfers, website mirroring, and network-related tasks.
For most users, mastering a few essential options such as -O, -P, -c, -i, and -b will cover the majority of download scenarios. As your needs grow, features like website mirroring, link checking, rate limiting, and automated authentication make wget an invaluable tool in any Linux toolkit.