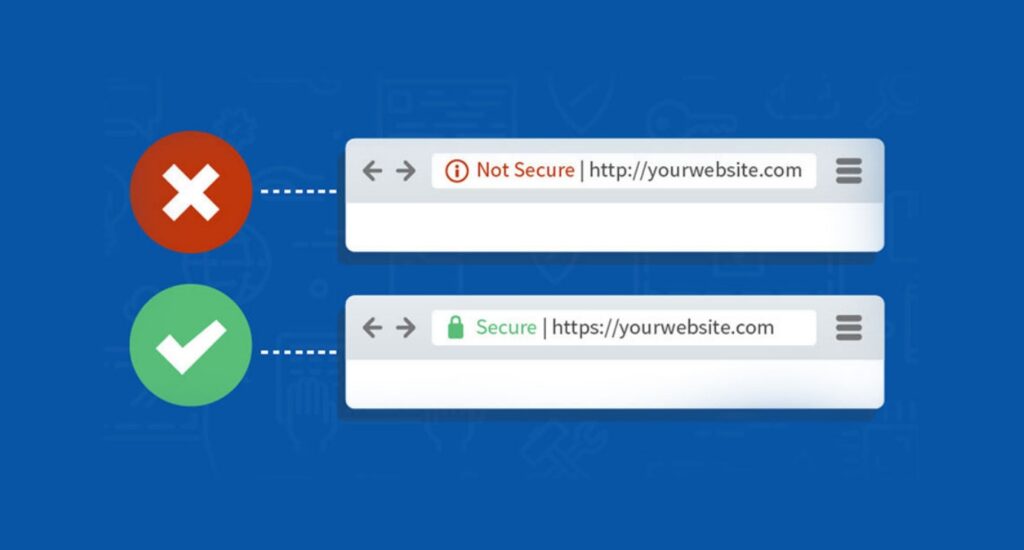

Setting up HTTPS is an important step when deploying a website or application. While production environments should use certificates issued by a trusted Certificate Authority (CA), a self-signed SSL certificate is a practical option for development, testing, internal applications, or lab environments.
This tutorial shows how to install Apache, generate a self-signed SSL certificate, configure HTTPS, and secure your site on Ubuntu 26.04.
Prerequisites
Before starting, make sure you have:
- An Ubuntu server.
- A user account with sudo privileges.
- A domain name or hostname pointing to your server.
- Access to the server terminal.
Note: Self-signed certificates are not trusted by browsers by default. Visitors will see a security warning unless the certificate is manually trusted.
Step 1: Install Apache on Ubuntu Server
First, update the system package index and install Apache.
sudo apt update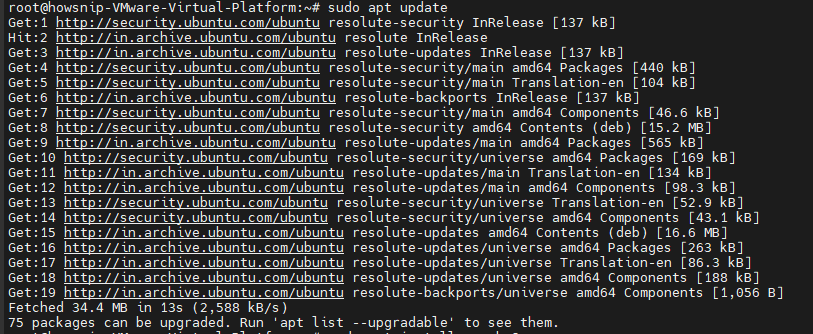
Now install the apache2 package by typing the following command:
sudo apt install apache2 -y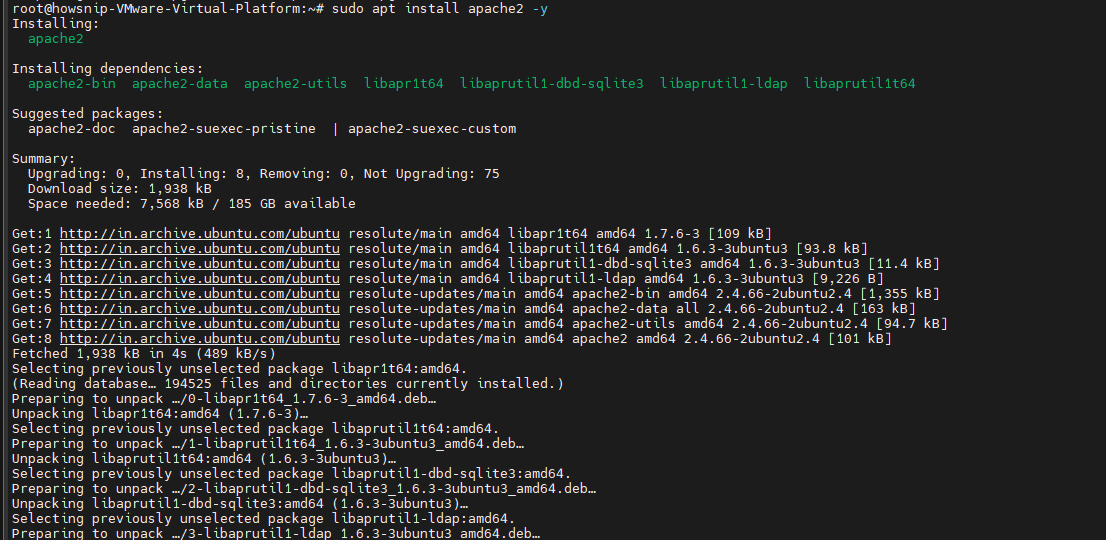
After installation, start Apache and configure it to launch automatically at boot.
sudo systemctl start apache2
sudo systemctl enable apache2
Verify that the web server is running correctly:
sudo systemctl status apache2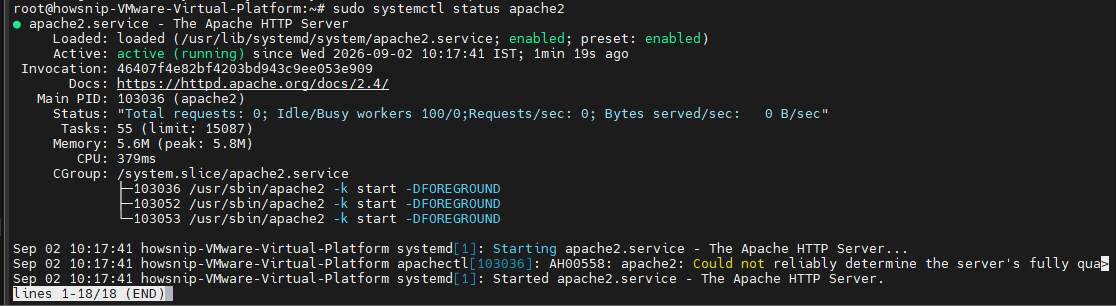
If Apache is not running, try starting it manually:
sudo systemctl start apache2
If the service still fails, review the system logs for details:
journalctl -xeStep 2: Enable SSL and Header Modules
Apache includes the required SSL module, but it is not enabled by default.
Enable both mod_ssl and mod_headers:
sudo a2enmod ssl
sudo a2enmod headers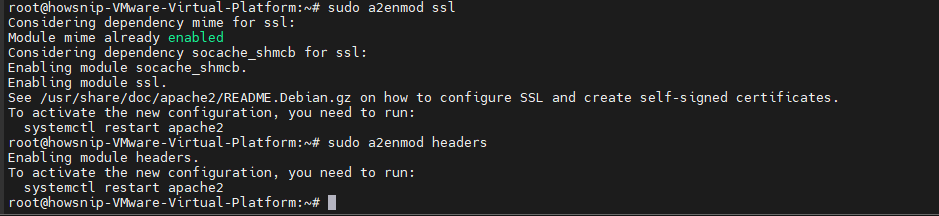
Restart Apache to apply the changes:
sudo systemctl restart apache2
To confirm the modules are loaded, run:
sudo apache2ctl -M | grep -E 'ssl|headers'
Expected output:
- headers_module (shared)
- ssl_module (shared)
This confirms that SSL support and security header functionality are available.
Step 3: Generate a Self-Signed SSL Certificate
Ubuntu includes OpenSSL, which can generate both the private key and certificate. Modern browsers require the certificate to contain a Subject Alternative Name (SAN). Without it, browsers may reject the certificate even if the Common Name (CN) matches the domain.
Create a Directory for Certificate Files
Replace store.howsnip.com with your own domain name or hostname.
sudo mkdir -p /etc/ssl/store.howsnip.com
Generate the Certificate and Private Key
sudo openssl req -x509 -nodes -days 365 \
-newkey rsa:4096 \
-keyout /etc/ssl/store.howsnip.com/apache.key \
-out /etc/ssl/store.howsnip.com/apache.crt \
-subj "/C=IN/ST=Punjab/L=Mohali/O=LinuxApp/OU=IT/CN=store.howsnip.com" \
-addext "subjectAltName=DNS:store.howsnip.com,DNS:www.store.howsnip.com"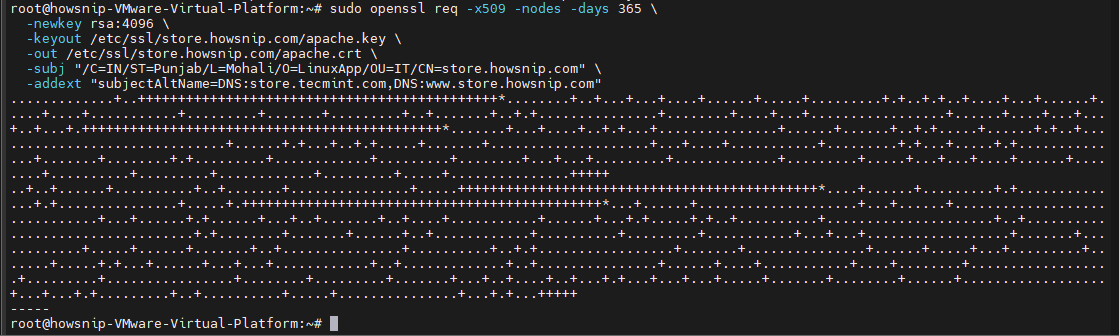
Here,
- -x509 creates a self-signed certificate.
- -nodes prevents password protection on the key file, allowing Apache to start automatically.
- -days 365 sets the certificate validity period to one year.
- -newkey rsa:4096 generates a new 4096-bit RSA key.
- -keyout specifies the private key location.
- -out specifies the certificate file location.
- -subj supplies certificate details automatically.
- -addext adds the SAN field required by modern browsers.
During creation, OpenSSL may display random characters while generating the encryption key. This is normal behavior.
Secure the Private Key
Restrict access so only the root user can read the private key:
sudo chmod 600 /etc/ssl/store.howsnip.com/apache.key
Verify that the files were created successfully:
ls -l /etc/ssl/store.howsnip.com/
The private key should show:
rw——-
This indicates only the root account can access it.
Step 4: Create an Apache HTTPS Virtual Host
Next, configure Apache to serve your website over HTTPS and redirect all HTTP traffic to HTTPS.
Create a new virtual host file:
sudo nano /etc/apache2/sites-available/store.howsnip.com-ssl.conf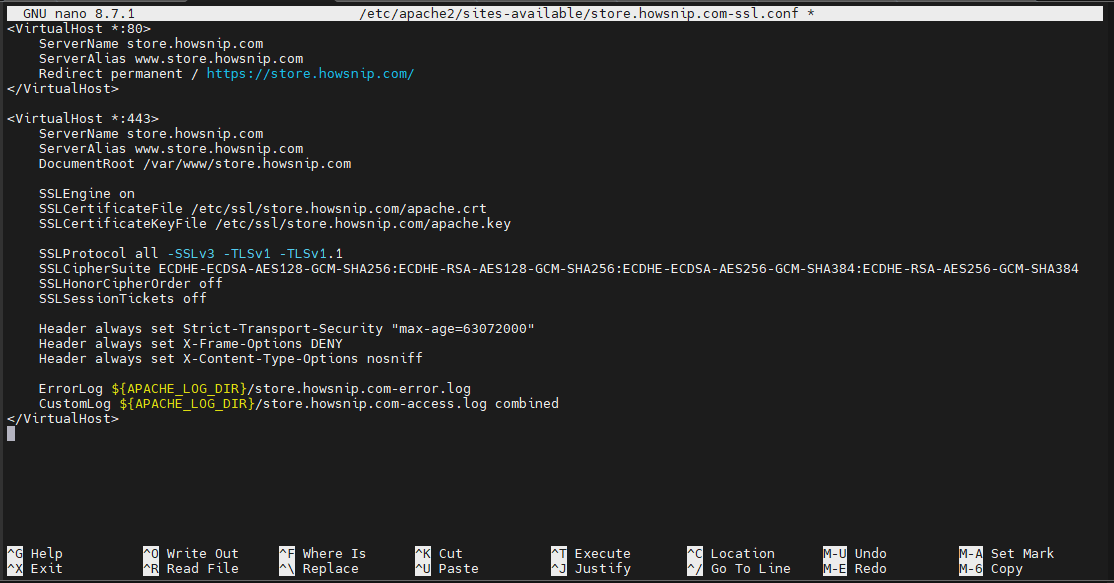
Paste the following configuration:
<VirtualHost *:80>
ServerName store.howsnip.com
ServerAlias www.store.howsnip.com
Redirect permanent / https://store.howsnip.com/
</VirtualHost>

<VirtualHost *:443>
ServerName store.howsnip.com
ServerAlias www.store.howsnip.com
DocumentRoot /var/www/store.howsnip.com

SSLEngine on
SSLCertificateFile /etc/ssl/store.howsnip.com/apache.crt
SSLCertificateKeyFile /etc/ssl/store.howsnip.com/apache.key

SSLProtocol all -SSLv3 -TLSv1 -TLSv1.1
SSLCipherSuite ECDHE-ECDSA-AES128-GCM-SHA256:ECDHE-RSA-AES128-GCM-SHA256:ECDHE-ECDSA-AES256-GCM-SHA384:ECDHE-RSA-AES256-GCM-SHA384
SSLHonorCipherOrder off
SSLSessionTickets off

Header always set Strict-Transport-Security "max-age=63072000"
Header always set X-Frame-Options DENY
Header always set X-Content-Type-Options nosniff

ErrorLog ${APACHE_LOG_DIR}/store.howsnip.com-error.log
CustomLog ${APACHE_LOG_DIR}/store.howsnip.com-access.log combined
</VirtualHost>
Save the file and exit the editor. The configuration includes several security improvements:
- Disables outdated SSL and TLS versions.
- Restricts connections to modern cipher suites.
- Enables security headers that help protect against common browser-based attacks.
- Redirects all HTTP requests to HTTPS automatically.
Create a Test Website
Create the website directory:
sudo mkdir -p /var/www/store.howsnip.com
Add a simple test page:
echo "<h1>store.howsnip.com is live over HTTPS</h1>" | sudo tee /var/www/store.howsnip.com/index.htmlStep 5: Enable the Website and Validate the Configuration
Enable the new virtual host:
sudo a2ensite store.howsnip.com-ssl.conf
Example output:
Enabling site store.howsnip.com-ssl.
To activate the new configuration, you need to run:
systemctl reload apache2
Test the Apache Configuration
Before reloading Apache, check for configuration errors:
sudo apache2ctl configtest
Expected output:
Syntax OKIf the syntax test fails, check for:
- Missing > characters in <VirtualHost> blocks.
- Incorrect certificate or key file paths.
- Typographical errors in Apache directives.
- Invalid SSL configuration settings.
Once the configuration passes validation, reload Apache:
sudo systemctl reload apache2Step 6: Allow HTTPS Traffic Through UFW
If UFW is enabled, open ports 80 and 443 by enabling the Apache Full profile:
sudo ufw allow 'Apache Full'
Example output:
- Rule added
- Rule added (v6)
This allows both:
- Port 80 (HTTP)
- Port 443 (HTTPS)
- Test Your HTTPS Website
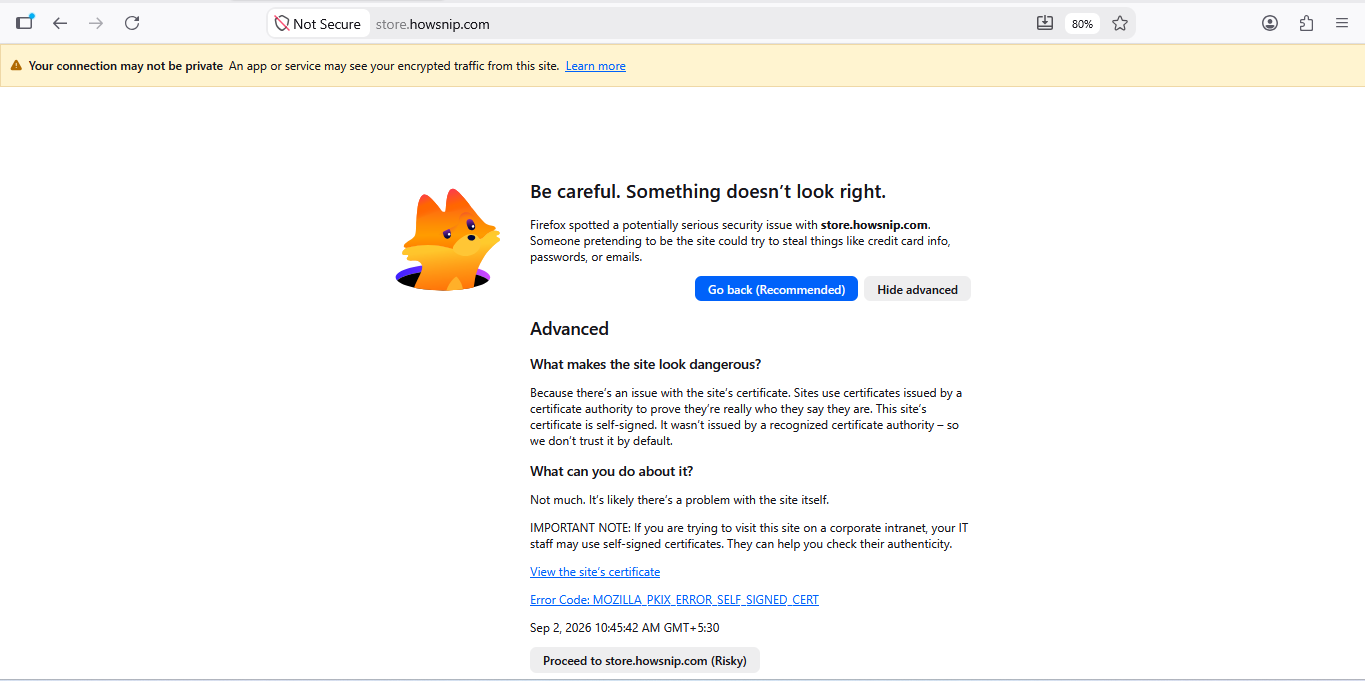
Open the following URL in your browser:
https://store.howsnip.comBecause the certificate is self-signed, your browser will likely display a security warning. This behavior is expected. For testing and internal environments, you can proceed past the warning and verify that the site loads over HTTPS.
Conclusion
You have successfully configured a self-signed SSL certificate on Apache running on Ubuntu 26.04. The setup includes SSL support, secure HTTPS virtual hosts, automatic HTTP-to-HTTPS redirection, modern TLS settings, and basic security headers.
While self-signed certificates are useful for development and internal services, public-facing websites should use certificates issued by a trusted Certificate Authority to avoid browser trust warnings.