
Working with remote repositories is one of the most important parts of Git. Remotes allow you to store code on platforms like GitHub, collaborate with other developers, back up your work, and synchronize changes across different machines.
In this tutorial, you’ll learn how to set up, manage, and work with Git remotes using practical examples. Whether you’re new to Git or need a quick reference for common remote commands, this guide walks through each step in a clear and beginner-friendly way.
Prerequisites
Before you begin, make sure you have:
- Git installed on your system
- A GitHub repository (or another supported Git hosting service)
- Basic familiarity with the command line
Step 1: Set Up a Remote Repository
Before connecting to a remote repository, create a local Git repository.
Create a project directory:
mkdir git-practice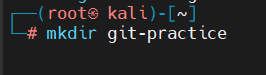
cd git-practice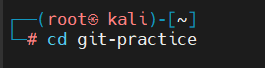
git init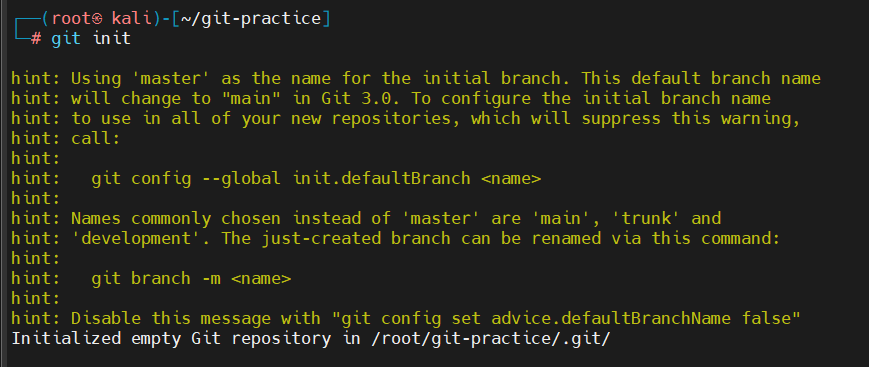
Create a README file:
echo "Git practice" > README.md
Add and commit the file:
git add README.md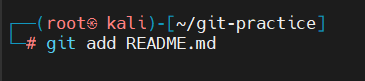
git commit -m "Initial commit"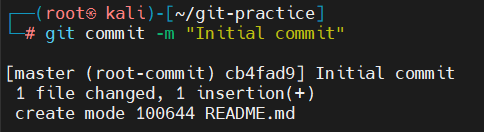
Now connect your local repository to GitHub:
git remote add origin https://github.com/YOUR_USERNAME/git-practice.git
This command links your local Git repository to a remote repository on GitHub.
Step 2: List Remote Repositories
To view all configured remotes and their URLs, run:
git remote -vExample output:
origin https://github.com/YOUR_USERNAME/git-practice.git (fetch)
origin https://github.com/YOUR_USERNAME/git-practice.git (push)
This displays the URLs Git uses for fetching and pushing changes.

Step 3: Rename a Remote
If you want to change the name of a remote repository, use the rename command.
For example, rename origin to github:
git remote rename origin github
This renames an existing remote without changing its repository URL.
Verify the change:
git remote -vExpected output:
github https://github.com/YOUR_USERNAME/git-practice.git (fetch)
github https://github.com/YOUR_USERNAME/git-practice.git (push)
If needed, you can rename it back later using the same command format.

Use this command to view all configured remote repositories and their fetch and push URLs.
Step 4: Change a Remote URL
If your repository URL changes, update the configured remote URL.
git remote set-url github https://github.com/sharmanehaa0830/new-repository.git
Use this when the remote repository URL has changed and Git needs to point to the new location.
Verify the update:
git remote -vThe new URL should appear in the output.

Important: Make sure the remote name exists before using git remote set-url.
Step 5: Remove a Remote
To delete a remote configuration:
git remote remove github
This removes the remote connection from your local repository.
Verify that it was removed:
git remote -vIf no remotes are configured, Git will not display any output.

You can add the remote again whenever necessary:
git remote add origin https://github.com/YOUR_USERNAME/git-practice.gitStep 6: Push Changes to a Remote Repository
Before pushing, check your current branch:
git branch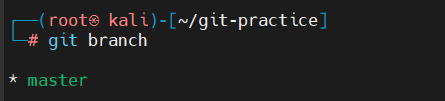
Example output:
* master
Push the branch to the remote repository:
git push origin master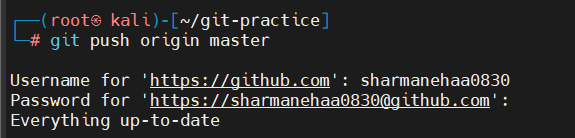
Here:
- origin is the remote repository
- master is the branch being pushed
This uploads your local commits to the specified branch on the remote repository.
Step 7: Push and Set an Upstream Branch
When pushing a branch for the first time, it’s common to set an upstream tracking relationship.
git push -u origin masterThe -u option establishes the upstream branch.
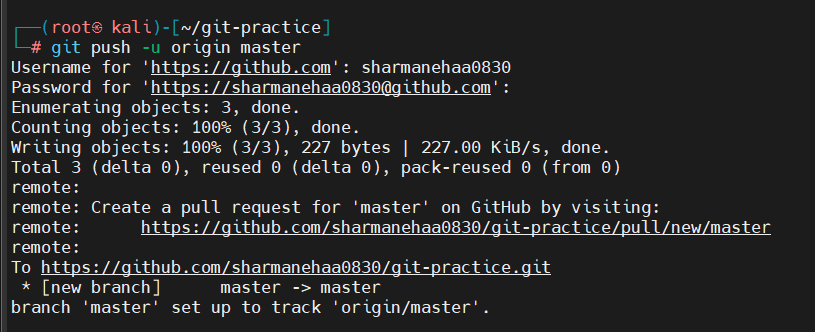
This pushes the branch and sets it as the default remote branch for future push and pull operations.
After that, you can usually use:
git push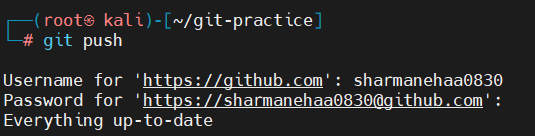
Instead of:
git push origin masterThis makes future pushes simpler and faster.
Step 8: Fetch Changes from a Remote
Use fetch to download information about changes from a remote repository without merging those changes into your current branch.
git fetch origin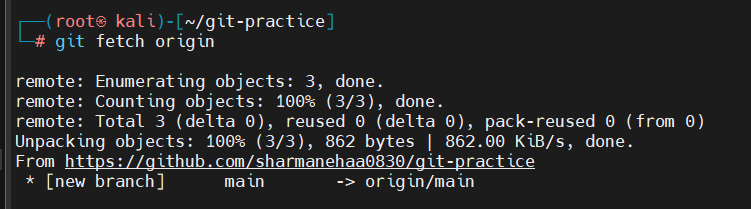
This downloads the latest information from the remote repository without merging it into your current branch.
To inspect repository history afterward:
git log --all --oneline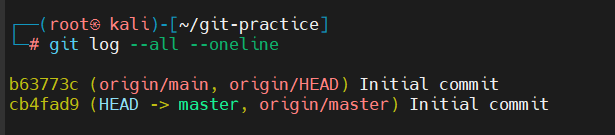
Note: git fetch is safer when you want to review incoming changes before integrating them into your branch.
Step 9: Pull Changes from a Remote
To download and integrate remote changes into your current branch:
git pull origin master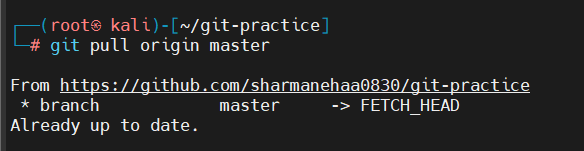
This retrieves and integrates the latest changes from the remote branch into your local branch. A pull operation effectively performs:
- A fetch
- Integration of the downloaded changes into your current branch
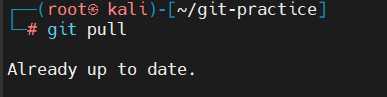
If you’ve already configured an upstream branch:
git pullwill typically be sufficient.
Step 10: Clone a Remote Repository
When cloning an existing repository, you do not need to run git init.
Move outside your current repository:
cd ~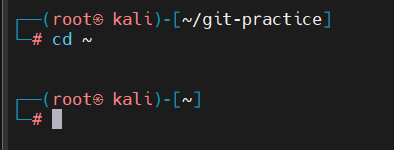
Clone the repository:
git clone https://github.com/YOUR_USERNAME/git-practice.git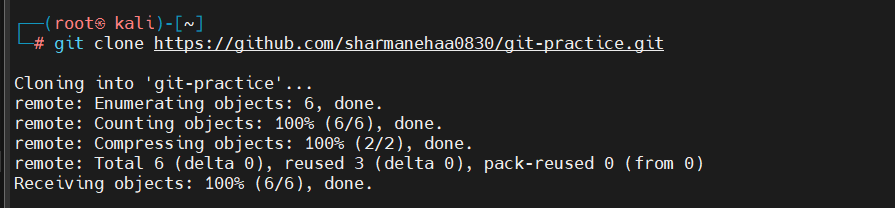
This creates a local copy of an existing remote repository, including its commit history and branches. Enter the project directory:
cd git-practice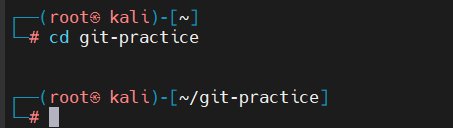
Verify the configured remote:
git remote -v
Example output:
origin https://github.com/YOUR_USERNAME/git-practice.git
Step 11: View Remote Details
To get detailed information about a remote repository:
git remote show origin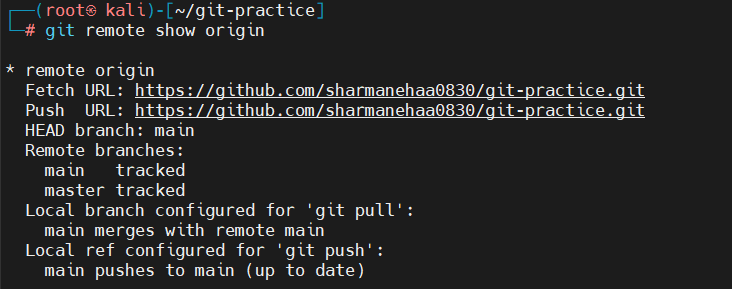
This displays detailed information about the remote repository, including tracked branches and configuration settings. This command displays:
- Remote URLs
- Tracked branches
- Branch tracking information
- Push and pull configuration details
This is useful when troubleshooting remote configuration issues.
Step 12: Verify Remote Connectivity
While this command:
git remote -vshows configured URLs, it does not confirm that the remote repository is reachable.
A more practical connectivity test is:
git ls-remote origin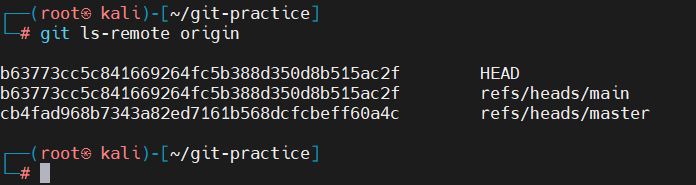
This checks whether the remote repository is reachable and displays its available references. If the repository is accessible, Git may return references similar to:
- abc123… HEAD
- abc123… refs/heads/main
You can also query the remote using:
git remote show origin
Tip: Use these commands when troubleshooting authentication or connection problems.
Step 13: Create a New Branch on the Remote
Create a local branch:
git checkout -b feature-test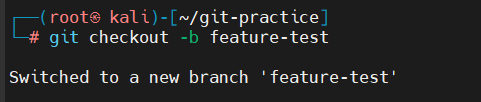
Or, with newer Git versions:
git switch -c feature-testCreate a file and commit it:
echo "Feature testing" > feature.txt
git add feature.txt
git commit -m "Add feature test"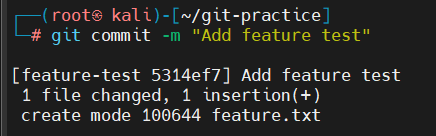
Push the branch to the remote and set upstream tracking:
git push -u origin feature-test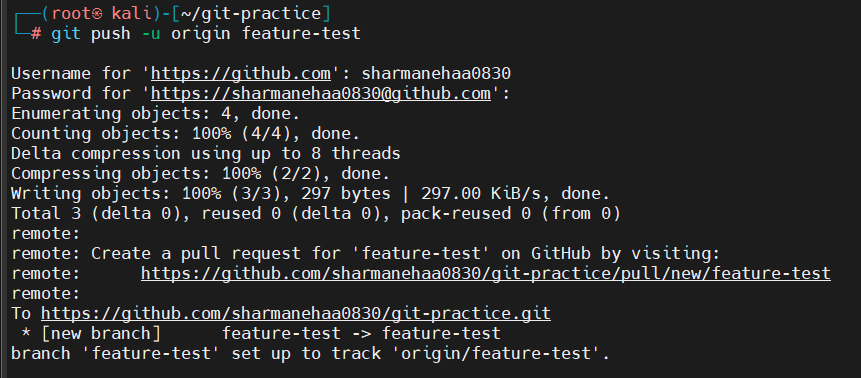
This creates the branch on the remote repository and sets up branch tracking. Verify that the remote branch exists:
git branch -r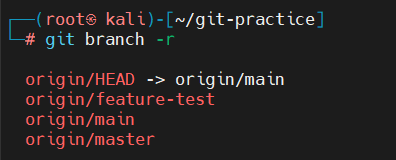
Expected output:
origin/feature-test
Step 14: Delete a Remote Branch
To remove a branch from the remote repository:
git push origin --delete feature-test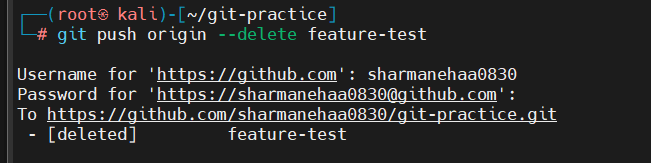
This removes the specified branch from the remote repository.
Verify the deletion:
git branch -r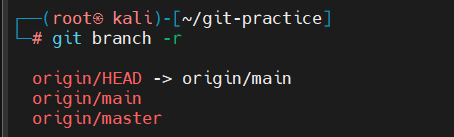
The branch should no longer appear in the remote branch list.
To remove the local branch as well:
git branch -D feature-test
Warning: Ensure the branch is no longer needed before deleting it.
Step 15: Push Tags to a Remote Repository
Create a tag:
git tag v1.0
View existing tags:
git tag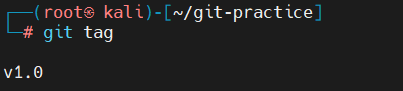
Push a specific tag:
git push origin v1.0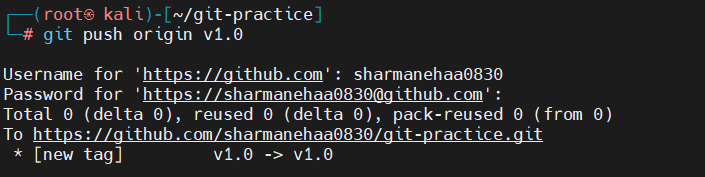
This uploads a specific Git tag to the remote repository. To push all local tags:
git push origin --tags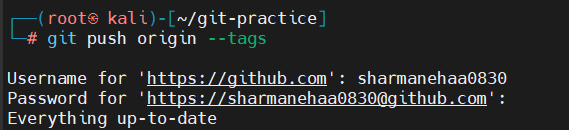
This pushes all local tags that have not yet been uploaded. Tags are commonly used to mark releases and important milestones.
Step 16: Force Push Changes
In some situations, such as rewriting commit history, you may need to force a push.
git push --force origin main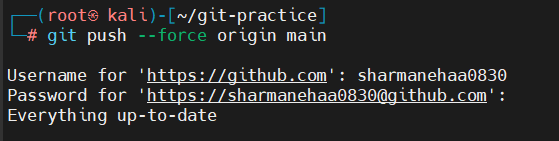
This forces the remote branch to accept your local branch history.
Warning: Force pushing can overwrite commits on the remote repository and may remove work that others have already pushed.
A safer alternative is:
git push --force-with-lease origin main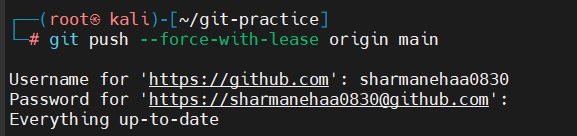
This option provides additional protection by checking whether the remote branch has changed before overwriting it.
Conclusion
Git remote commands make it possible to connect local repositories with platforms like GitHub, collaborate with other developers, and keep code synchronized across environments.
Also Read: Nmap Tutorial – Installation, Scanning, and Network Auditing Guide
By learning how to add, rename, update, remove, fetch, pull, push, clone, and manage remote branches and tags, you’ll be able to handle most day-to-day Git workflows with confidence.
Always use extra caution with commands such as git push –force, and verify remote settings regularly using commands like git remote -v and git remote show origin.