
Docker has become one of the most popular containerization platforms for developers, security professionals, DevOps engineers, and system administrators. It allows you to package applications and their dependencies into lightweight containers that can run consistently across different environments.
If you’re using Kali Linux and want to run containers for development, testing, automation, or cybersecurity projects, installing Docker is a great first step. In this guide, we’ll walk through two different methods to install Docker on Kali Linux, explain every command in detail, and show you how to verify that everything is working correctly.
What is Docker?
Docker is an open-source platform that enables you to build, deploy, and manage applications inside containers. Unlike traditional virtual machines, containers are lightweight, fast, and consume fewer system resources because they share the host operating system kernel.
Some common use cases for Docker include:
- Running isolated applications
- Setting up development environments
- Testing software without modifying the host system
- Deploying web applications
- Running security and penetration testing tools in containers
Prerequisites
Before installing Docker, make sure:
- You are running an updated version of Kali Linux.
- You have sudo privileges.
- Your system has an active internet connection.
- You have at least a few gigabytes of free disk space.
Method 1: Install Docker from Kali Linux Repositories (Recommended for Beginners)
This is the easiest and quickest method because Docker is available directly from Kali Linux’s official repositories.
Step 1: Update the Package List
Open a terminal and run:
sudo apt update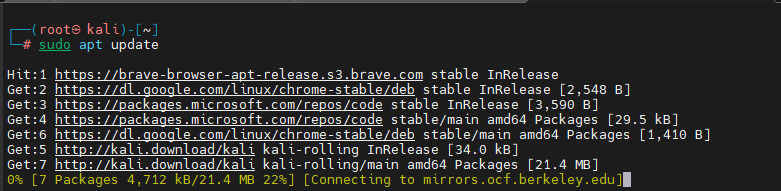
The apt update command refreshes the package database and downloads information about the latest available software versions from configured repositories. Keeping the package list updated ensures that you install the latest available version of Docker from the Kali repositories.
Step 2: Install Docker
Run the following command:
sudo apt install -y docker.io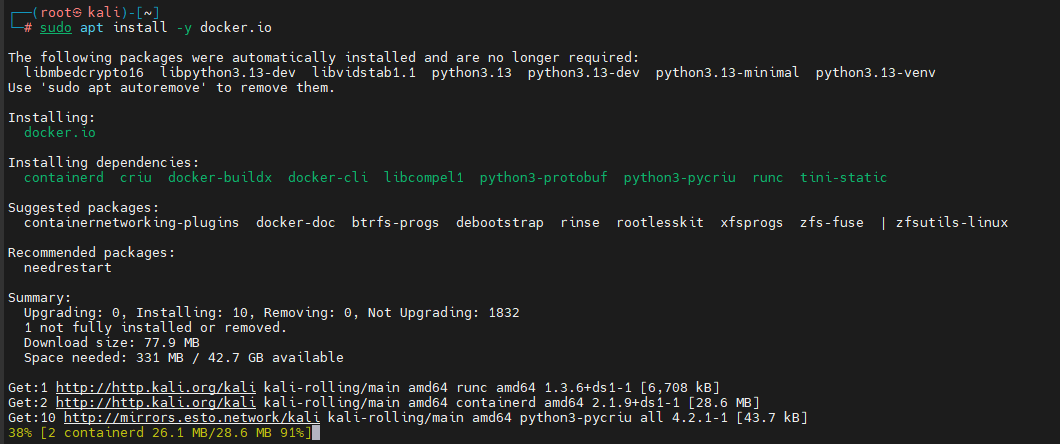
The installation process may take a few minutes depending on your internet speed.
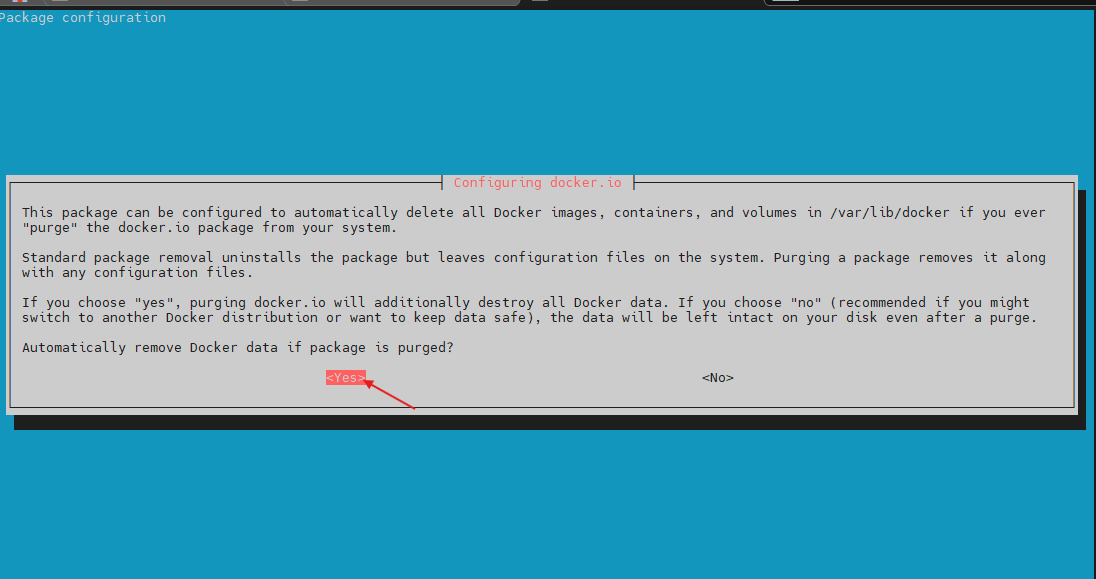
Step 3: Enable and Start Docker Service
Once Docker is installed, start the service and configure it to launch automatically during system boot.
sudo systemctl enable docker --now
To check the status of Docker, you can run:
sudo systemctl status docker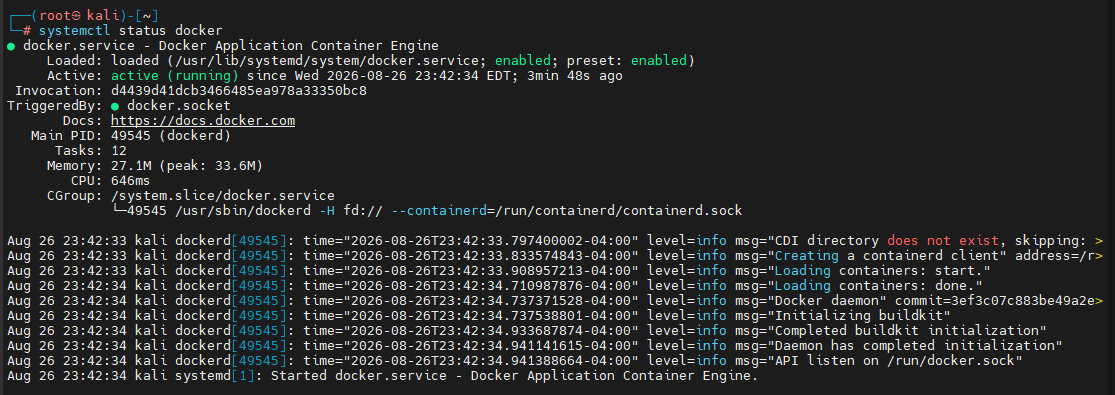
You should see the service marked as active (running).
Method 2: Install Docker CE from Docker’s Official Repository
If you want the latest Docker Engine release directly from Docker’s official repository, use this method. This approach typically provides newer features and updates compared to repository packages.
Step 1: Update Packages and Install Required Dependencies
First, update your package list and install the necessary packages.
sudo apt update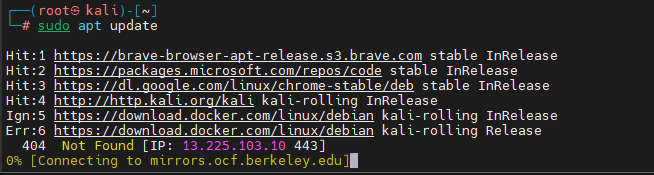
Then install the required dependencies:
sudo apt install -y apt-transport-https ca-certificates curl gnupg lsb-release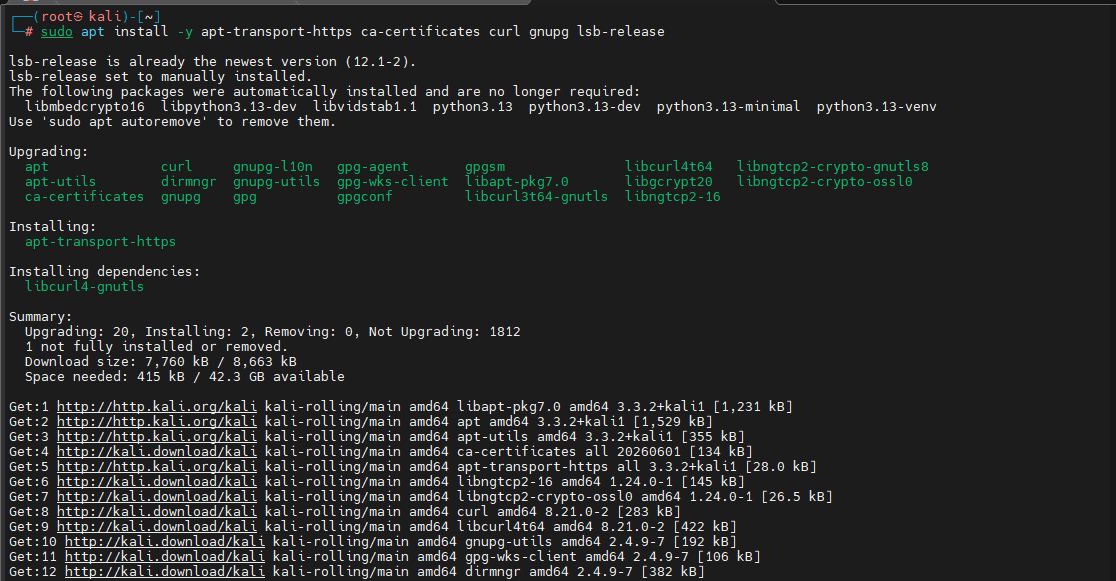
These packages are required for securely accessing Docker’s repository.
Step 2: Add Docker’s Official GPG Key
To verify package authenticity, import Docker’s official signing key.
curl -fsSL https://download.docker.com/linux/debian/gpg | sudo gpg --dearmor -o /usr/share/keyrings/docker-archive-keyring.gpg
This helps your system verify that Docker packages are genuine and haven’t been tampered with.
Step 3: Add Docker Repository
Next, add Docker’s official repository to your system.
echo "deb [arch=$(dpkg --print-architecture) signed-by=/usr/share/keyrings/docker-archive-keyring.gpg] https://download.docker.com/linux/debian $(. /etc/os-release && echo "$VERSION_CODENAME") stable" | sudo tee /etc/apt/sources.list.d/docker.list > /dev/null
Because Kali Linux is based on Debian, Docker packages are pulled from the corresponding Debian release repository.
Step 4: Install Docker CE
Refresh the package database again:
sudo apt updateNow install Docker Engine:
sudo apt install -y docker-ce docker-ce-cli containerd.io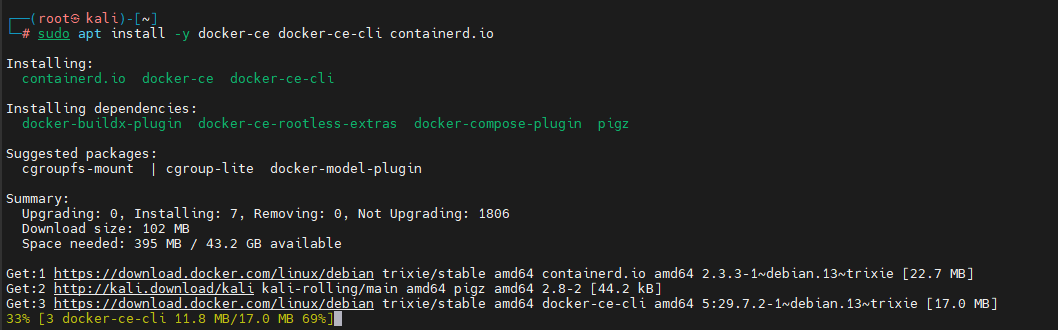
Step 5: Enable and Start Docker
Start and enable Docker:
sudo systemctl enable docker --now
Verify the service status:
sudo systemctl status dockerIf everything is working correctly, Docker will show as active (running).
Post-Installation Configuration
By default, Docker commands require root privileges. Constantly typing sudo can be inconvenient, so it’s recommended to add your user account to the Docker group.
Step 1: Add Your User to the Docker Group
Run:
sudo usermod -aG docker $USER
This allows you to run Docker commands without sudo.
Step 2: Apply Group Changes
Instead of logging out and logging back in, execute:
newgrp docker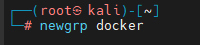
The newgrp command activates the new group membership in the current terminal session immediately.
Verify Docker Installation
After the installation and configuration are complete, it’s time to test Docker. Run:
docker run hello-world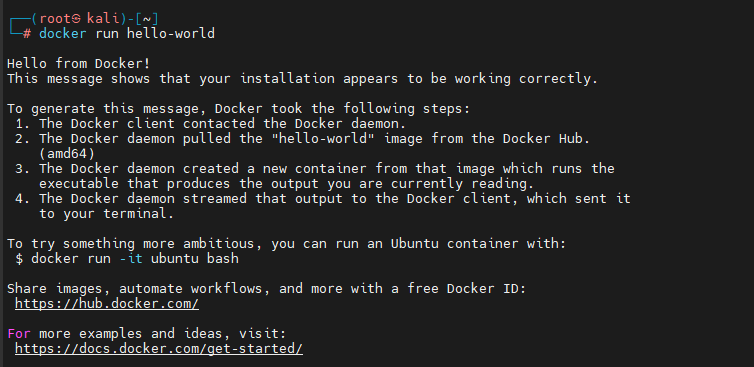
If Docker is functioning properly, you’ll see output similar to:
Hello from Docker!
This message shows that your installation appears to be working correctly.
Useful Docker Commands for Beginners
Once Docker is installed, here are some commands you’ll frequently use.
- Check Docker Version:
docker –version - View Running Containers:
docker ps - View All Containers:
docker ps -a - List Downloaded Images:
docker images - Stop a Container:
docker stop <container-id> - Remove a Container:
docker rm <container-id> - Start Docker manually:
sudo systemctl start docker - Check its status:
sudo systemctl status docker - Verify Group Membership:
groups
Conclusion
Installing Docker on Kali Linux is a straightforward process whether you choose the repository package (docker.io) or Docker’s official Docker CE release. The repository method is ideal for most users who want a quick and stable setup, while the official Docker repository provides access to the latest Docker features and updates.
After installation, remember to configure Docker for non-root usage and verify the setup using the hello-world test container. Once everything is working, you’ll be ready to build, run, and manage containers efficiently on your Kali Linux system.
With Docker successfully installed, you can begin exploring containerized applications, cybersecurity labs, development environments, and automation workflows directly from your Kali Linux machine.