
When performing a penetration test, gathering correct information about the target environment is one of the most important phases. Before attempting to identify vulnerabilities or assess security weaknesses, security professionals need a clear understanding of the systems, services, and operating systems running within the network.
The Metasploit Framework is one of the most widely used penetration testing platforms available today. While it is commonly associated with exploitation, Metasploit also provides powerful information-gathering and reconnaissance capabilities. By integrating with tools such as Nmap and storing results in a database, security analysts can efficiently discover hosts, identify services, and collect valuable network intelligence.
In this guide, we will walk through the process of using Metasploit for information gathering, including database setup, importing scan results, host enumeration, port scanning, and SMB version detection.
What is Metasploit?
Metasploit Framework is an open-source penetration testing platform that helps security professionals identify, validate, and assess security vulnerabilities. It provides a modular architecture that allows users to combine different exploits, payloads, scanners, and auxiliary modules.
The framework is widely used for:
- Vulnerability assessment
- Network reconnaissance
- Information gathering
- Security research
- Penetration testing
- Exploit development
One of its biggest advantages is its flexibility. Security testers can use Metasploit not only for exploitation but also for collecting detailed information about hosts and services across a network.
Before starting, ensure the following environment is available:
- Kali Linux virtual machine
- Metasploit Framework installed
- PostgreSQL database service
- Network connectivity to the target subnet
Step 1: Start the PostgreSQL Database Service
Metasploit uses a PostgreSQL database to store information gathered during scans. This allows you to save hosts, services, vulnerabilities, notes, and credentials for later analysis.
Open a Terminal in Kali Linux and start the PostgreSQL service:
service postgresql start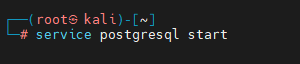
This command starts the PostgreSQL database server required by Metasploit.
Step 2: Launch Metasploit
After starting PostgreSQL, launch the Metasploit console by typing the following command:
msfconsole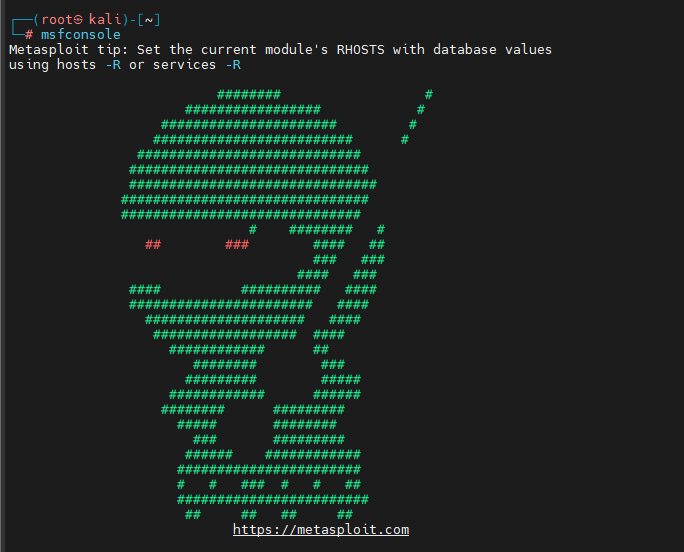
The Metasploit Framework console loads and displays the main command interface where all modules and scans can be executed.
Step 3: Verify Database Connectivity
Once Metasploit has loaded, verify that it is connected to the database.
db_status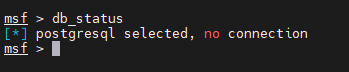
If the database is not connected, you may see the following message:
[*] postgresql selected, no connection
This indicates that Metasploit cannot communicate with the PostgreSQL database. If the database connection fails, exit Metasploit first by typing “exit” in same window.
Step 4: Initialize the Metasploit Database
Initialize the Metasploit database:
msfdb init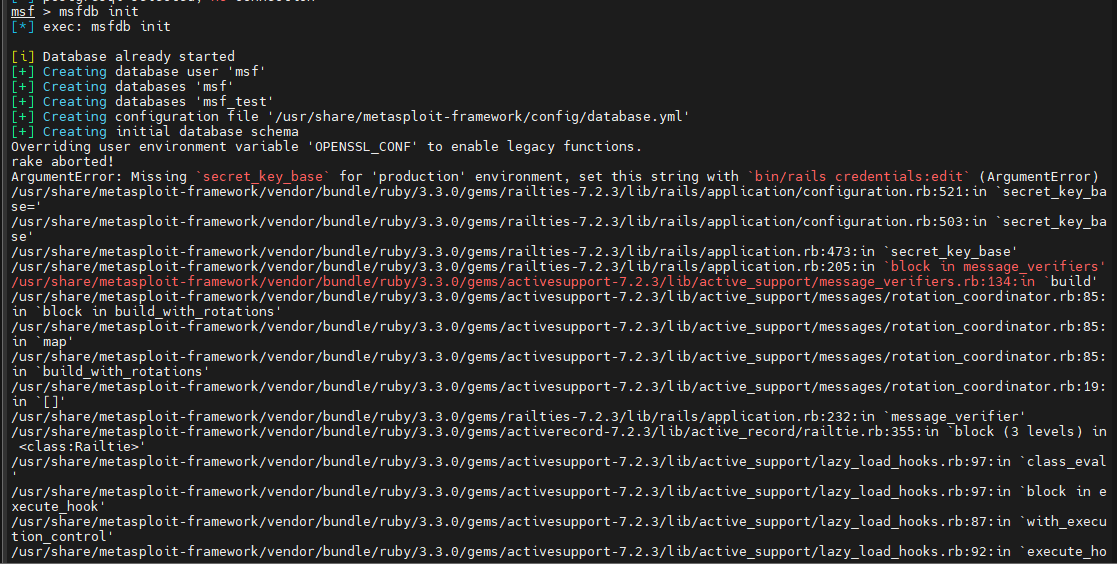
This command creates and configures the PostgreSQL database required by Metasploit. After initialization is complete, restart PostgreSQL:
service postgresql restart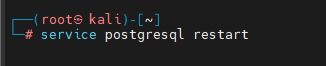
Step 5: Confirm Successful Database Connection
Launch Metasploit again:
msfconsole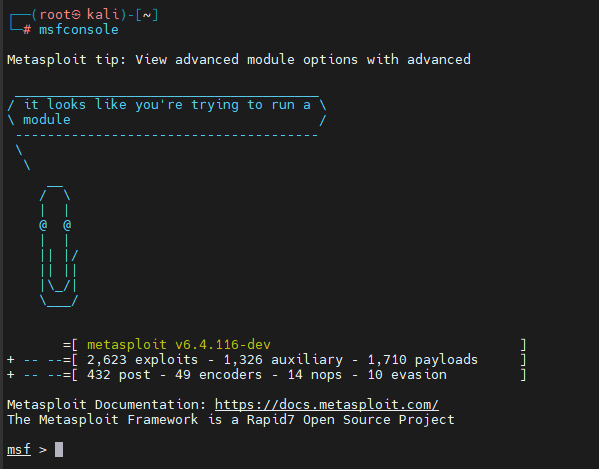
Check database status:
db_status
A successful connection should display:
[*] Connected to msf. Connection type: postgresql.
This confirms that Metasploit is properly connected to its backend database and ready to store scan results.
Step 6: Discover Hosts with Nmap
Before using Metasploit’s scanning modules, it is useful to perform network discovery with Nmap. Run the following command:
nmap -O -oX Test 10.0.2.0/24
Where, -O : Attempts operating system detection.
-oX Test : Saves scan results in XML format to a file named Test.
10.0.2.0/24 : Scans all hosts within the specified subnet.
During the scan, Nmap discovers live hosts, identifies operating systems, and gathers basic service information.
Step 7: Import Nmap Results into Metasploit
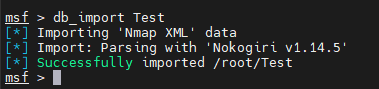
One of Metasploit’s most useful features is its ability to import Nmap results directly into its database. Import the XML file generated by Nmap:
db_import TestMetasploit parses the file and automatically stores discovered hosts and services in its database. This eliminates the need to manually review Nmap output and allows you to continue recon activities directly within Metasploit.
Step 8: View Discovered Hosts
To display hosts discovered during the scan, run:
hosts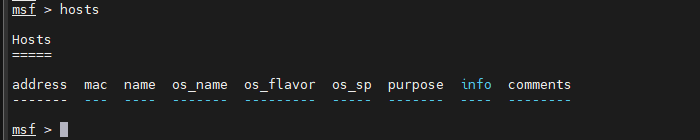
The output includes information such as IP addresses, MAC addresses, Host names, Operating systems and Device types.
Review the results carefully and identify systems of interest.
Step 9: Perform Detailed Enumeration with db_nmap
To gather more detailed information about a host, Metasploit provides the db_nmap command.
Run:
db_nmap -sS -A 10.0.2.28
Where, db_nmap : Executes Nmap from within Metasploit.
-sS : Performs a SYN scan.
-A : Enables aggressive detection including OS detection, Service version detection, Script scanning and Traceroute. The major benefit of db_nmap is that all results are automatically stored in the Metasploit database.
Step 10: View Running Services
After the scan completes, list all services discovered on the target system:
db_servicesAlternatively:
services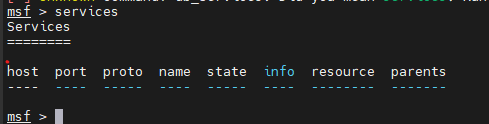
The output provides Open ports, Protocol information, Service names and Service versions. This information helps identify potential attack vectors and determine which systems require deeper analysis.
Step 11: Search for Port Scanning Modules
Metasploit contains multiple scanning modules that can be used for host discovery and service detection. To search for port scanning modules:
search portscanThe results display various scanner modules available within the framework.
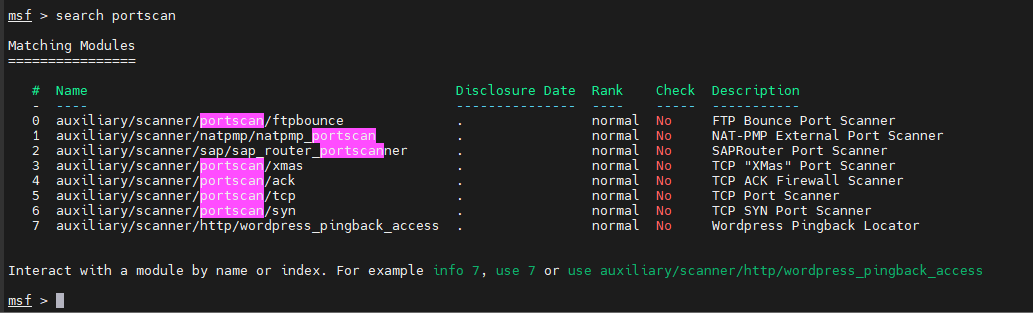
One commonly used module is:
scanner/portscan/synThis module performs a TCP SYN scan against target systems.
Step 12: Load the SYN Port Scanner Module
Load the module:
use scanner/portscan/synView the module configuration:
show optionsThe settings screen displays all configurable parameters required before running the module.
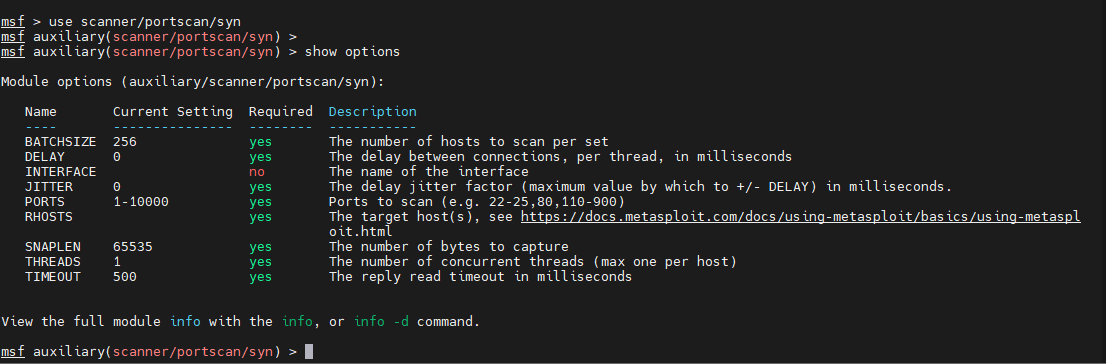
Step 13: Configure the Target
Specify the target host:
set RHOSTS 10.0.2.23Increase scan performance by setting the number of threads:
set THREADS 100Verify your configuration:
show options
Step 14: Run the Port Scan
Start the scan:
runThe module performs a SYN scan and identifies open TCP ports on the target system. Unlike a full TCP connection scan, SYN scanning is faster and generates less network traffic, making it useful for reconnaissance activities.
Once completed, review the list of discovered ports.
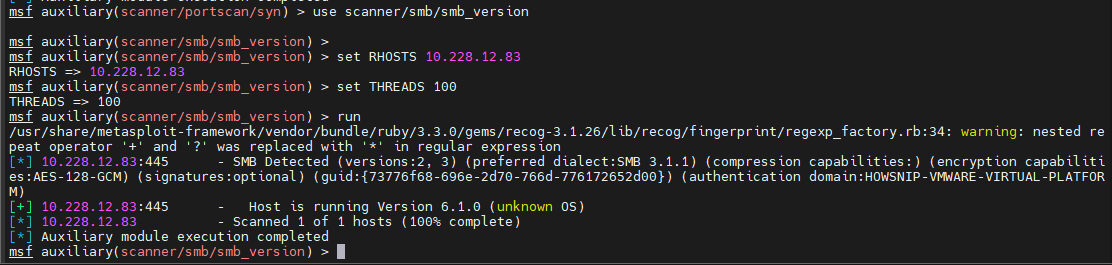
Step 15: Identify the SMB Version
Server Message Block (SMB) is commonly used for file sharing and printer sharing on Windows systems. Determining the SMB version can help identify potential security issues and misconfigurations.
Load the SMB version scanner:
use scanner/smb/smb_versionView module options:
show optionsConfigure the target:
set RHOSTS 10.0.2.23
set THREADS 100
Launch the scan:
runThe module connects to the target and retrieves SMB version information.
Step 16: Review Updated Host Information
After running the SMB scanner, display all discovered hosts again:
hosts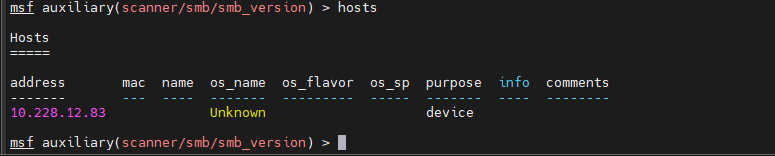
The SMB scanner helps improve operating system fingerprinting accuracy by gathering details directly from the SMB service. Compare the updated host information with your earlier scan results to see how Metasploit enriches collected data over time.
Conclusion
Information gathering lays the foundation for every successful penetration test. Metasploit is much more than an exploitation framework; it is also a powerful reconnaissance platform capable of storing, organizing, and correlating network intelligence.
In this lab, we configured the Metasploit database, imported Nmap scan results, enumerated hosts and services, performed SYN-based port scanning, and identified SMB version information on target systems. By combining Metasploit’s database capabilities with Nmap’s discovery features, security practitioners can efficiently build a detailed picture of a network and identify areas that may require further security assessment.
With a solid understanding of these reconnaissance techniques, you are better prepared to perform vulnerability assessments and penetration testing engagements in a structured and professional manner.