If you’re planning to host a website or web application on your Ubuntu server, then installing the LAMP stack is one of the most popular ways to get started.
The LAMP stack (Linux, Apache, MySQL, PHP) is a popular setup for hosting dynamic websites and web apps. It runs on a Linux system and combines the power of the Apache web server, MySQL database, and PHP scripting language.
Let’s walk through the installation and setup process.
- Update the Package Repository
- Install Apache (The Web Server)
- Configure UFW Firewall for Apache
- Install MySQL (Database Server)
- Secure MySQL and Set Root Password
- Run MySQL Secure Installation
- Install PHP and Integrate with Apache
- Check PHP Installation
- Configure Apache to Prioritize index.php
- Set Up a Custom Virtual Host (Optional)
- Configure MySQL (Optional for Remote Access)
- Install phpMyAdmin (GUI for MySQL)
1. Update the Package Repository
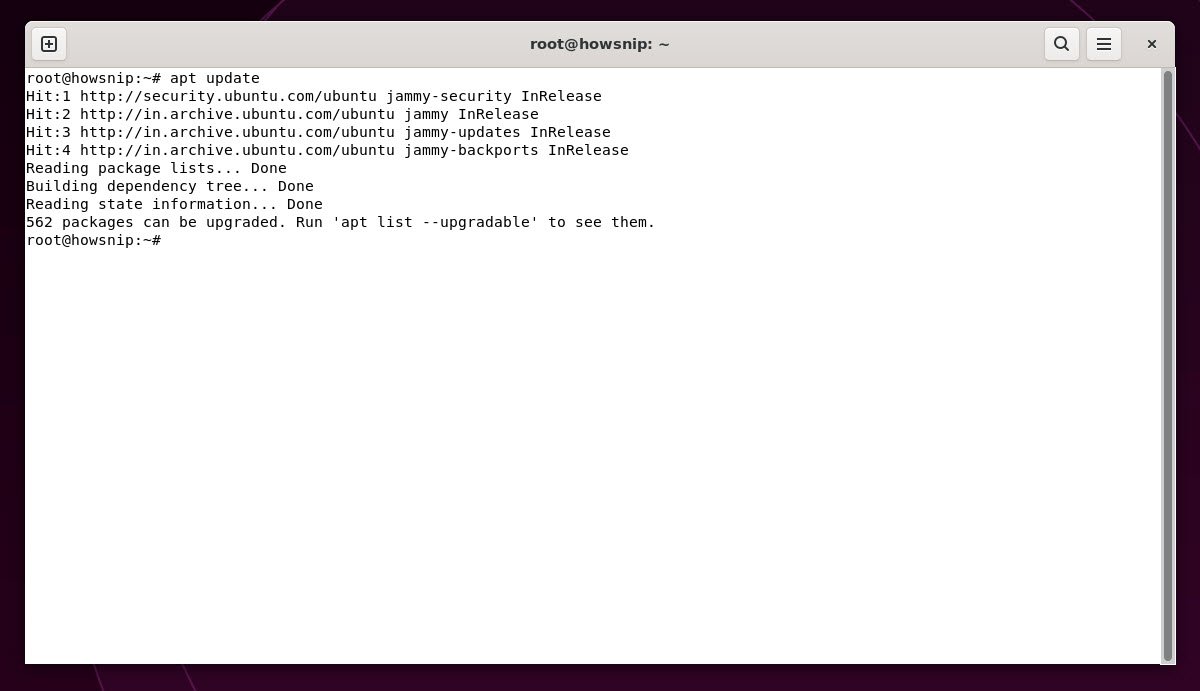
Before installing any software, it’s important to ensure your system’s package index is up to date. You can do this by running the following command:
Command: sudo apt updateThis command fetches the latest list of available packages and their versions from the official Ubuntu repositories. It doesn’t install or upgrade any software itself, but it ensures that when you do install a package, you’ll be getting the most recent and secure version available.
This is a crucial first step in any installation process on Ubuntu.
2. Install Apache (The Web Server)
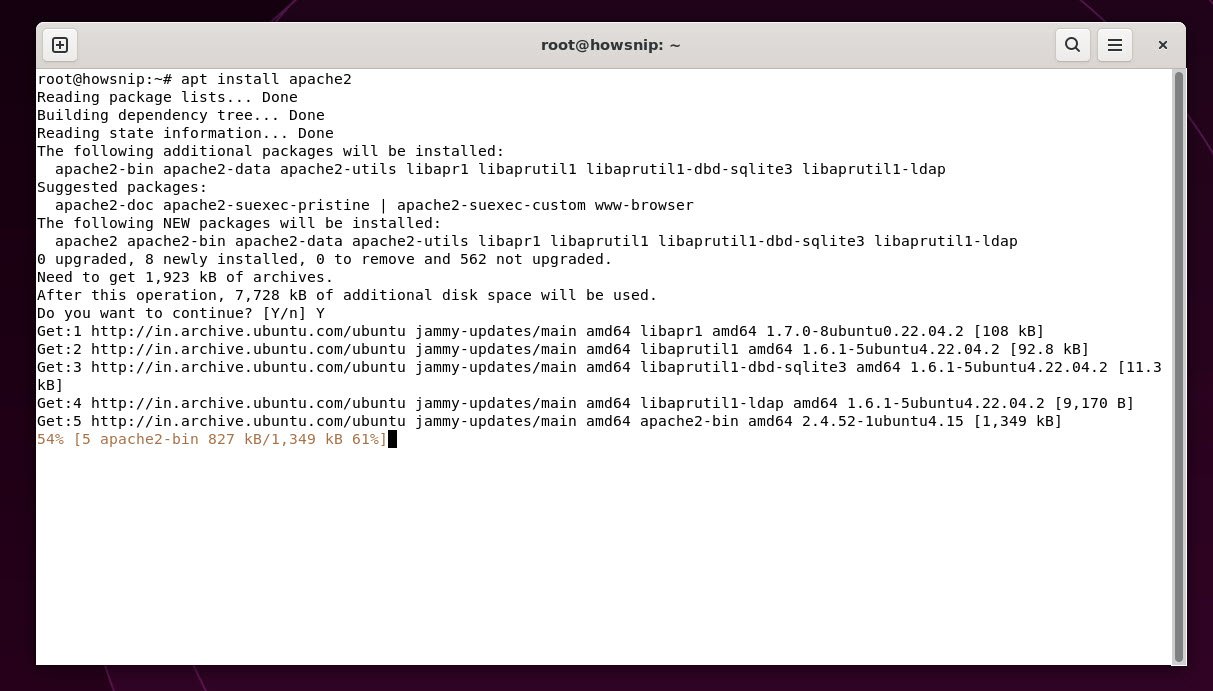
To serve your website files to users over the internet, you need a web server, and Apache web server is one of the most widely used options. You can install it on your Ubuntu system using the command:
Command: apt install apache2This installs the Apache2 package along with its necessary dependencies. Once installed, Apache starts running automatically and begins listening for HTTP requests. It allows your server to deliver web pages.
3. Configure UFW Firewall for Apache
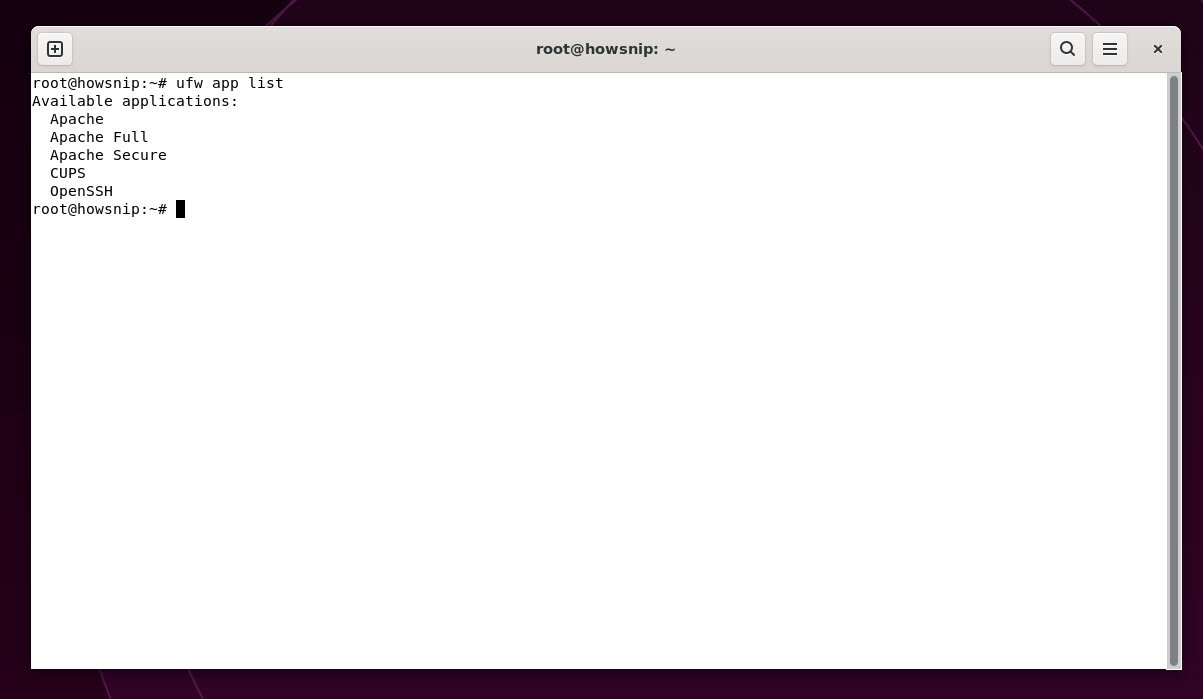
Ubuntu includes a firewall management tool called UFW (Uncomplicated Firewall), which is designed to make firewall configuration easier. Before allowing web traffic, it’s helpful to check the available application profiles that UFW recognizes.
To displays a list of predefined profiles for commonly used services, you can use the following command:
Command: ufw app listFor Apache, you’ll typically see profiles like Apache, Apache Full, and Apache Secure. These profiles correspond to different levels of access such as allowing only HTTP (port 80) or both HTTP and HTTPS (ports 80 and 443).
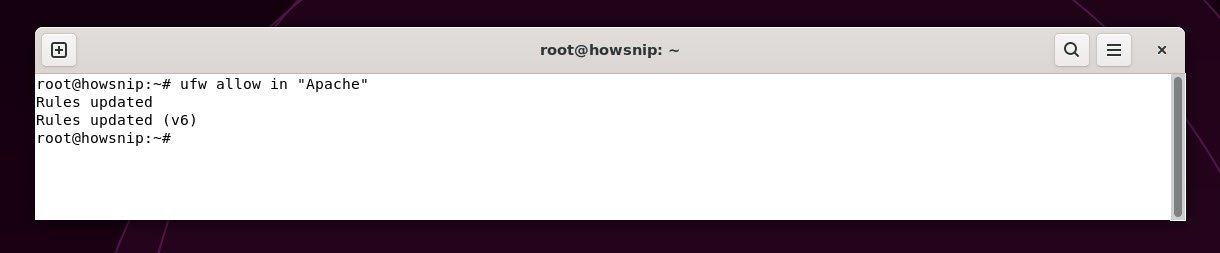
To allow Apache traffic, you can use the following command:
Command: ufw allow in "Apache"This allows HTTP (port 80) traffic to your server so Apache can serve web pages publicly.
To check the status, you can use the following command:
Command: ufw status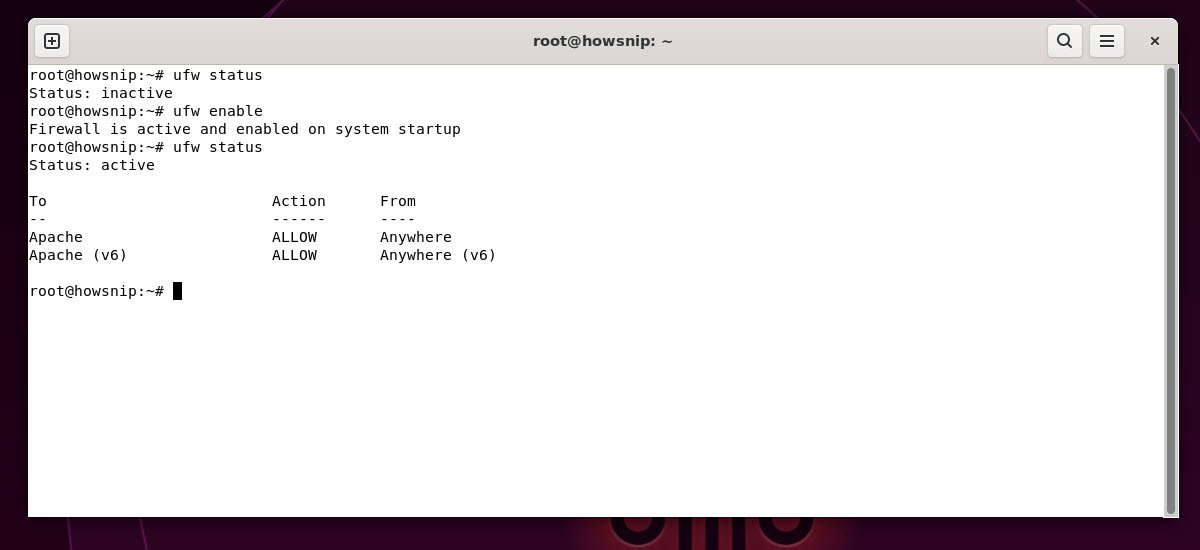
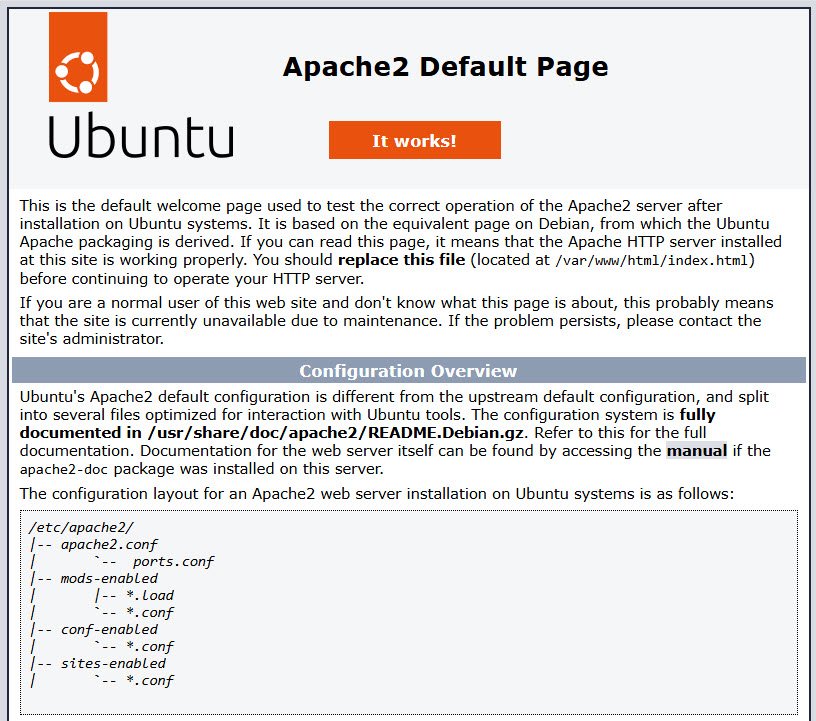
Once all configured, Apache starts automatically and you can test it by visiting:
http://server-ip/You should see the Apache2 Ubuntu Default Page, which confirms it’s working.
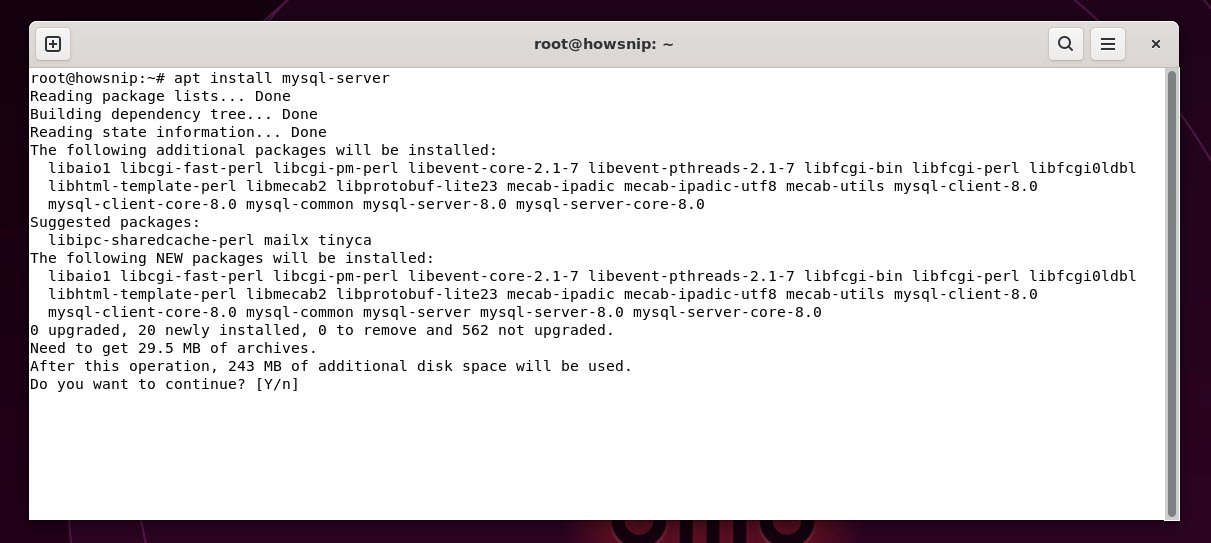
4. Install MySQL (Database Server)
MySQL is the database system used to store and manage your site’s data – like user accounts, posts, products, etc.
Command: apt install mysql-serverAfter installation, MySQL runs as a background service (`mysqld`).
5. Secure MySQL and Set Root Password
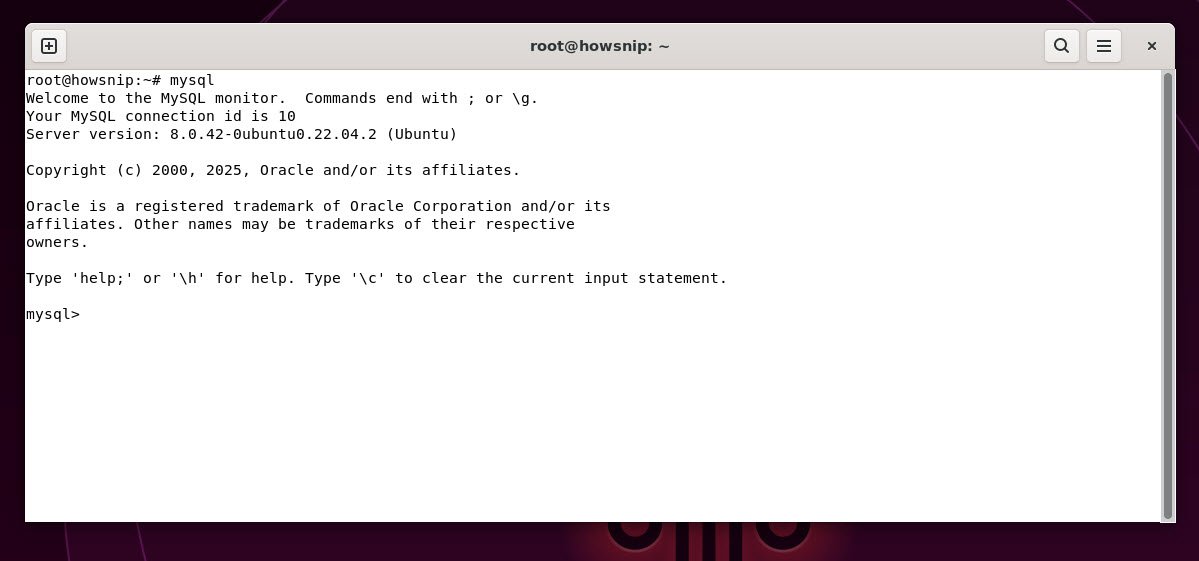
Login to MySQL shell:
Command: mysqlThis logs you into the MySQL CLI as the root user without password, because it uses the `auth_socket` plugin by default on Ubuntu.
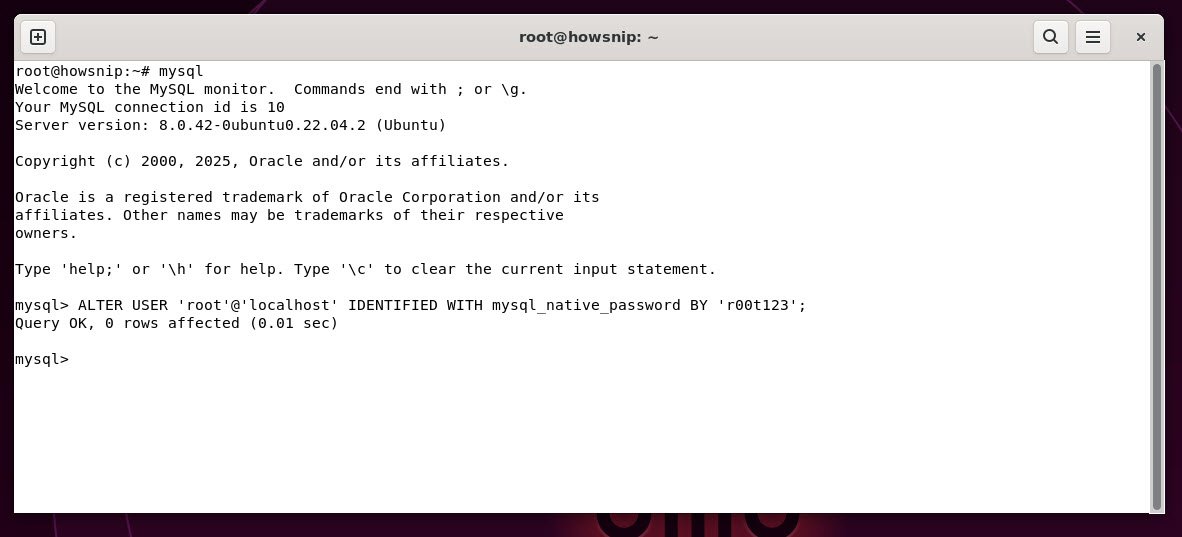
To set a proper root password, run the following command:
Command: ALTER USER 'root'@'localhost' IDENTIFIED WITH mysql_native_password BY 'password';This switches root authentication to `mysql_native_password`, allowing login with a password (important for tools like phpMyAdmin).
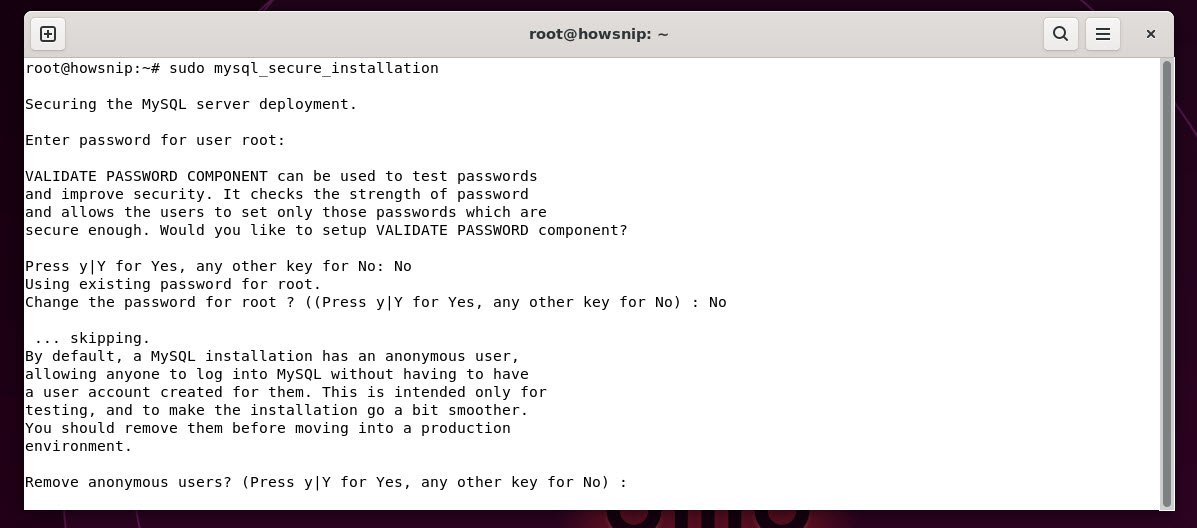
6. Run MySQL Secure Installation
Start the interactive script to install MySQL server by running:
Command: sudo mysql_secure_installation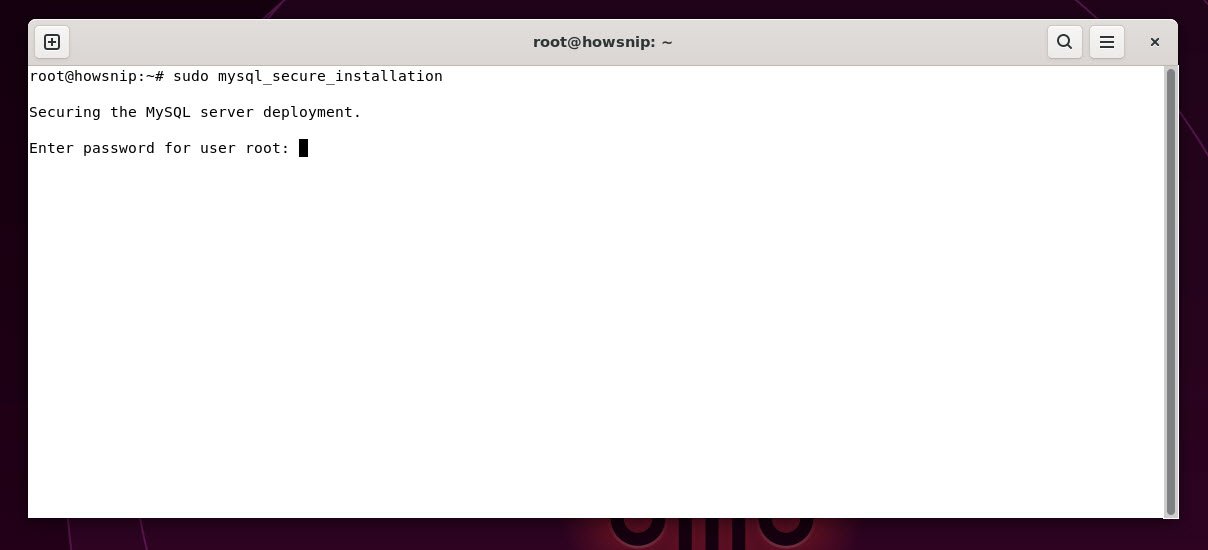
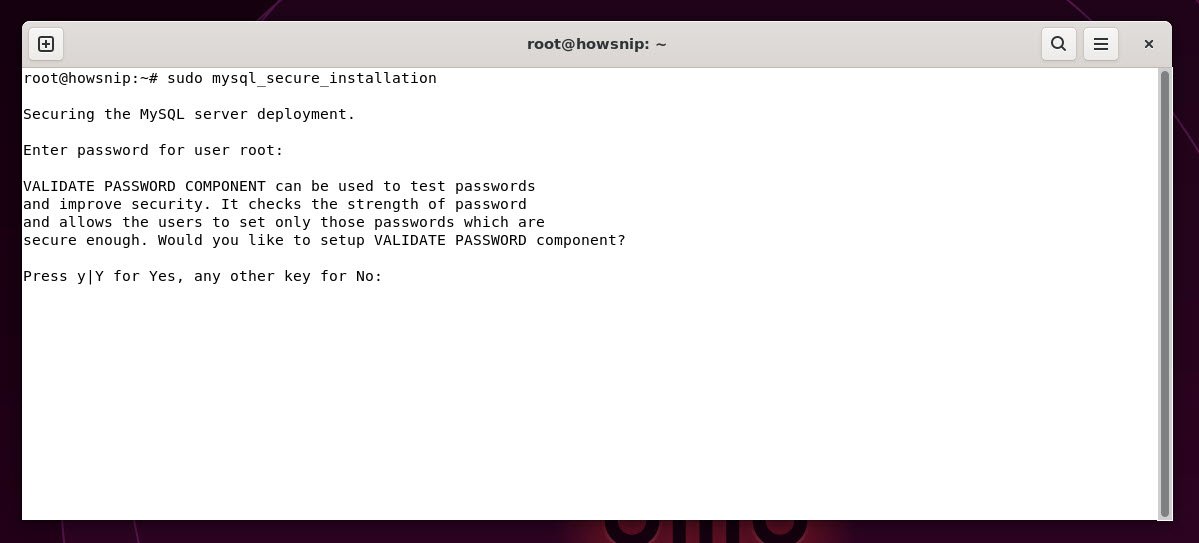
The above script helps you to configure MySQL securely by asking several questions:
When asked whether to use the Validate Password plugin, choose “No” unless you specifically require MySQL to enforce strong passwords. In this guide, we skip it for simplicity.
You’ll then be asked if you want to change the root password. Type “No“, because you already set a strong password earlier using the ALTER USER command.

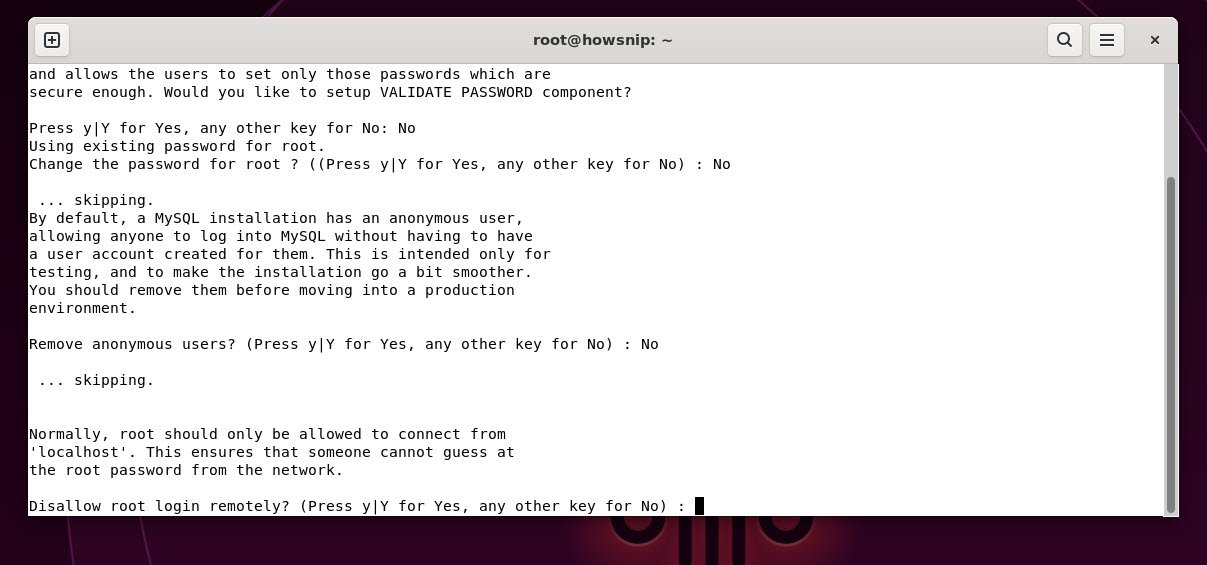
Next, MySQL setup will ask whether to remove anonymous users. Type “Yes“. Removing them closes a potential security loophole that allows unauthorized logins.
You will be prompted to disallow root login remotely. Type “Yes” to restrict root access to the local machine only, which significantly improves security.
When asked to remove the test database and access to it, choose “Yes“. The test database is created by default and is accessible to all users, which can be risky if left in place.
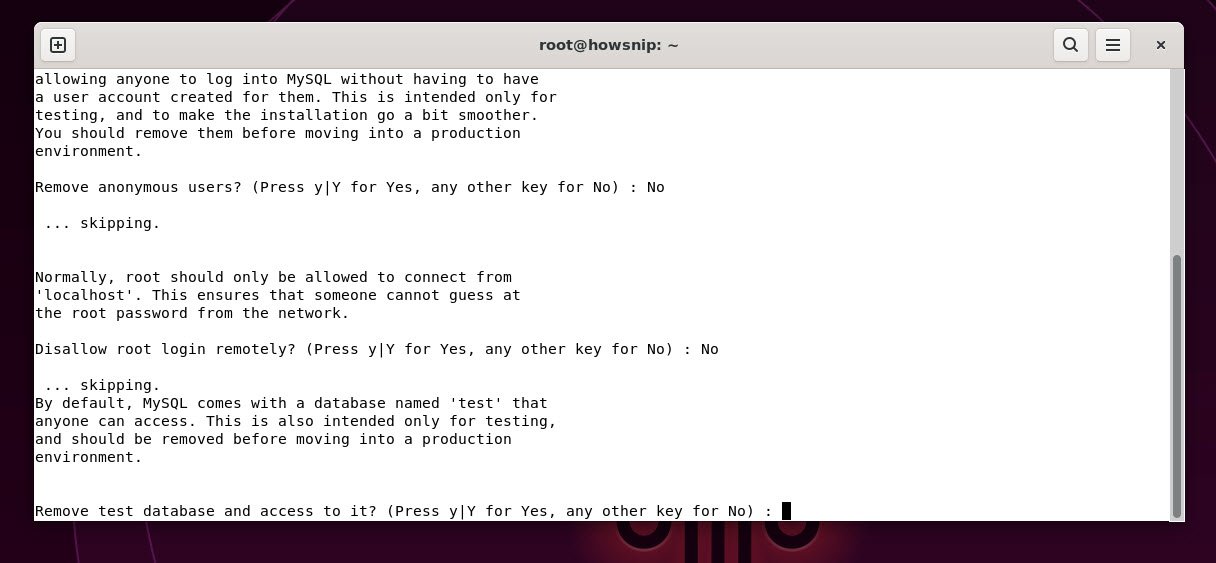
Finally, MySQL will ask if you want to reload the privilege tables. Type “Yes” to apply all the changes you’ve made immediately.

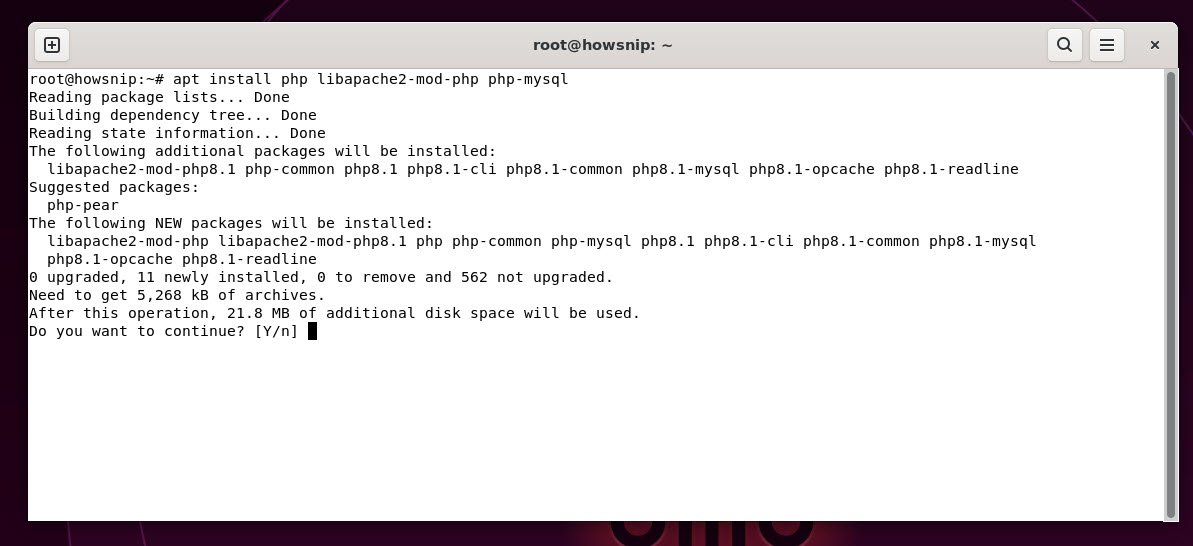
7. Install PHP and Integrate with Apache
To enable your web server to process dynamic content, you’ll need to install PHP along with a few essential modules. You can do this by using the following command:
Command: apt install php libapache2-mod-php php-mysqlThis command installs PHP itself, which is the scripting language responsible for generating dynamic web content.
Along with PHP, it installs the libapache2-mod-php module, which enables Apache to recognize and execute .php files. Without this module, Apache would not be able to process PHP scripts. Finally, it installs php-mysql, a crucial extension that allows PHP to communicate with MySQL databases.
After the installation, your server will be able to run PHP scripts and interact with MySQL through PHP code.
8. Check PHP Installation
Once the installation is finished, run the following command to confirm your PHP version:
Command: php -v
9. Configure Apache to Prioritize index.php
To make this change, open the dir.conf configuration file in a text editor of your choice (nano in our case).
Command: nano /etc/apache2/mods-enabled/dir.conf 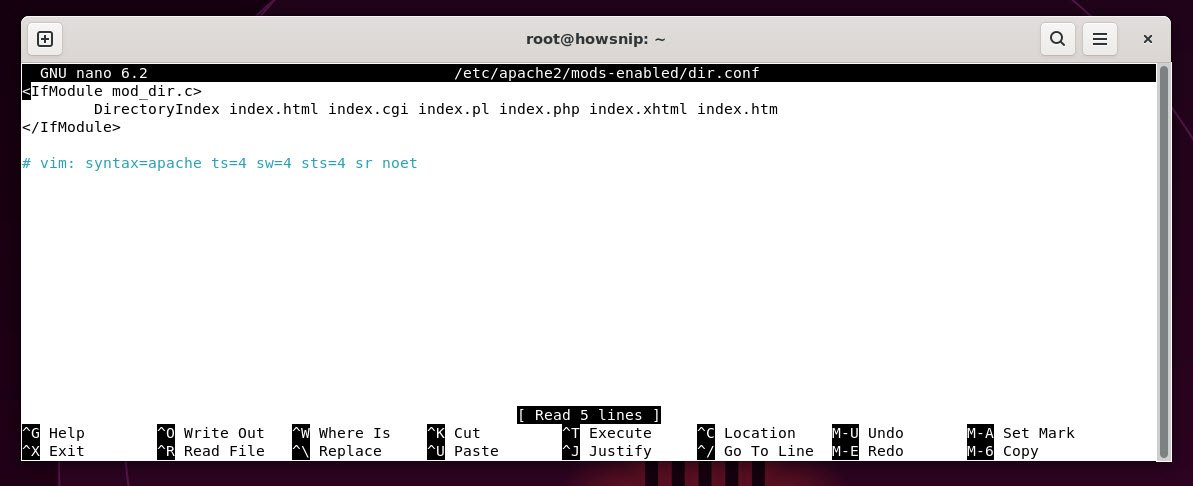
Move the PHP index file to the first position after the DirectoryIndex specification.
This tells Apache to look for `index.php` before `index.html`, so your PHP homepage loads instead of the default HTML file.
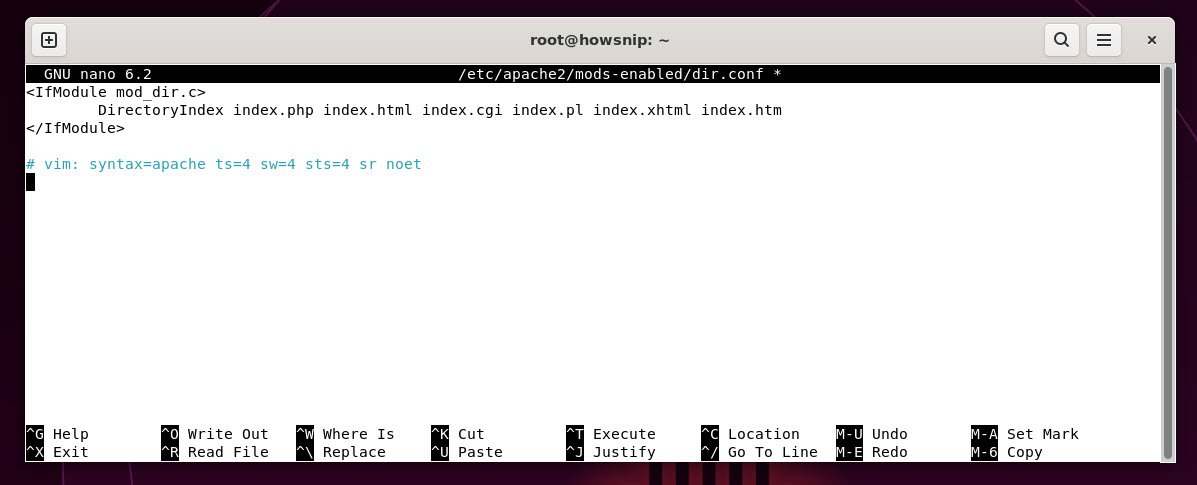
Save the file (`Ctrl + O`, `Enter`, then `Ctrl + X`) and restart Apache:
Command: systemctl status apache2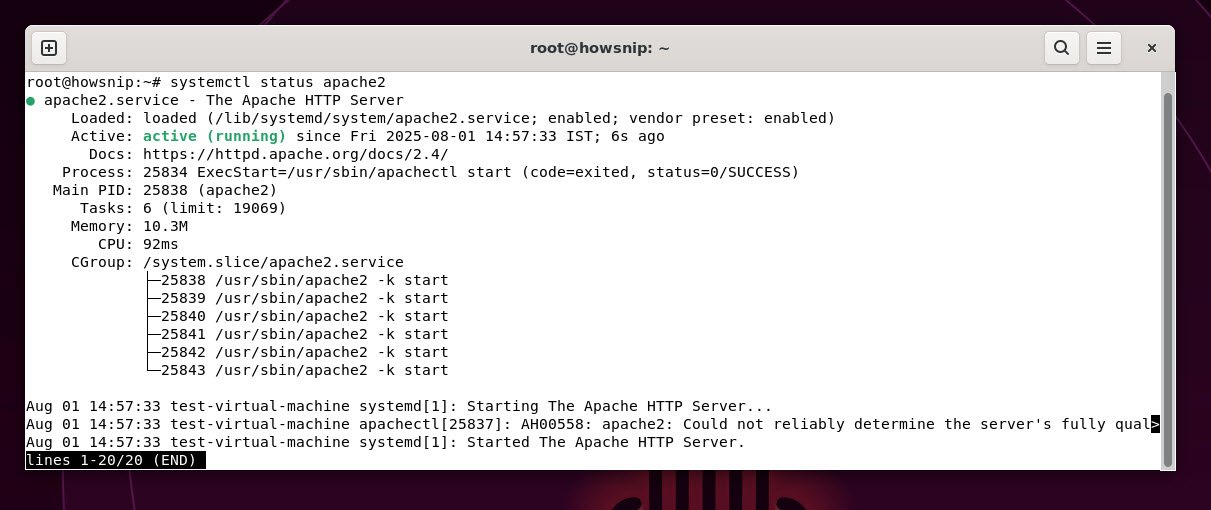
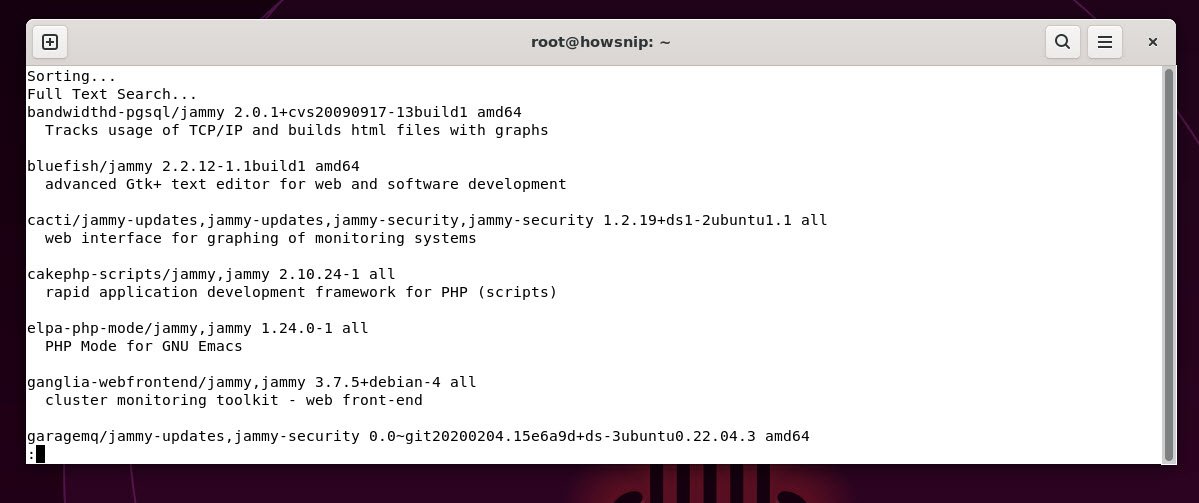
Ubuntu provides a wide range of additional PHP modules that can extend the functionality of your web applications. To browse the available modules, you can use the following command:
Command: apt search php- | lessThis will display a long list of PHP-related packages that you can scroll through, including modules for working with images, handling encryption, managing JSON, and much more.
If you find a module that looks useful and want to learn more about it before installing, you can run a command like:
Command: apt show php-cliThis will display detailed information about the selected package, such as its purpose, dependencies, and version.

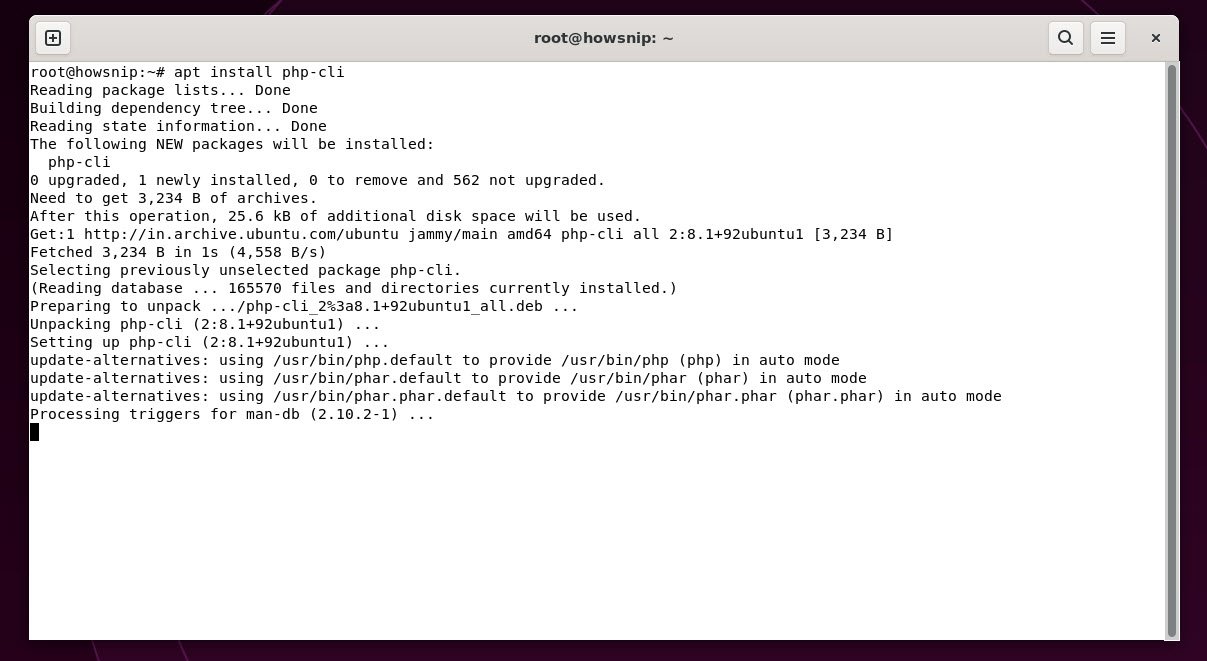
For example, if you want to run PHP scripts directly from the command line (outside of a web server), you should install the CLI (Command Line Interface) version of PHP using:
Command: apt install php-cliThis is especially helpful for testing scripts, running cron jobs, or using PHP for server-side automation tasks.
10. Set Up a Custom Virtual Host (Optional)
Create a project folder:
Command: mkdir /var/www/howsnip.com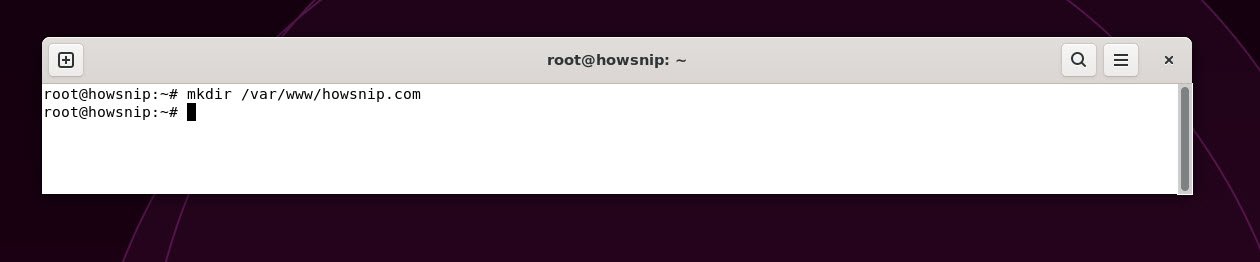
Give ownership to your current user:
Command: sudo chown -R $USER:$USER /var/www/howsnip.com/
Create a new config file (example: `howsnip.conf`) in `/etc/apache2/sites-available/` and add your `<VirtualHost>` config.
Command: nano /etc/apache2/sites-available/howsnip.conf<VirtualHost *:80>
ServerName yourdomain
ServerAlias www.yourdomain
ServerAdmin webmaster@localhost
DocumentRoot /var/www/yourdomain
ErrorLog ${APACHE_LOG_DIR}/error.log
CustomLog ${APACHE_LOG_DIR}/access.log combined
</VirtualHost>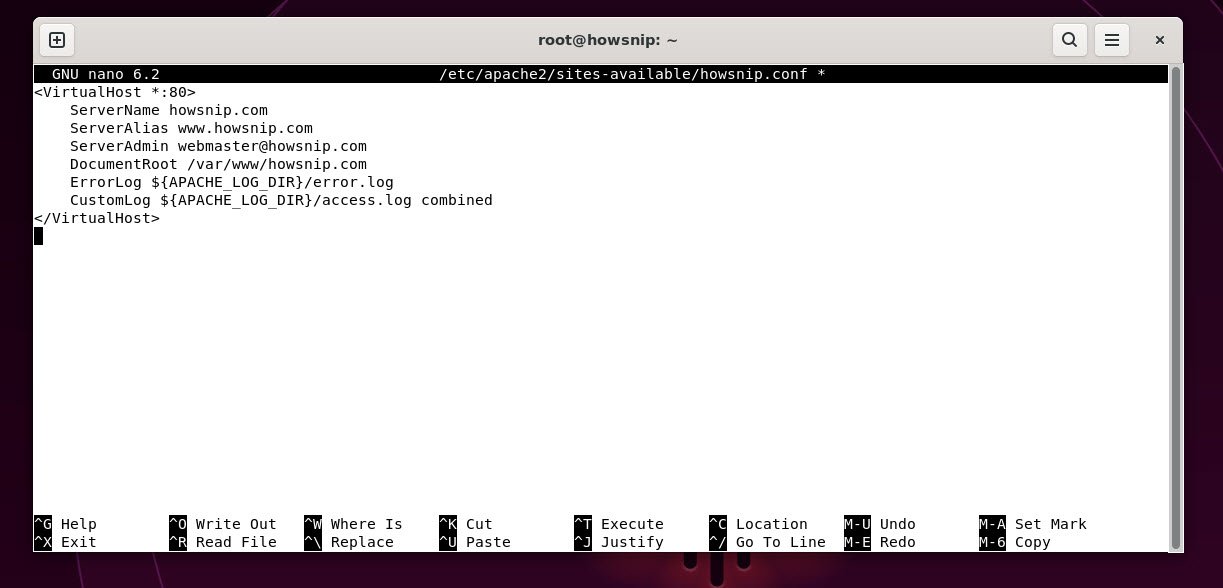
Now, use a2ensite to enable the new virtual host:
Command: a2ensite howsnip.conf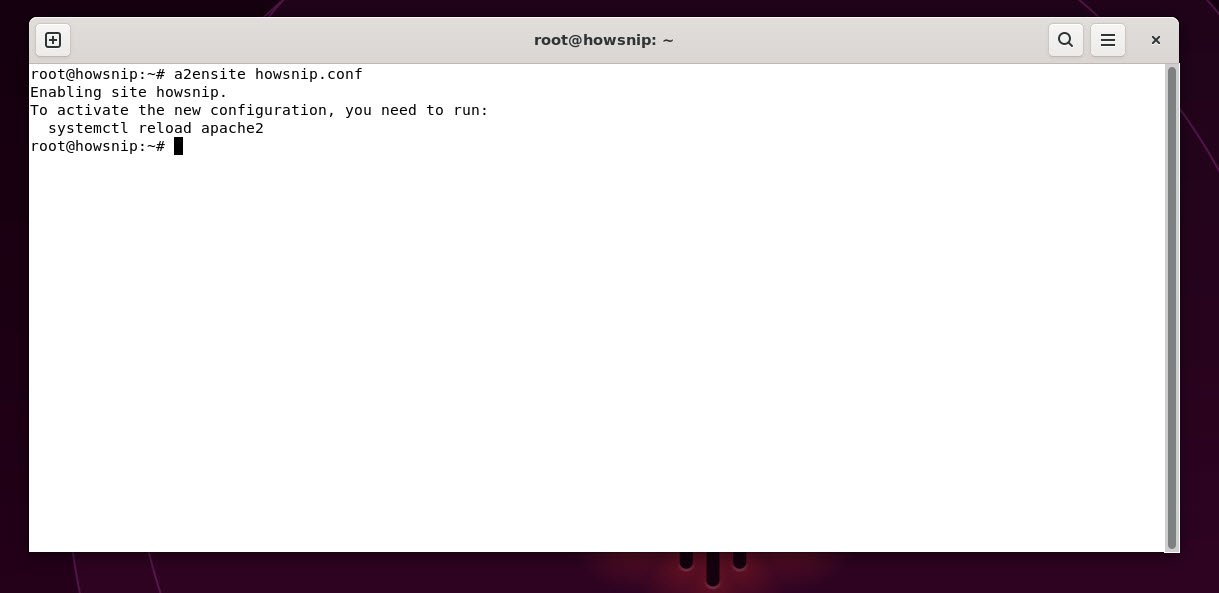
Make sure that you should disabled the default configuration file by using the following command:
Command: a2dissite 000-default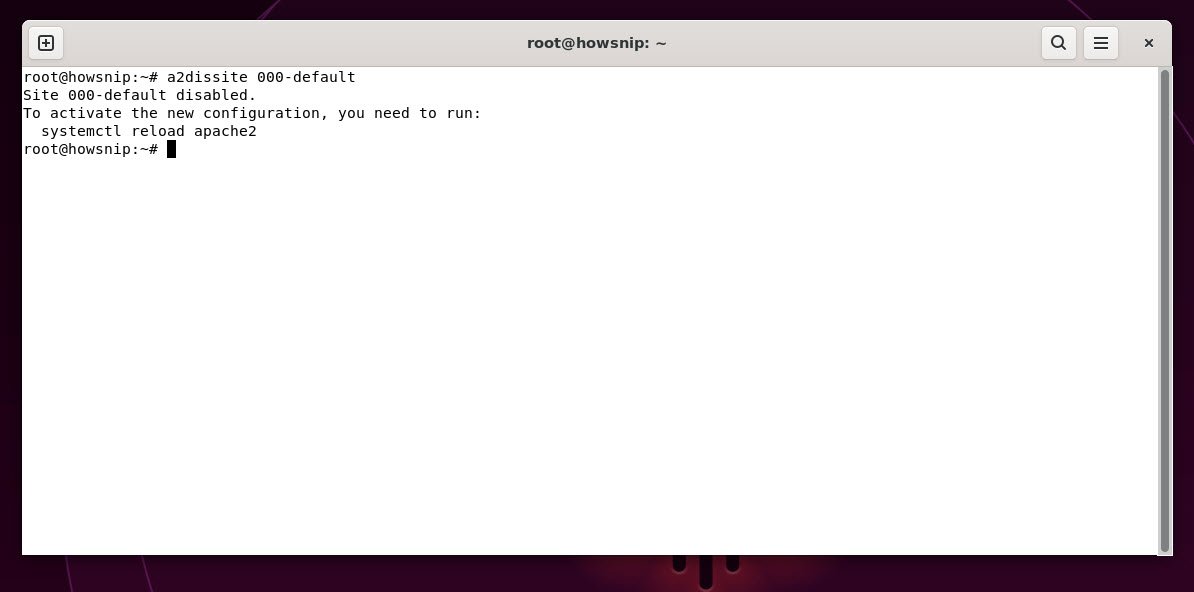
To make sure your configuration file doesn’t contain syntax errors, run the following command:
Command: apachectl configtest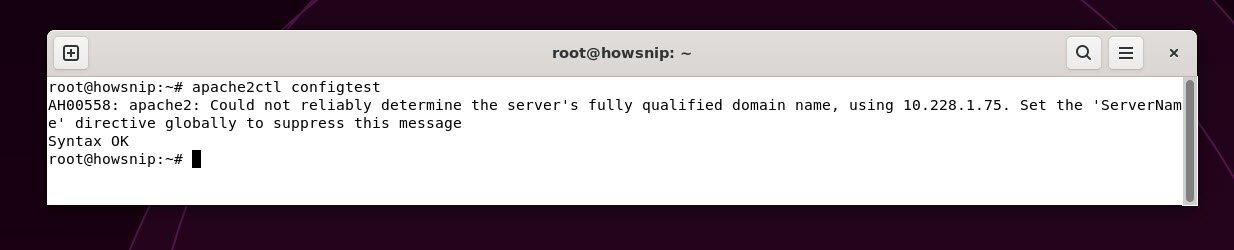
If everything’s OK, reload Apache:
Command: systemctl reload apache2
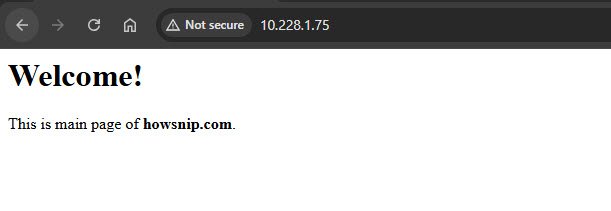
Your new website is now active, but the web root /var/www/howsnip.com is still empty. Create an index.php file in that location to test that the virtual host works as expected:
Command: nano /var/www/howsnip.conf/index.php<html>
<head>
<title>yourdomain website</title>
</head>
<body>
<h1>Welcome!</h1>
<p>This is main page of <strong>yourdomain</strong>.</p>
</body>
</html>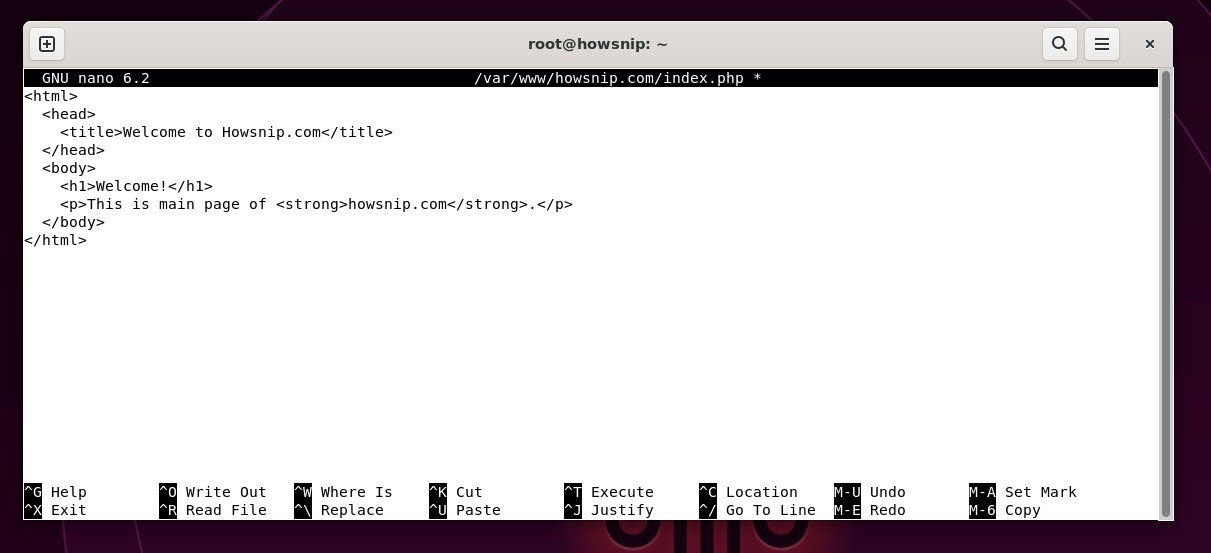
Save and close the file, then go to your browser and access your server’s domain name or IP address:
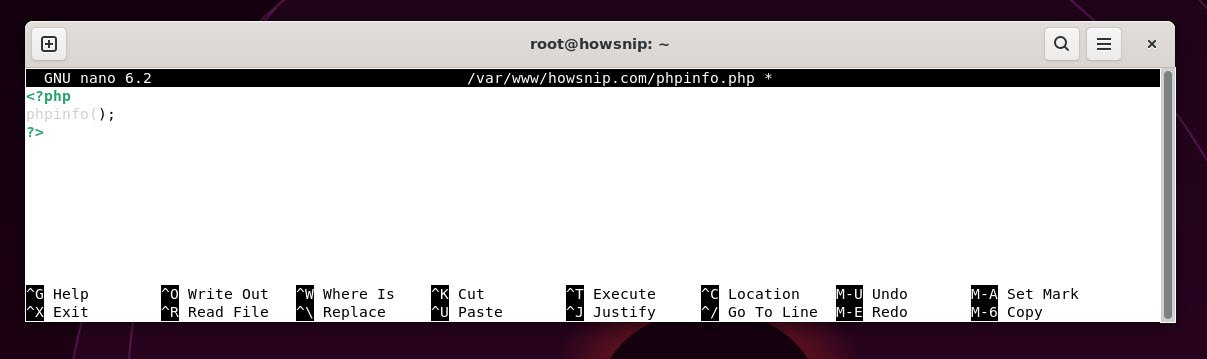
Now that you have a custom location to host your website’s files and folders, create a PHP test script to confirm that Apache is able to handle and process requests for PHP files and its functions. Create a new file named info.php inside your custom web root folder:
Command: nano /var/www/howsnip.com/phpinfo.phpThis will open a blank file. Add the following text, which is valid PHP code, inside the file:
<?php
phpinfo();
?>
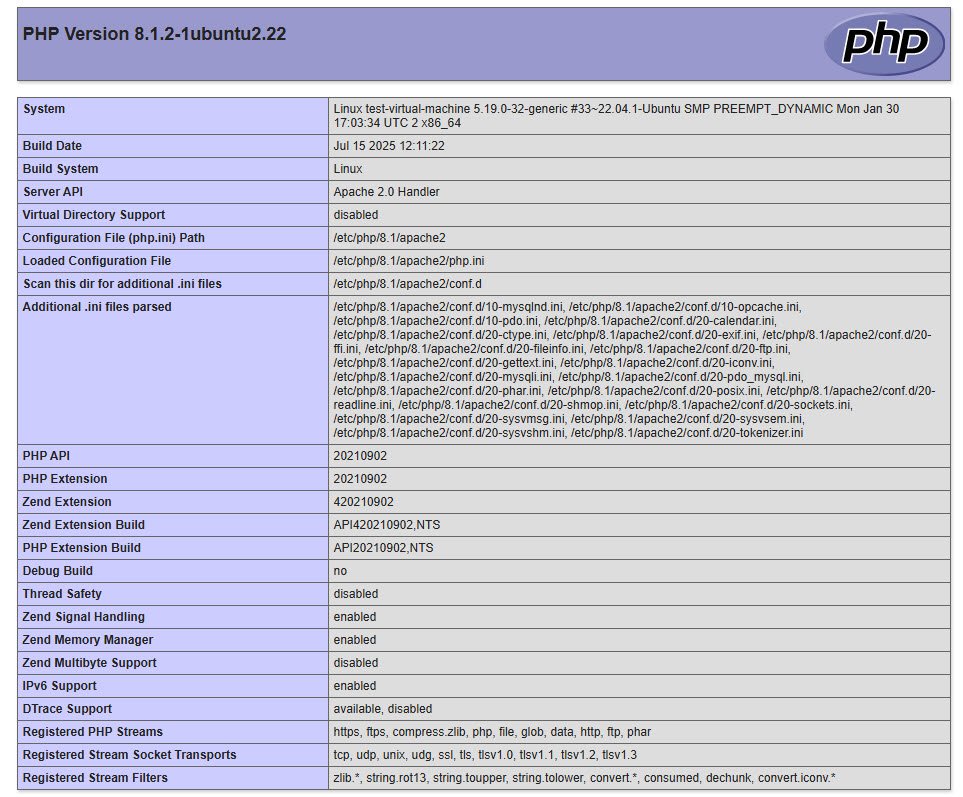
To test this script, go to your web browser and access your server’s domain name or IP address, followed by the script name, which in this case is info.php: http://server-ip/phpinfo.php
11. Configure MySQL (Optional for Remote Access)
Edit MySQL config:
Command: nano /etc/mysql/mysql.conf/mysqld.cnfTo allow remote access, comment or change: bind-address = 0.0.0.0
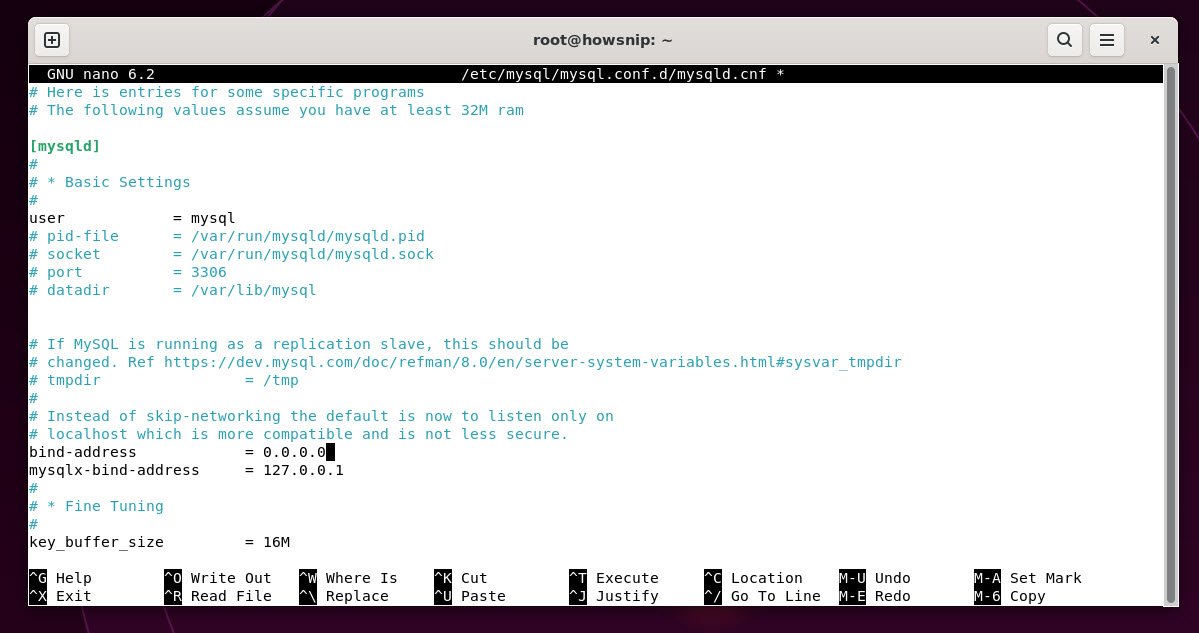
Then restart MySQL:
Command: systemctl restart mysql
12. Install phpMyAdmin (GUI for MySQL)
To simplify database management, it’s highly recommended to install phpMyAdmin, a web-based interface that allows you to interact with your MySQL databases visually rather than through the command line. You can install it along with a few essential PHP extensions by running the following command:
Command: apt install phpmyadmin php-mbstring php-zip php-gd php-json php-curl -y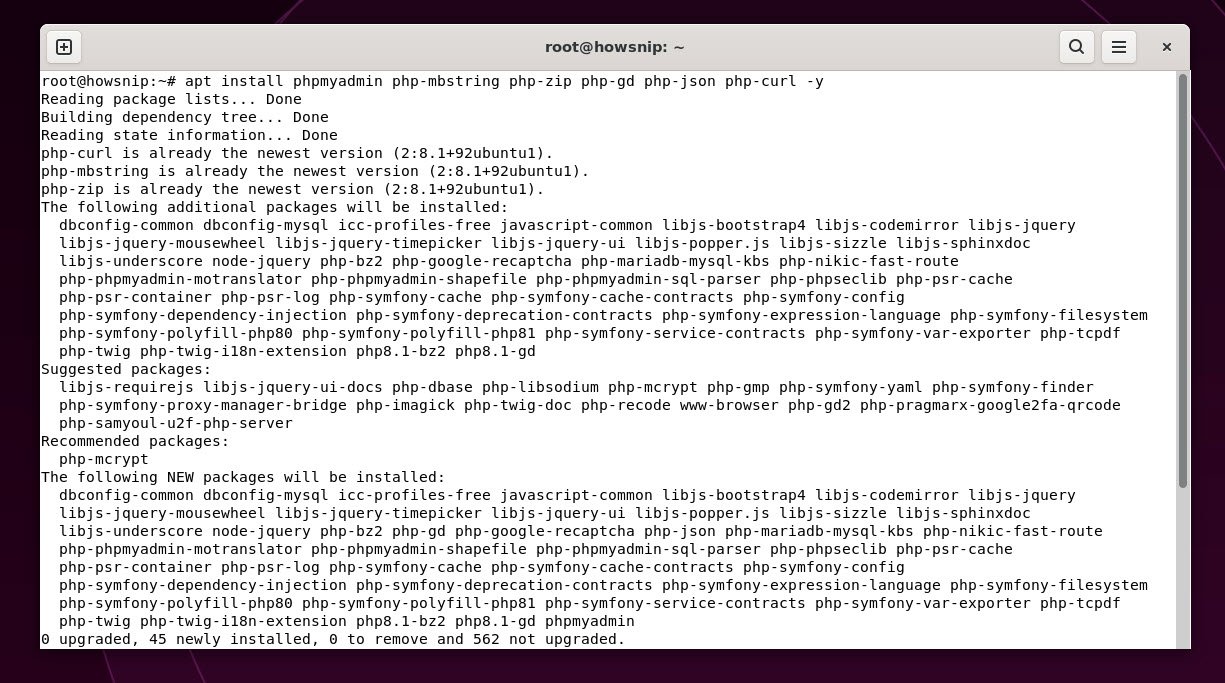
This installs phpmyadmin itself, which gives you a graphical interface to create, modify, and manage MySQL databases. The additional PHP modules (php-mbstring, php-zip, php-gd, php-json, and php-curl) are dependencies required for various phpMyAdmin features such as file uploads, image rendering, JSON handling, and secure data transfer.
After installation, restart Apache to ensure all changes take effect:
Command: systemctl restart apache2
To make phpMyAdmin accessible via your custom domain or project folder (e.g., howsnip.com), create a symbolic link from its installed location to your web directory using the following command:
Command: sudo ln -s /usr/share/phpmyadmin /var/www/howsnip.com/phpmyadmin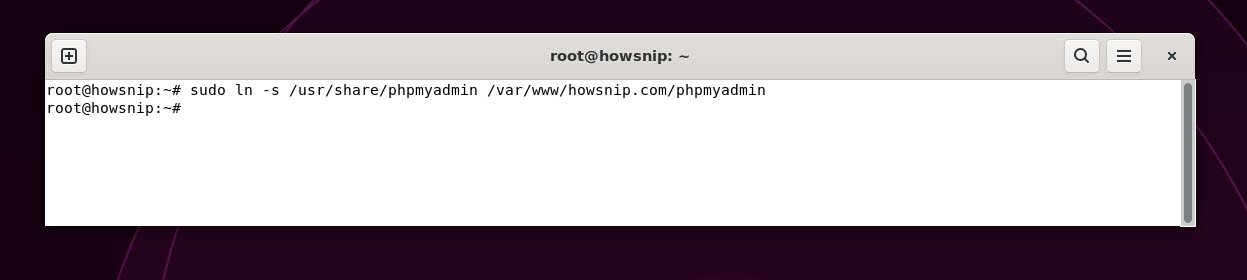
Now, you can access phpMyAdmin through your browser by navigating to: http://server-ip/phpmyadmin/
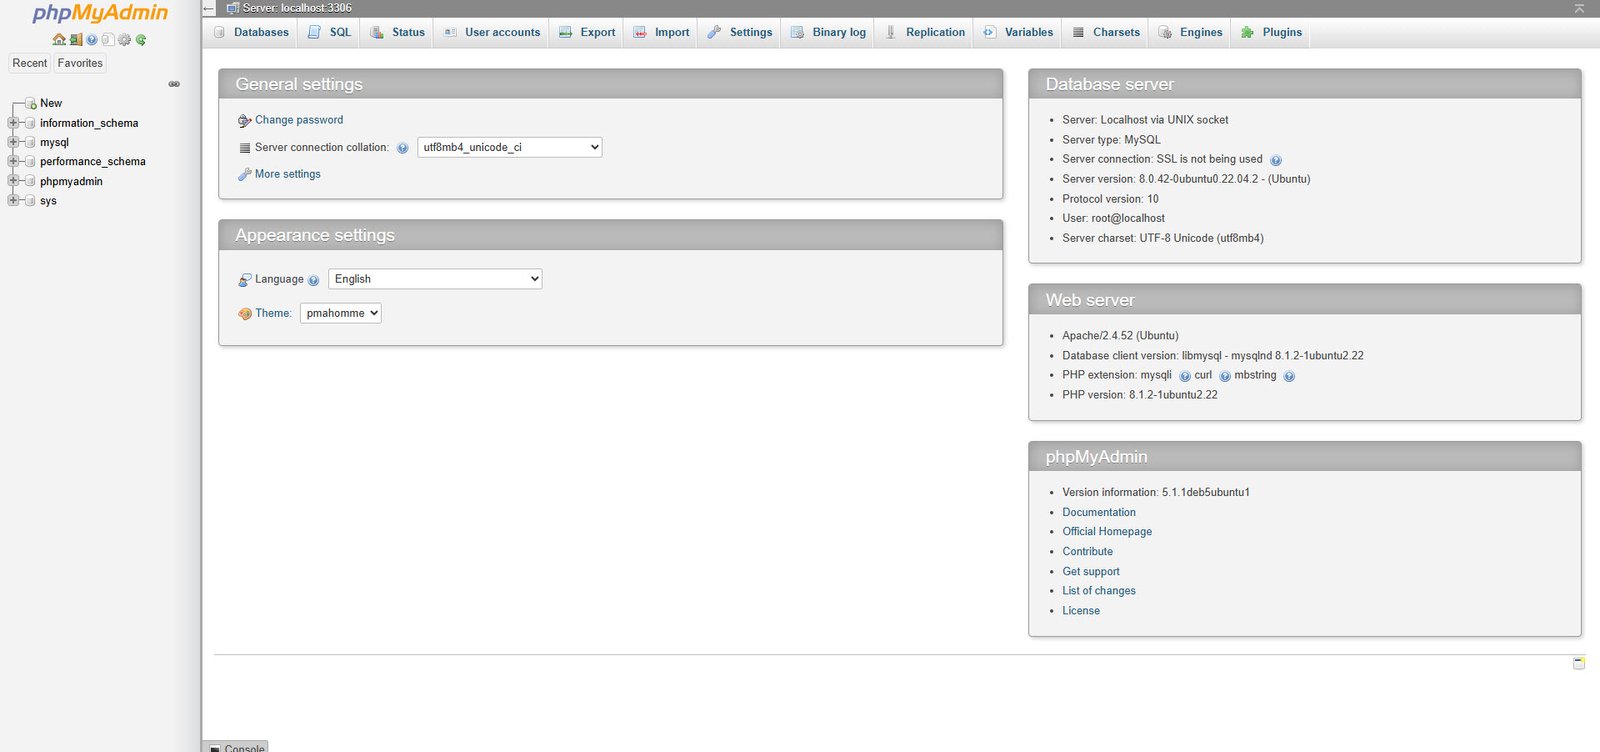
This will open the login page where you can manage your MySQL databases through an intuitive web interface. For new deployments, Ubuntu 22.04 is preferred due to broader package compatibility and security enhancements.
Conclusion
In this guide, you’ve successfully set up a fully functional LAMP stack on your Ubuntu machine. You’ve installed and configured Apache to serve your web content, MySQL to manage your databases, and PHP to handle dynamic processing.
Along the way, you also secured your MySQL installation, configured your UFW firewall, tested PHP, and even added a convenient web interface with phpMyAdmin.
This setup provides a solid and flexible foundation for hosting PHP-based websites and applications.